/
How to navigate a Virtual Classroom meeting
How to navigate a Virtual Classroom meeting
- Daspina Fefekos
- Palak Chauhan
- Prabhsharan Singh Sethi
Owned by Daspina Fefekos
Last updated: Nov 19, 2024 by Palak Chauhan
Use these steps to familiarize yourself with the Virtual Classroom user interface.
- See How to Schedule a Virtual Classroom meeting to set-up your meeting then return to these steps for navigating the Virtual Classroom user interface.
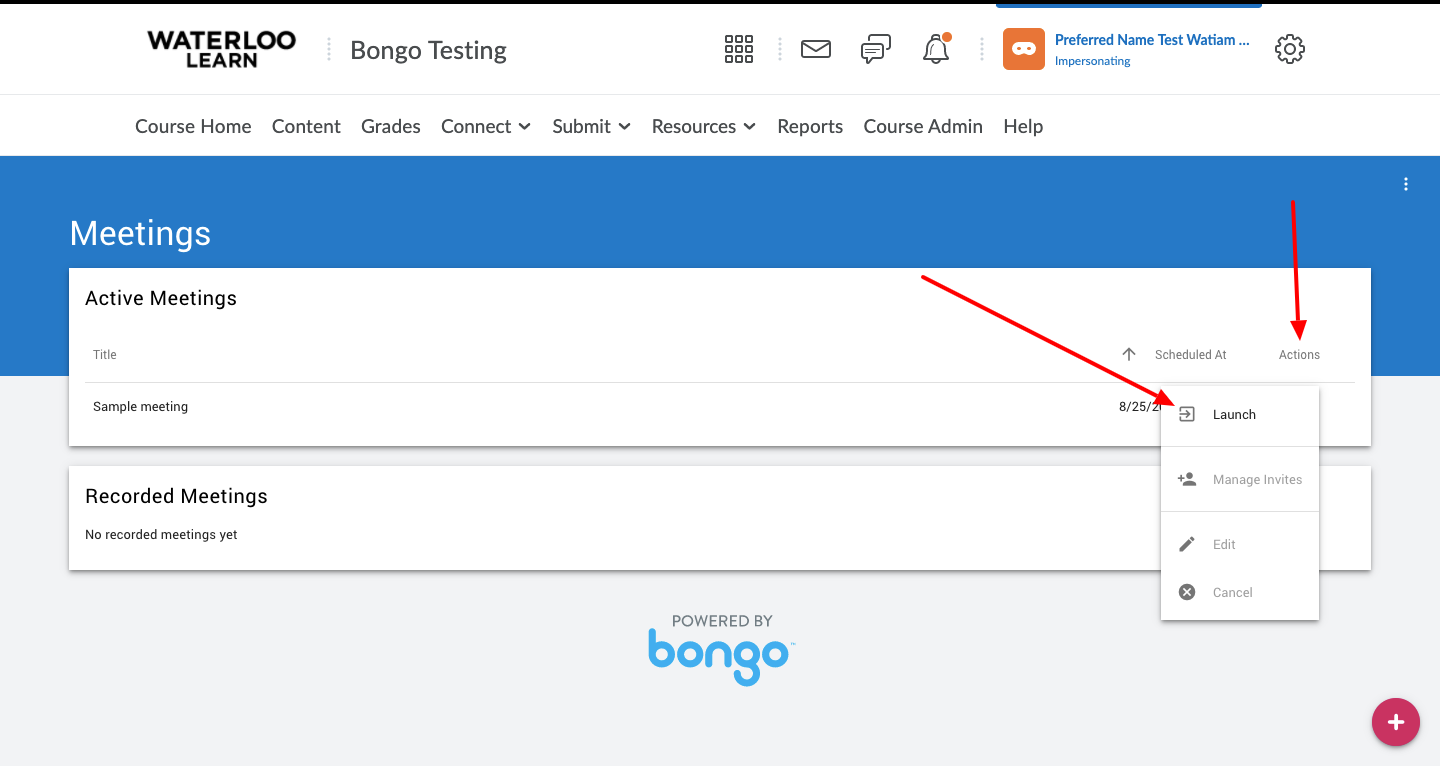
- Go to your scheduled meeting and click the actions menu to the right of the meeting title and select Launch to start the meeting.
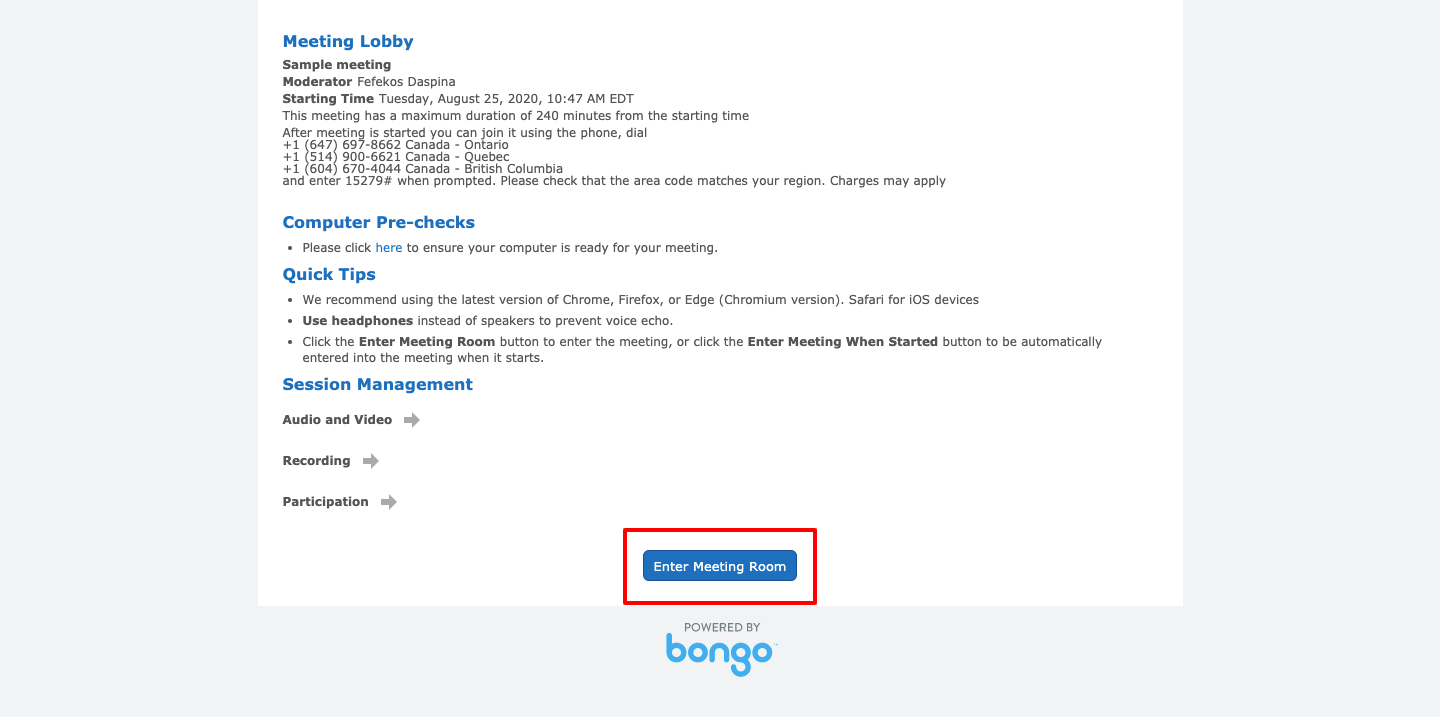
- Once you launch the meeting you will see a Bongo waiting page where you will need to click on the Enter meeting button.
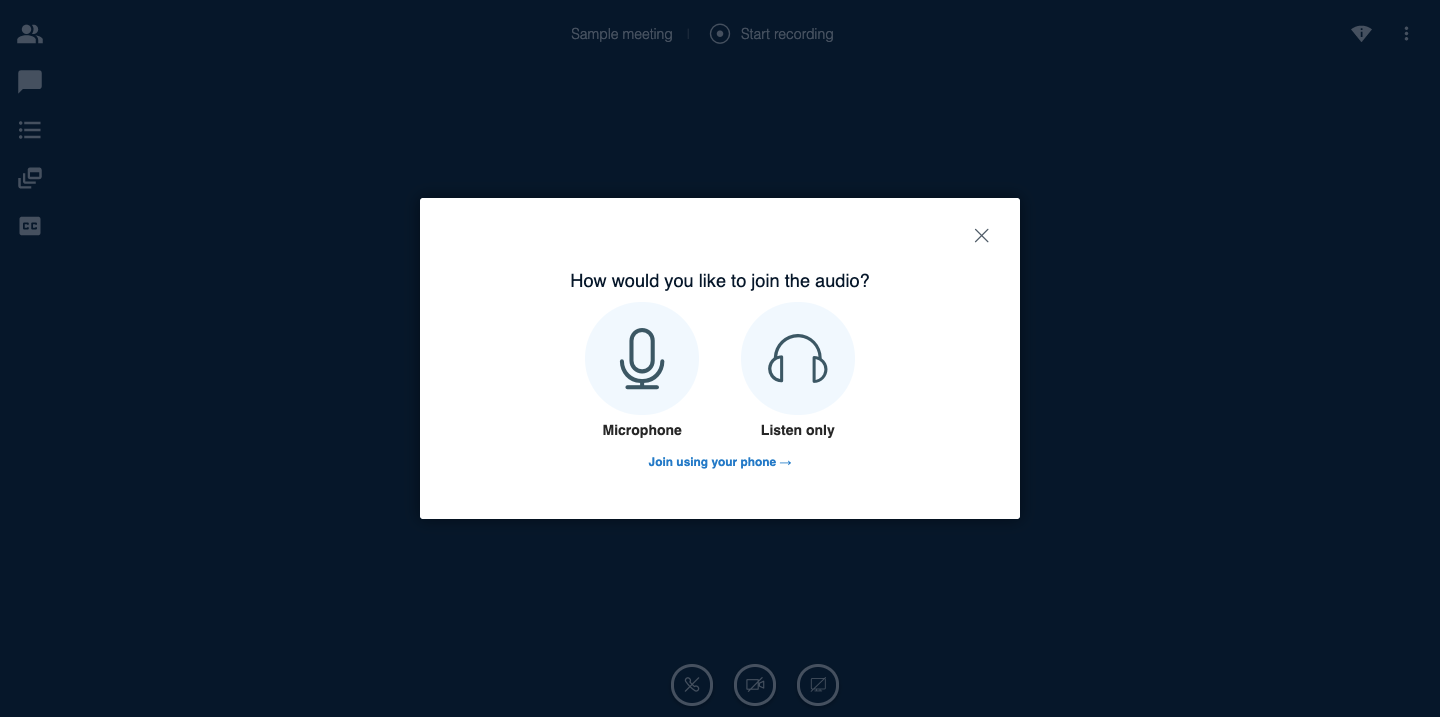
- When entering the meeting room you will be asked if you want to connect using a microphone or listen only. If you choose to listen only you will be taken directly into the meeting but will not be able to engage your microphone without leaving and rejoining the meeting. If you choose to join with your microphone you will see a pop-up asking if you want to give your browser access to your microphone. Choose "allow" to complete the process and join the meeting.
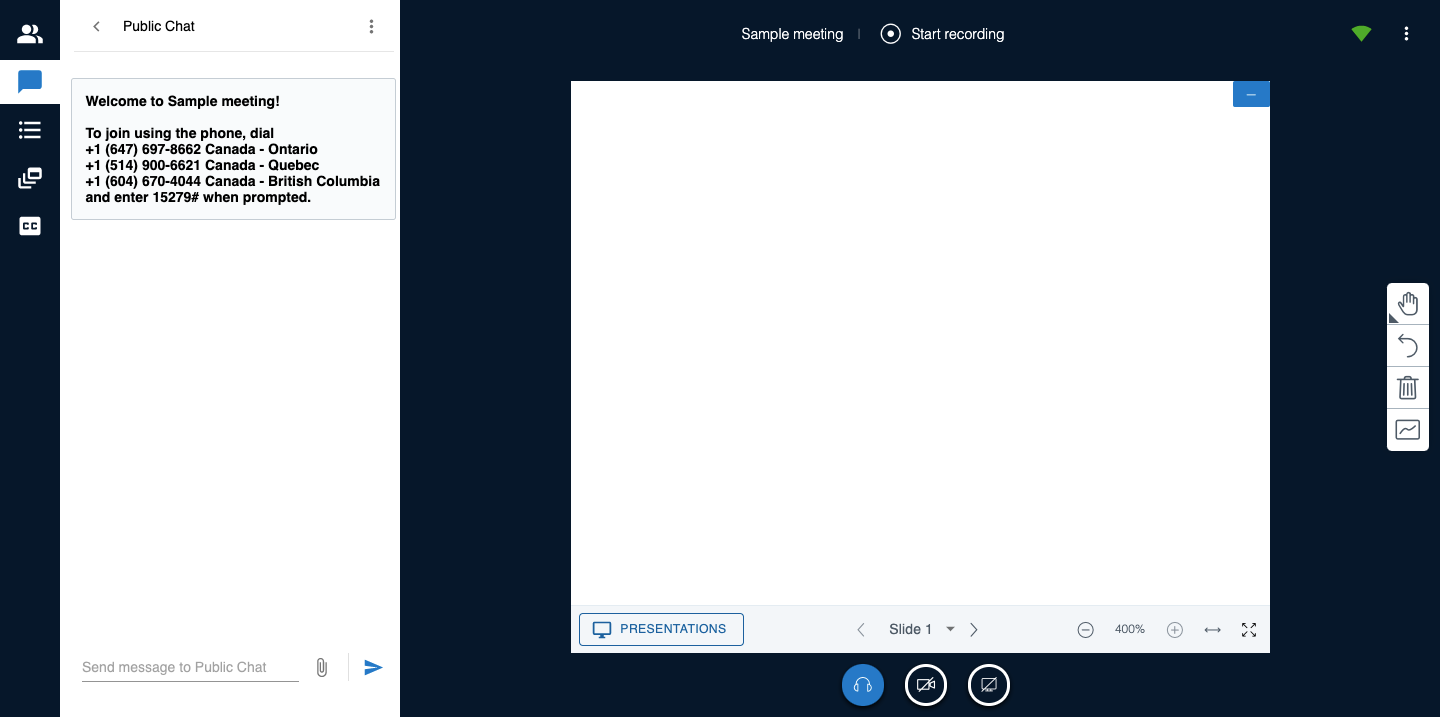
- Once you enter the meeting you will see the meeting title and the option to begin recording (if the option to automatically record the meeting was not selected. If it was, you will see the option to stop recording).
- On the left hand side you will see a number of options available during the meeting, including:
- Viewing the participants list.
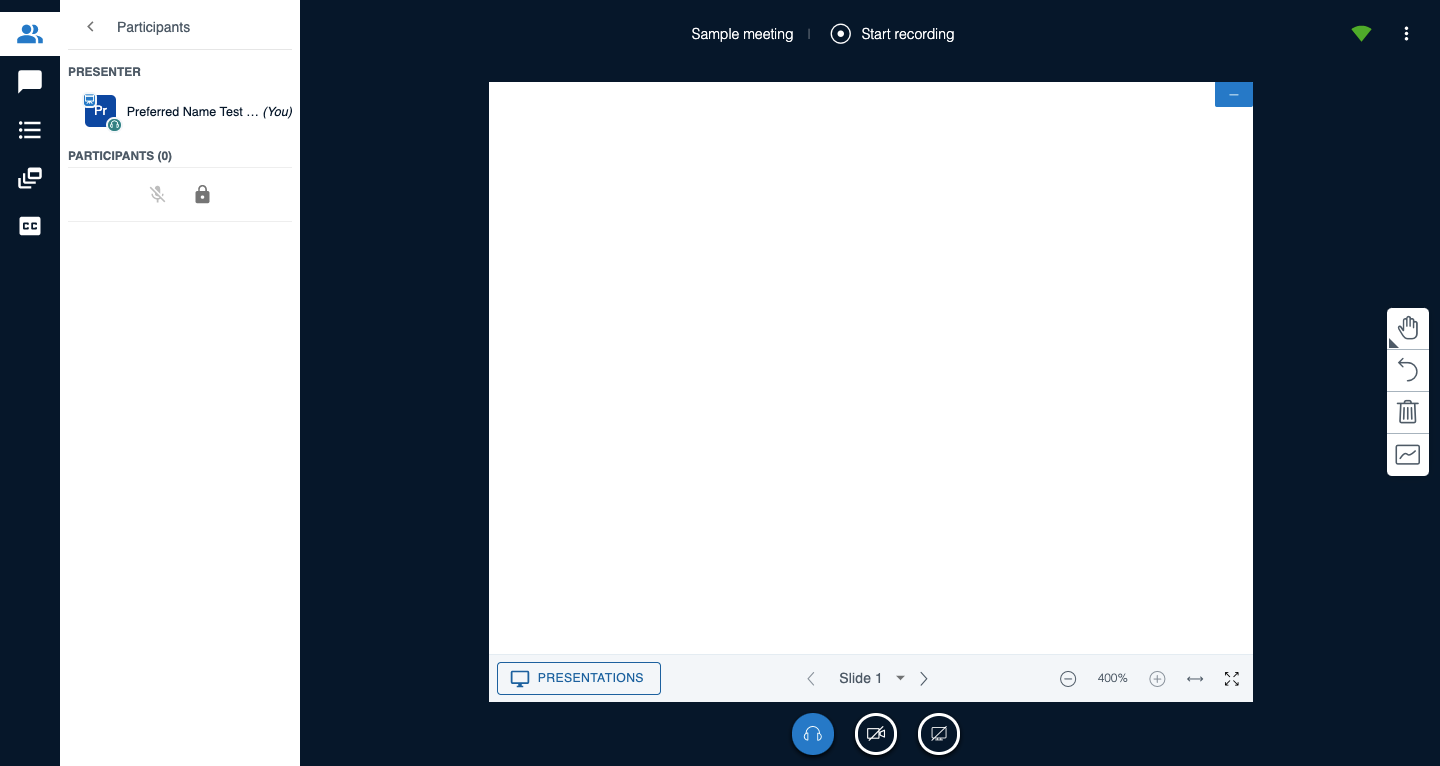
- The chat function where you can use the public and or private chat to communicate with participants.
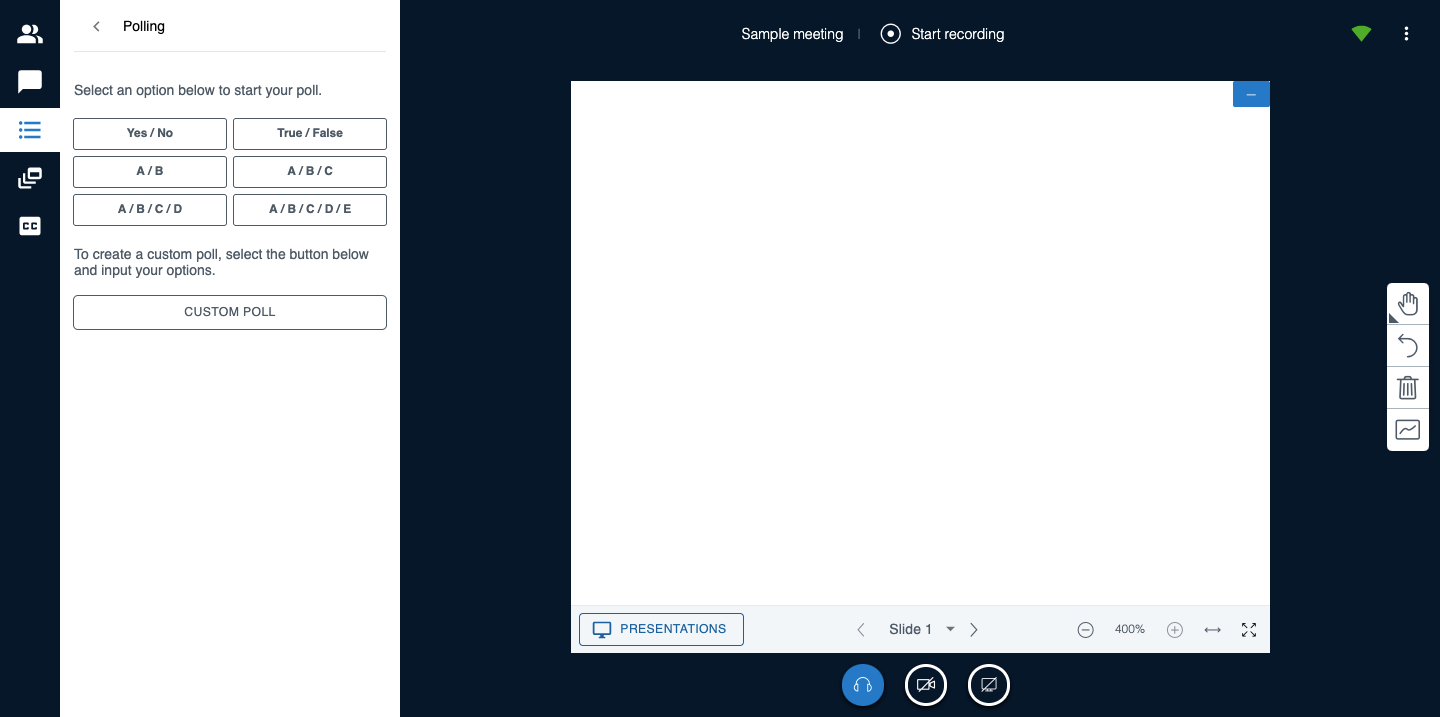
- The option to launch a poll.
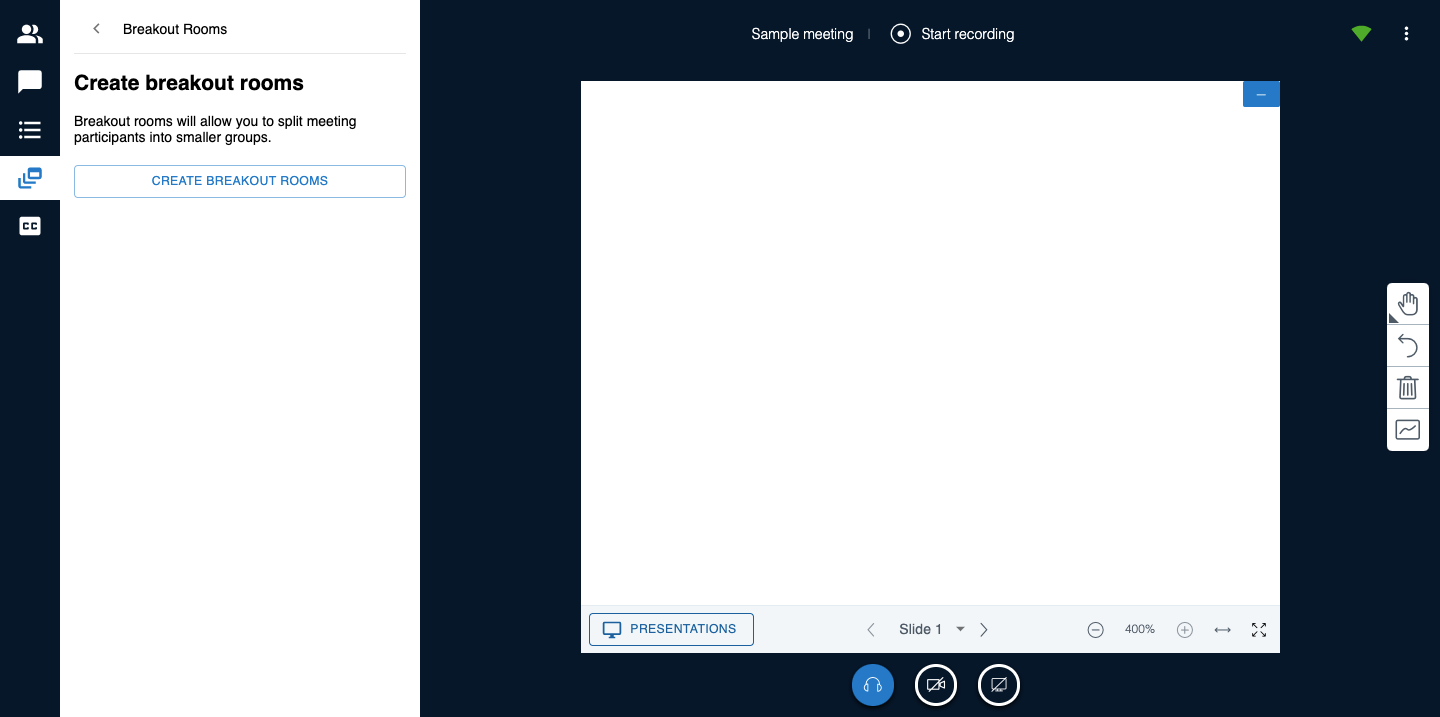
- The ability to create breakout rooms
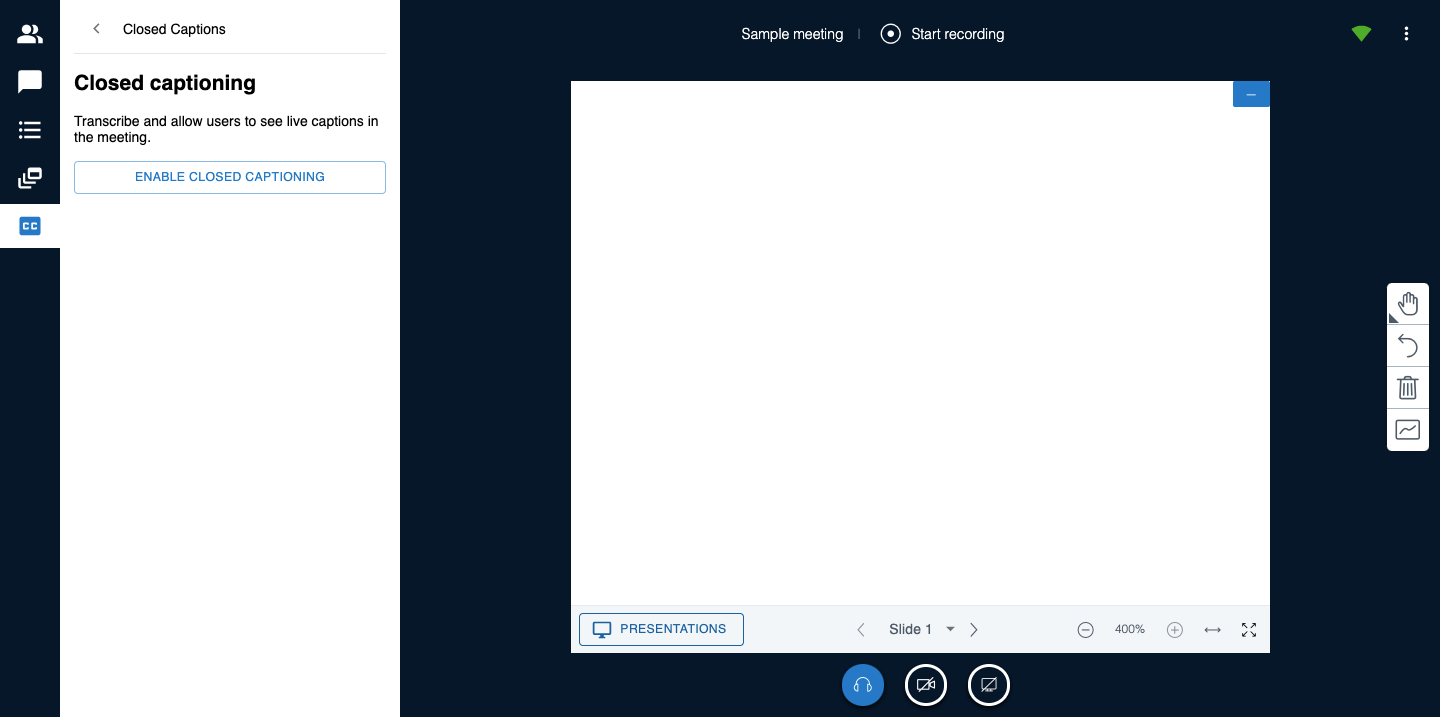
- The ability to close caption your meeting. Note: This is a manual process that requires someone to type what is being said live.
- Viewing the participants list.
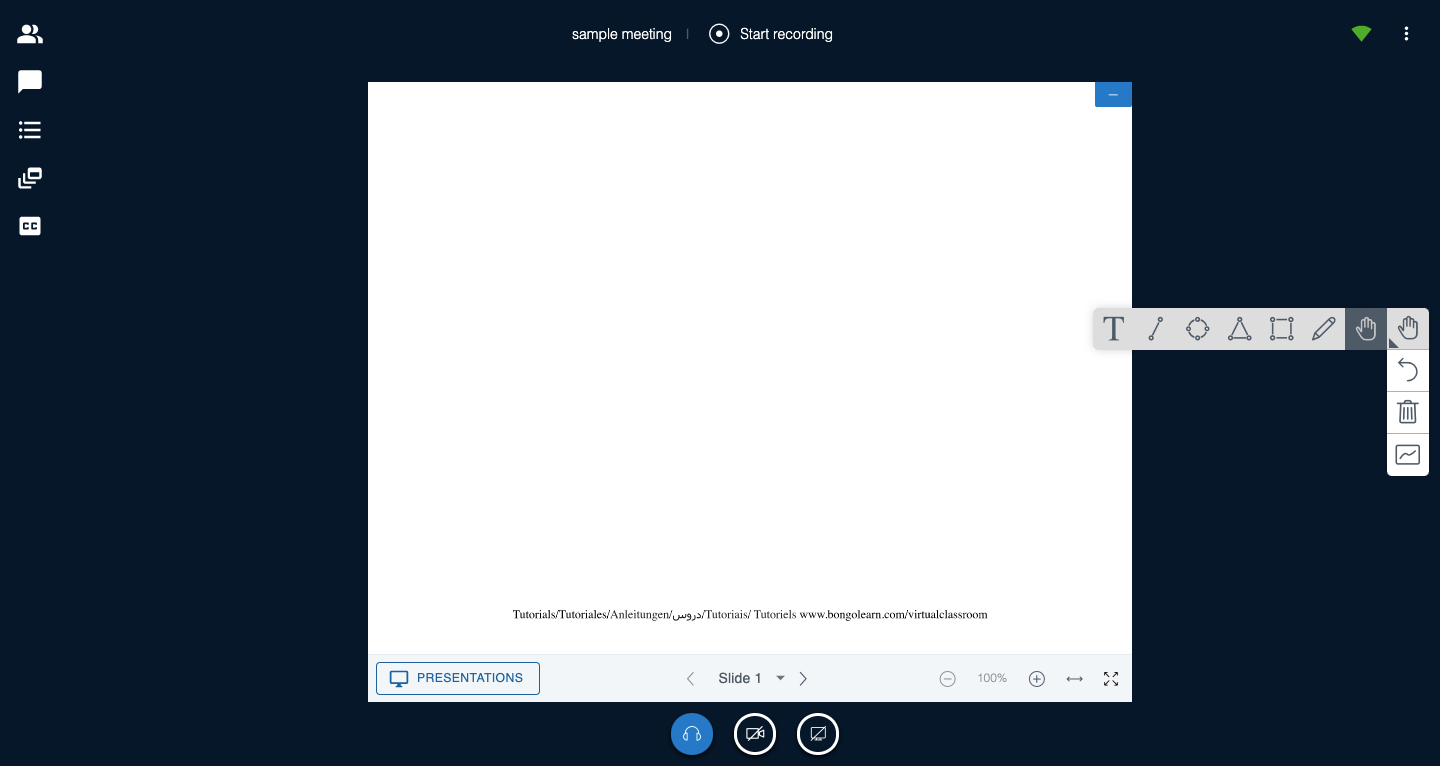
- On the right hand side you will see a few options where you can make your view fullscreen or adjust some of the meeting settings available.
- Beneath the settings menu there is an annotation tool bar with a few options that can be used during the meeting, including:
- The option to change the default cursor to use the text tool, the line drawing tool, or the pencil.
- Note: The cursor red dot is not included in the recorded version of the meeting.
- Note: The cursor red dot is not included in the recorded version of the meeting.
- beneath the annotation tools is the option to undo annotations.
- Beneath the undo annotations is the option to clear all annotations.
- The option to allow multi-user annotations. If this option is selected all users in the meeting will be able to annotate the meeting slides or presentation. You will see a name associated with each cursor active on the screen.
- The option to change the default cursor to use the text tool, the line drawing tool, or the pencil.
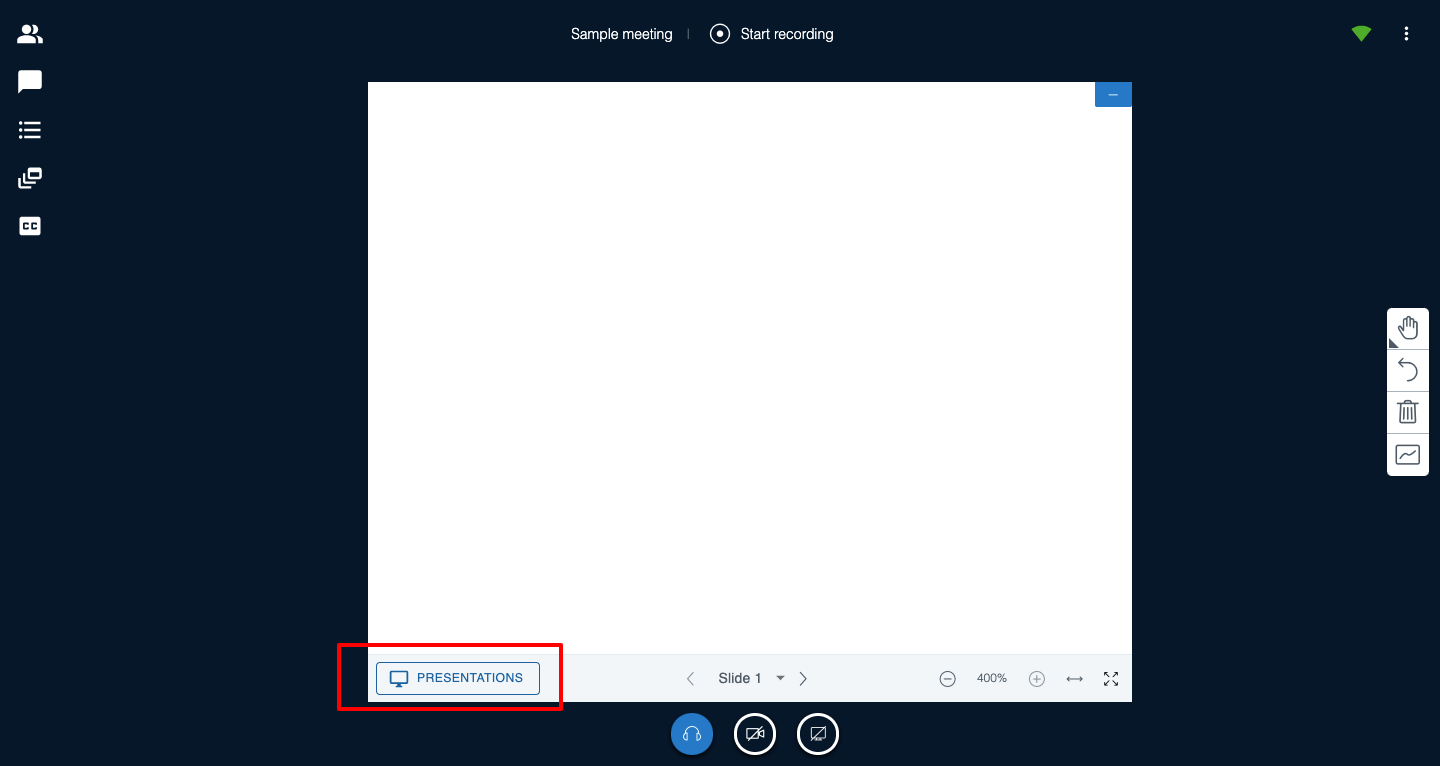
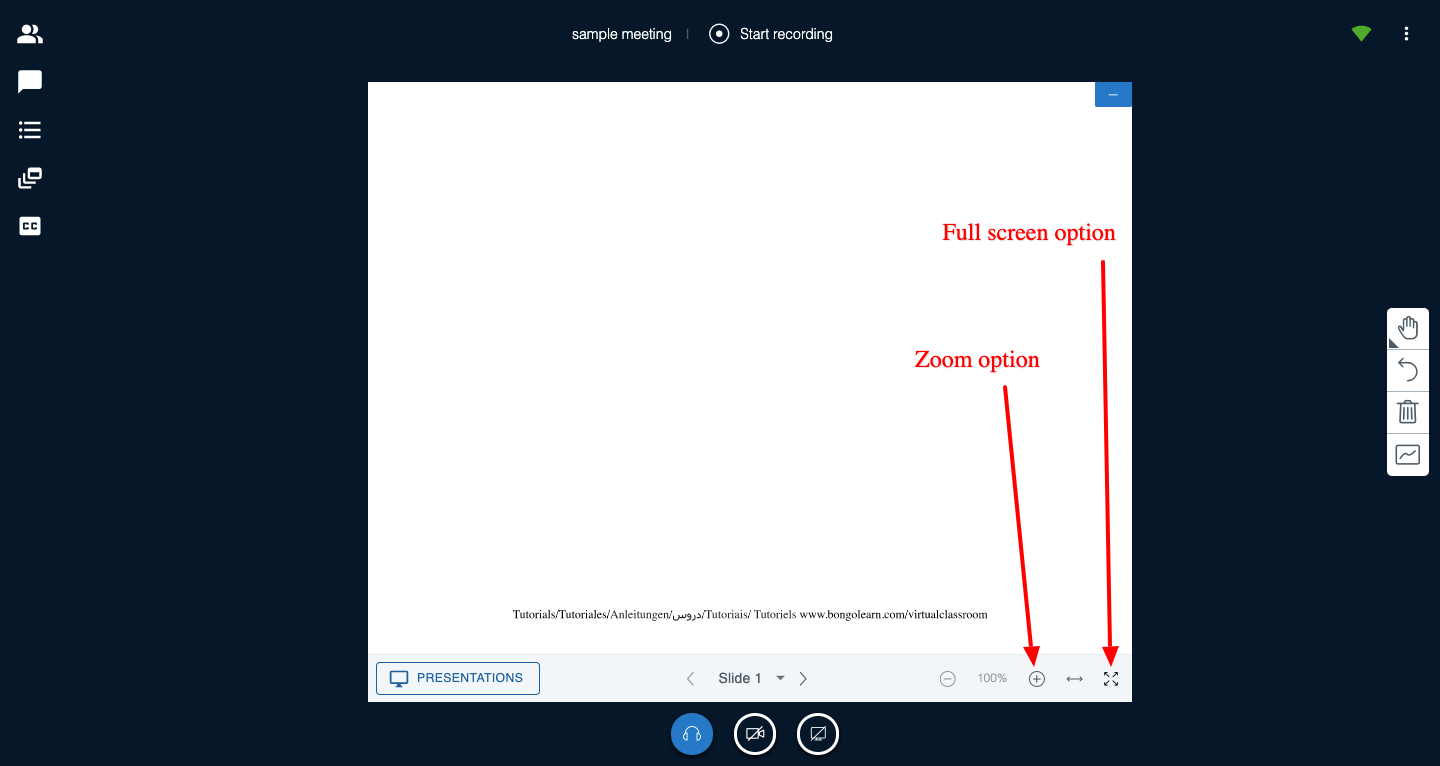
- In the center of the screen you will see the default whiteboard until you share your screen or upload a presentation. To upload a presentation, click on the PRESENTATIONS button towards the bottom of the whiteboard.
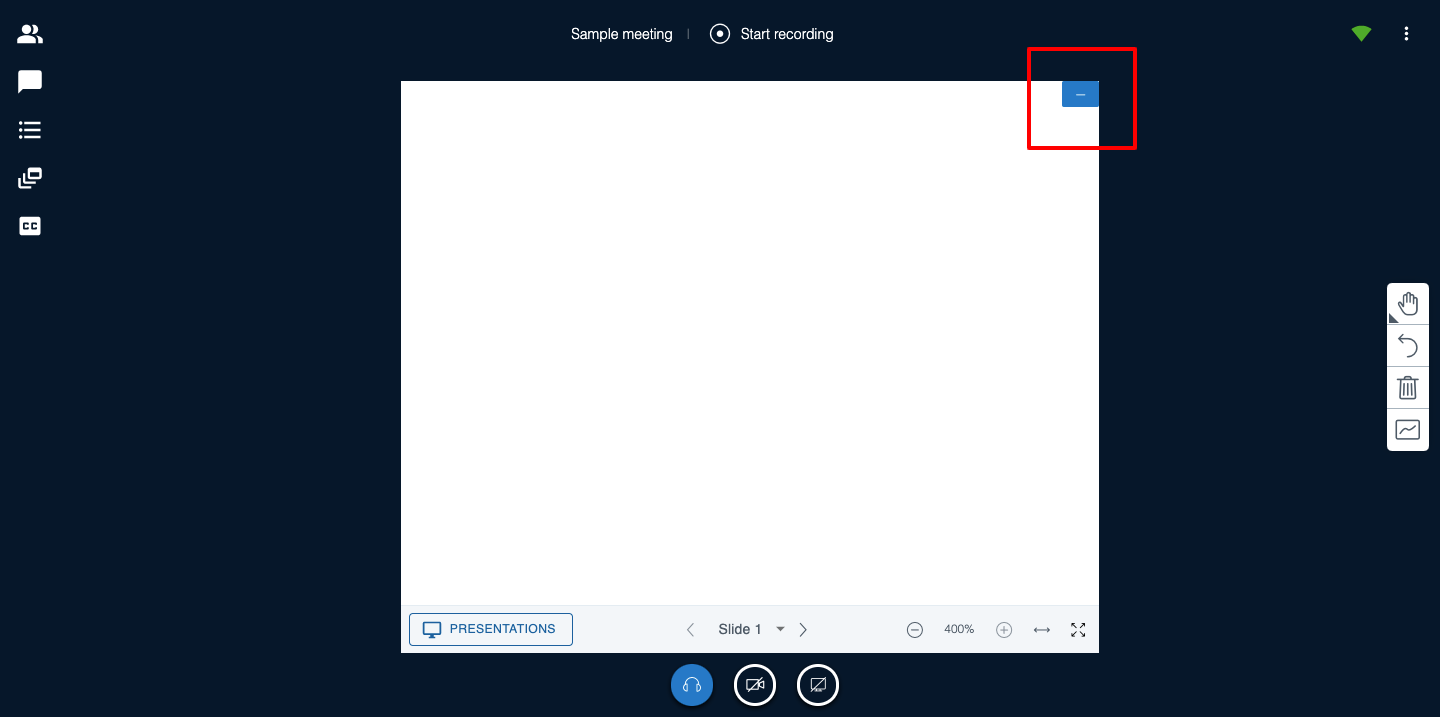
- In the top right hand corner is a line with a blue box background that will allow you to hide the presentation, clicking this will minimize the whiteboard.
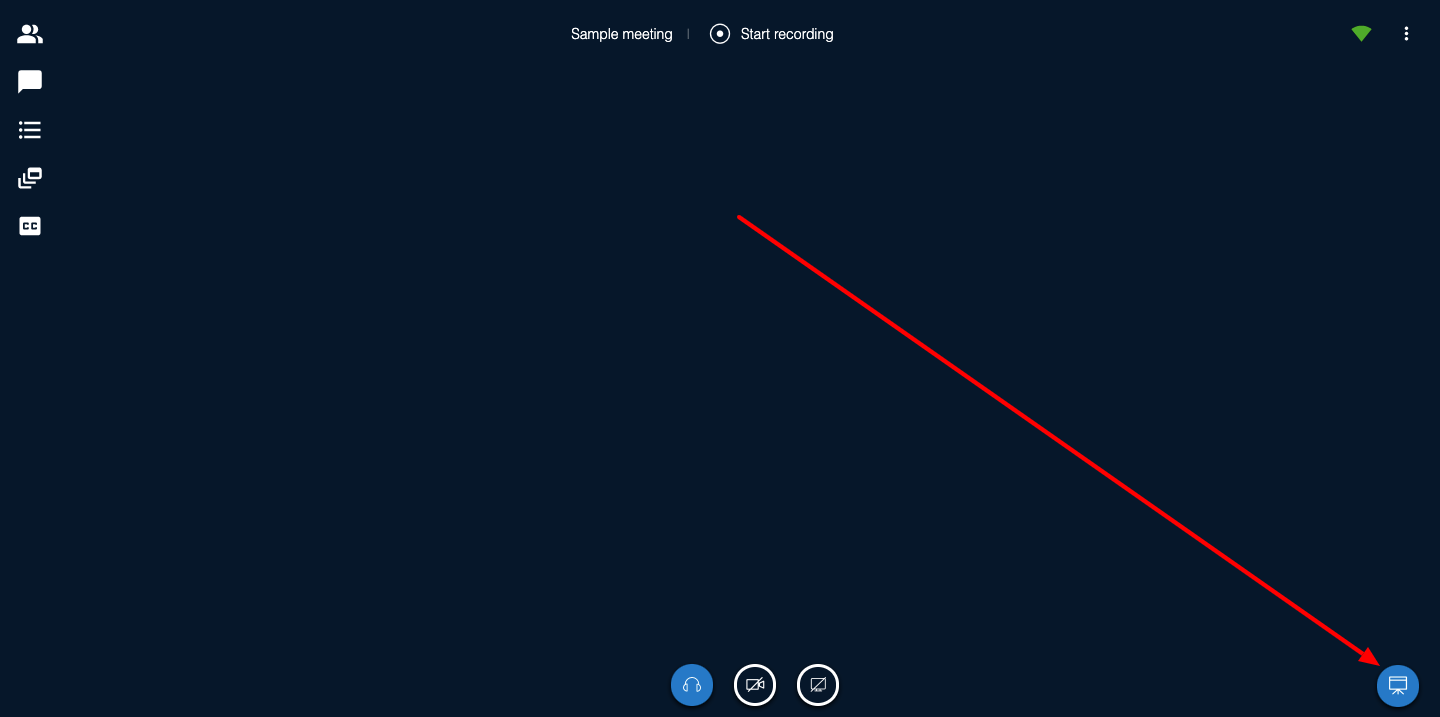
- To restore the original view, click on the small presentation icon in the bottom right hand corner.
- New options in this release includes:
- The ability to zoom into the presentation.
- The ability to increase or decrease the size of the text in the presentation.
, multiple selections available,
Related content
How to Schedule a Virtual Classroom meeting
How to Schedule a Virtual Classroom meeting
More like this
How to schedule a virtual classroom meeting within a group video assignment.
How to schedule a virtual classroom meeting within a group video assignment.
More like this
Sharing and un-sharing your Webcam in a Virtual Classroom meeting.
Sharing and un-sharing your Webcam in a Virtual Classroom meeting.
More like this
Webex: Tips and Tricks for Teaching and Meetings
Webex: Tips and Tricks for Teaching and Meetings
More like this
Hybrid meetings and augmenting meeting rooms
Hybrid meetings and augmenting meeting rooms
Read with this
How to create online lecture content with Camtasia
How to create online lecture content with Camtasia
Read with this