Printing for faculty and staff members
Some Windows users report that the newly installed Ricoh printers work without uninstalling and reinstalling them. Before attempting these steps below, you can try printing to the existing printer queue to see if it works.
The printer queues in the Faculty of Environment is using the central print server queue, called printsrv.
All departments within the Faculty of Environment have been set up with a networked Ricoh IM C3010 Colour Laser Multifunction Printer. The supplies for these printers can be ordered through W Print.
To set up your computer to print to a departmental or unit printer, please follow the instructions for Windows and Mac computers below. These instructions are only for setting up faculty or staff computers on campus to the department printers - not the lab printers.
Before adding the Ricoh printers, you must be wired-in via ethernet to the campus network or connected to eduroam. If you are off-campus, make sure you are connected via the University's virtual private network (VPN).
For technical difficulties, please raise a request to ETIS.
Note: ETIS does not provide support to any personal home/office printers.
| Printer name | Printer type | Printer location |
|---|---|---|
| env-deans-prt3 | Xerox VersaLink C7030 | EV1 347B |
| env-deans-prt4 | Xerox VersaLink B7035 | EV1 330 |
| env-ers-prt3 | Xerox AltaLink C8045 | EV2 2014 |
| env-gem-prt2 | Xerox VersaLink C7030 | EV1 319 |
| env-hrc-prt1 | Xerox VersaLink B405 | EV3 3232 |
| env-etis-prt2 | Xerox VersaLink C7030 | EV2 1008 |
| env-plan-prt2 | Xerox AltaLink B8045 | EV3 3207 |
| env-plan-prt4 | Xerox VersaLink C7030 | EV3 3207 (staff only) |
| env-seed-prt3 | Xerox VersaLink C7030 | EV3 4322 |
| env-cki-prt1 | Xerox VersaLink C7030 | EV1 204 |
Step-by-step guide
Downloading and Installing the Driver
Visit Xerox Support and Drivers website and download the appropriate driver for your printer.
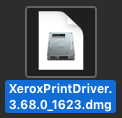
Once you've downloaded the driver onto your Mac computer, double-click on the "XeroxPrintDrive" Apple disk image file (.dmg file).
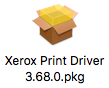
Double-click on the "Xerox Print Driver" Apple disk/driver file.

When the Xerox Print Driver window appears, double-click on the Xerox Print Driver package file (.pkg). Note: Do not select a printer during this process - just click "Continue".
Create the printer
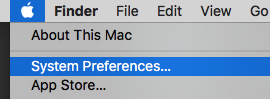
To create a printer, go to the System Preferences...located under the Apple Menu (on the top left).
Double-click on the Printers & Scanners icon.

Click on the plus
 sign to add a new printer. (If the lock at the bottom left of the window is locked, unlock it.)
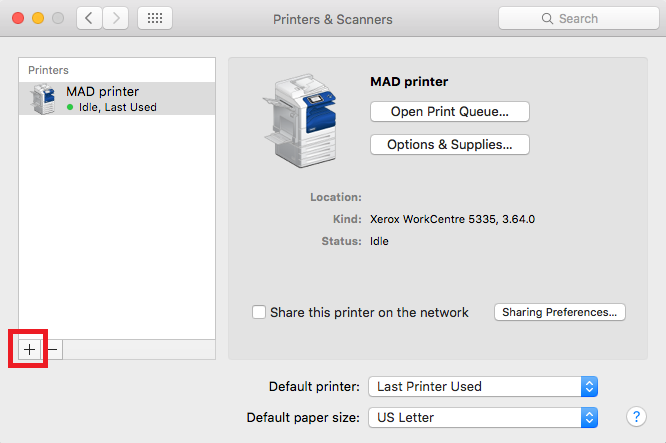
After the plus
sign the step above, the following window comes up with the default of advertised printers icon chosen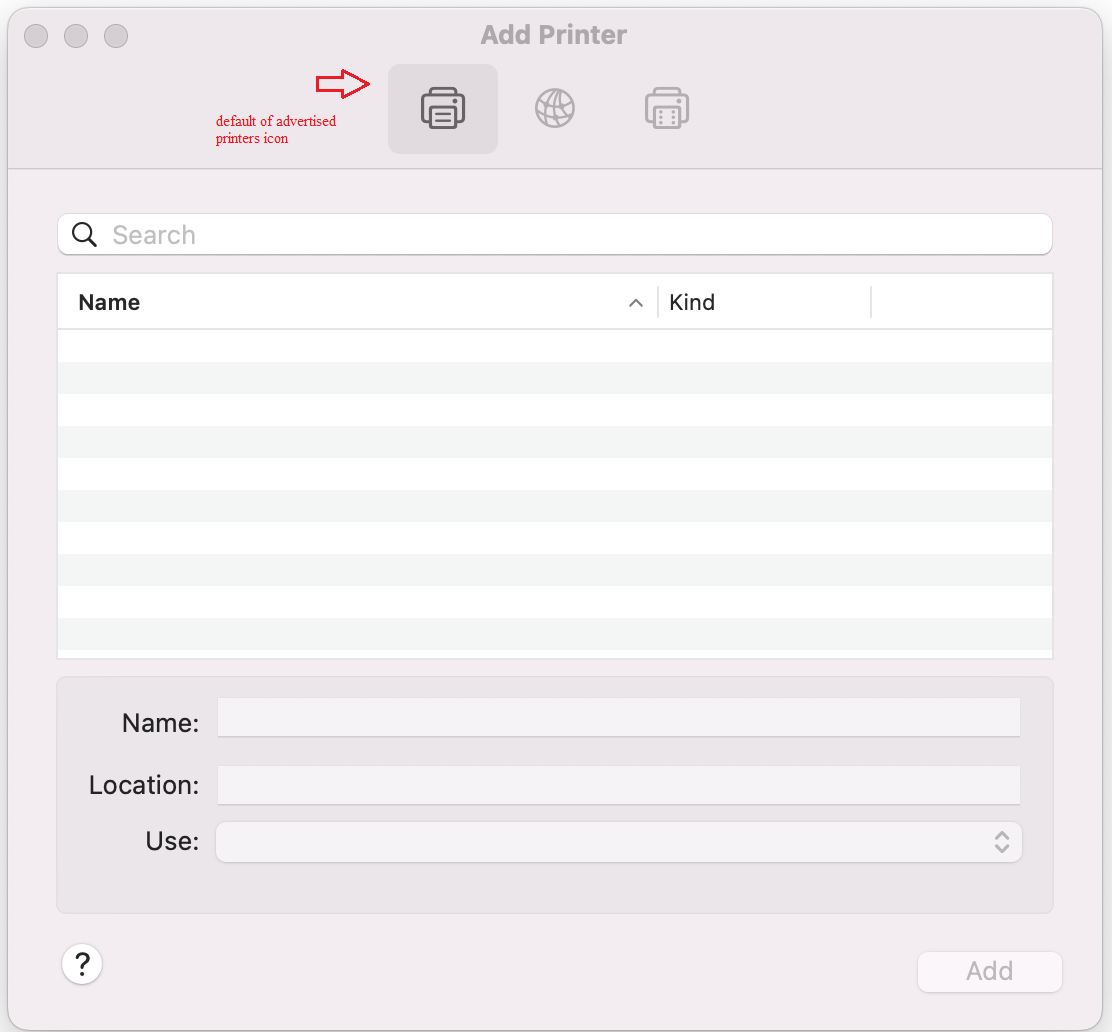
When you click on the Globe icon a window will open to allow you to specify the printer by its IP address. Complete the fields as shown:
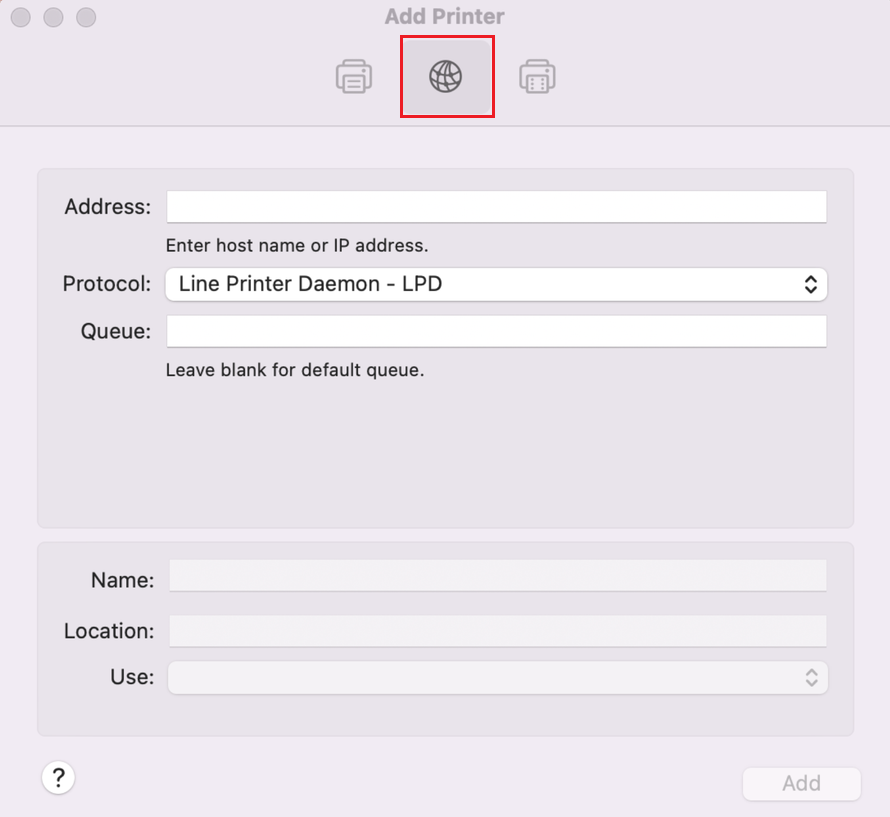
Address: printsrv.uwaterloo.ca
Protocol: Line Printer Daemon -- LPD
Queue: enter the official printer queue name (for eg: ist-ec2-4111)
Note: Please enter the queue name of the respective printer you are trying to add. It will vary from printer to printer
Name: enter the official queue name or some other name (using the official queue name will make troubleshooting easier).
Location (optional): enter the printer location (i.e. building and room).
Use: choose Select Software from the drop-down menu and locate the printer driver for your printer.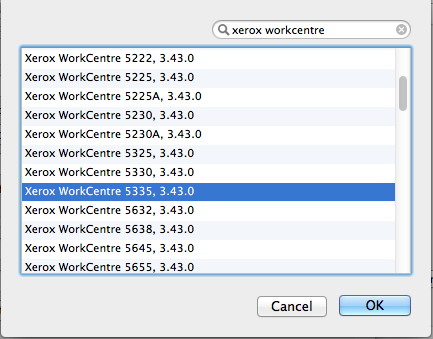
Click OK
6. click Add in the bottom right of the window
7. You may need to set some options for some printers.
8. Under the Default Printer field, you can choose to make this printer the default.
Removing old printers
Double-click on the Printers & Scanners icon.
Select the printer you'd like removed.
Click on the minus
 sign.
sign.
Related articles
Need help?
Contact the IST Service Desk online or 519-888-4567 ext. 44357.
Article feedback
If you’d like to share any feedback about this article, please let us know.
Use this guide to add a Xerox Printer / Copier as a printer on your managed computer.
Step-by-step guide
Adding a printer to a workstation
The following instructions assume you are connected to the Internet with a wired campus connection or through Eduroam.
Click Search (next to the Start button), type Run in the search bar, and then press Enter.
In the Run window, type \\printsrv, and then click OK.
Find your Xerox in the list using the Search printsrv box in top right hand side of window

Double-click on the printer to install.
Adding a printer to multiple workstations using Group Policy
What is Group Policy printing?
Group Policy printing automatically installs printers on PRINTSRV to department workstations. There are two ways to setup Group Policy printing. The first way to deploy printers to all of the workstations in a department. The second way is to deploy a group of printers to a security group of workstations.
Printer installation with Group Policy will map printers as \\nexprint\PrinterName instead of the usual \\printsrv\PrinterName. PRINTSRV is a DNS alias for the print server NEXPRINTSRV.
It is technically possible to deploy printers to users instead of workstations. Adding printers at user logon adds too much delay to the login process. It is much quicker to add printers to the computer Group Policy.
Department deployment
Department wide deployments work best when the entire department is in the same physical space and uses the same printers. All the requested department printers are in the group policy and workstations gets the same set of printers. Workstations Services will create a new Group Policy at the top of the department’s workstation OU. The group policy has a naming convention of AS – Department Name – Printing.
Selected workstations
This method works well for separating printers by department units or geographic locations. To target Group Policy Workstation Services creates security groups. Then either the department representative or Workstation Services places computers into the security groups. Workstation Services will make new Group Polices and apply them to the security groups. The group policy has a naming convention of AS – Department Name – Unit/Location Name - Printing.
How to get started
To get started with Group Policy printing Submit request to helpdesk@uwaterloo.ca. The next step is to get a group of test printers and workstations together to confirm it works as the departments wants.
Need help?
Contact the IST Service Desk online or 519-888-4567 ext. 44357.
Article feedback
If you’d like to share any feedback about this article, please let us know.
| Department | Printer name | Printer location |
|---|---|---|
| Dean's Office | env-deans-prt4 | EV1 330 |
| Dean's Office | env-deans-prt6 | EV1 108 |
| KI | env-cki-prt1 | EV1 204 |
| GEM | env-gem-prt2 | EV1 319 |
| SERS | env-ers-prt3 | EV2 2014 |
| PLAN (staff only) | env-plan-prt4 | EV3 3207 |
| PLAN | env-plan-prt4-bw | EV3 3207 |
| SEED | env-seed-prt3 | EV3 4322 |
| ETIS | env-etis-prt2 | EV2 1008 |
Windows
- Click Search (next to the Start button), type Run in the search bar, and then press Enter.
- In the Run window, type \\printsrv, and then click OK.
- Find your Ricoh in the list using the "Search printsrv" search bar at the top-right of the window.

- Double-click on the printer you want to add to install.
Mac
- Go to the "System Settings", and then "Printers & Scanners".

- Click on the old Xerox departmental printer, select "Remove Printer...", and click on the "Remove Printer" button.

- Download the Ricoh printer driver for your OS.

- Double-click on the .dmg file you just downloaded, and then double-click on the .pkg file.

- Complete the Ricoh installation wizard.

- Go to the "System Settings", "Printers & Scanners", and then "Add Printer, Scanner, or Fax...".

- Select "IP" (globe icon), set address to "printsrv.uwaterloo.ca", and protocol to "Line Printer Daemon - LDP".

- For queue, name and location, see the table above and enter the details of the printer you want to add.
- For use, choose "Select Software..." and select "RICOH IM C3010 PS".

- Click the "Add" button.
If you have technical issues, email env-jira@uwaterloo.ca. If you need help after hours or on the weekends, contact IST Service Desk.