This article explains how to install/enable and use the add-in.
Enabling Scheduling Poll (FindTime)
Once the add-in has been enabled through Outlook for the Web as described here, it becomes available in the Outlook desktop app.
In your browser log into microsoft365.com using your 8-character UWaterloo username@uwaterloo.ca (i.e. myuserna@uwaterloo.ca)
Click on the waffle menu icon at the top left to open up the App launcher

Click on the All Apps option

Click on Add-Ins

Search for FindTime and click on it in the drop-down of the search bar and then Click on the Get it now button

You will be prompted to login, if not already logged in.
You will see a screen to confirm that FindTime has been successfully added.
Using Scheduling Poll (FindTime) with your calendar
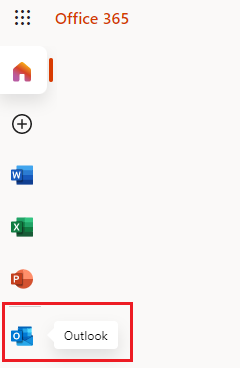
Log in to the Outlook web app (OWA) via microsoft365.com using your 8-character UWaterloo username@uwaterloo.ca (i.e. myuserna@uwaterloo.ca)
Launch Outlook by clicking on its icon in the left-hand menu and then choose the calendar icon:

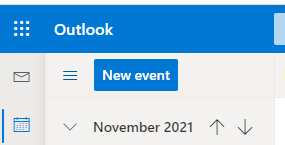
3. Click on New Event and then click on the ellipses '…' on the right-hand side:

4. Once clicking on the Scheduling poll, it will ask you to select participants first.

In the Desktop app you will see the Add-In in the top menu:

5. The following dialogue menu will be shown to the right of your new event showing the availability of the participants:

For more information about Scheduling Poll please refer to Scheduling Poll– The easiest way to schedule across companies .
Related articles
Need help?
Contact the IST Service Desk online or 519-888-4567 ext. 44357.
Article feedback
If you’d like to share any feedback about this article, please let us know.