Step 1: Retrieving your recording links for sharing
Log in to uwaterloo.zoom.us with your University of Waterloo credentials (i.e. your 8-character UWaterloo username and password)
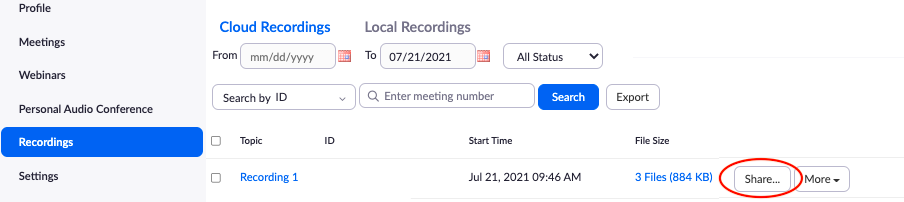
In the navigation menu, click Recordings
Scroll to find the desired recording and click Share
Customize the recording settings to fit your needs
In the Share this recording tab, select Who can view.
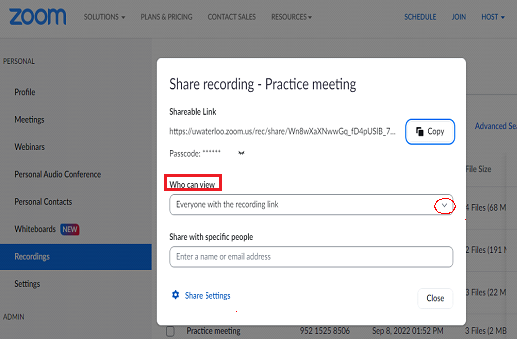
Choose one of the options from the drop-down menu:Everyone with the recording link (Recommended)
Signed-in users in my account
Nobody else can view
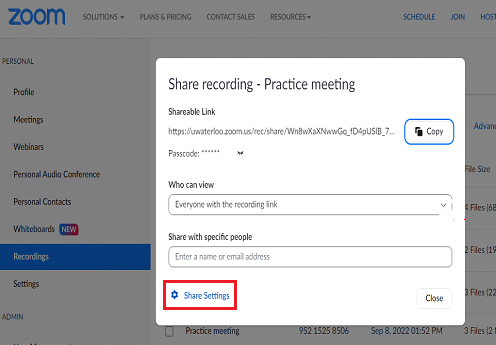
Click Share Settings to customize how you would like to set up your sharing.
Set expiration date: check the box and specify the date that the recording will stop being available to others
Viewers can download: check the box to enable
Viewers can see transcript: check the box to enable
Viewers need to register to watch: leave the box unchecked
Passcode: leave box unchecked. (We do not recommend setting a passcode. If a passcode is set, you must remember to share that passcode with students).
The recommended settings are shown below: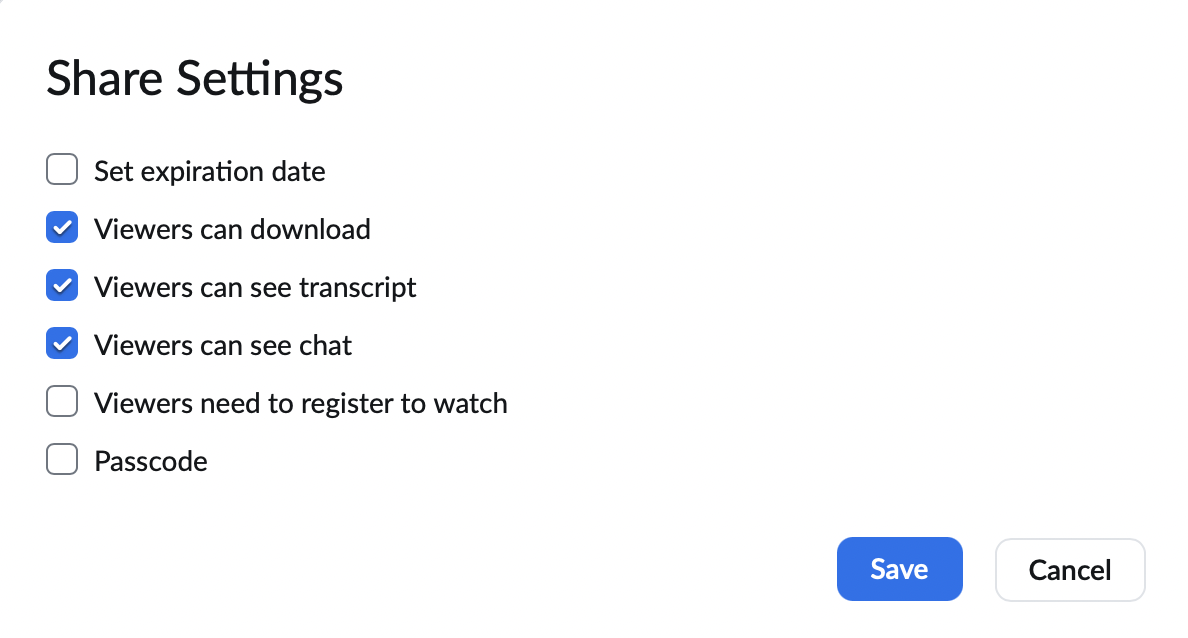
Click Save when finished customizing your settings
To share click Copy (once clicked it will now say Copied).

Step 2: Posting Recordings link in LEARN
...
Add the Recording link to LEARN in the Content section (Recommended)
Log in to LEARN, navigate to your course, and click Content
Click the Module to which you want to add the recording
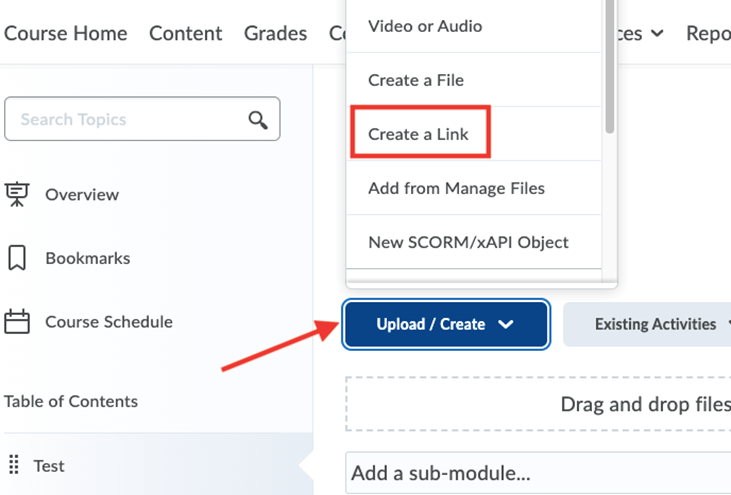
Click the blue Upload/Create button and choose Create a Link from the dropdown list
...
In the Content section, enter a title for the link and paste the URL copied in Step 1 B. vii above.
Click the box called Open as External Resource
Click Create
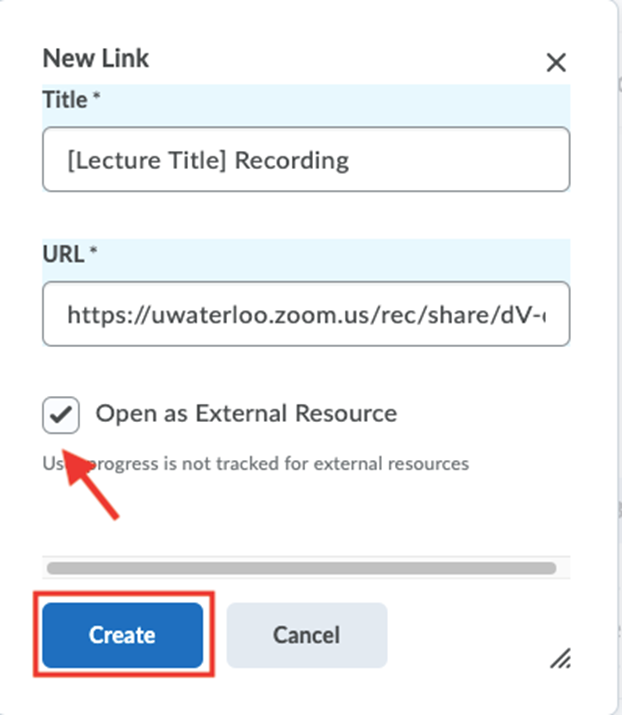
In the dialogue box above, give your recording a title and paste the link you copied in Step 1 B. vii in the URL box
Ensure that you have provided your students with the passcode (if this option was chosen in Step1)
Post the recording link as an announcement
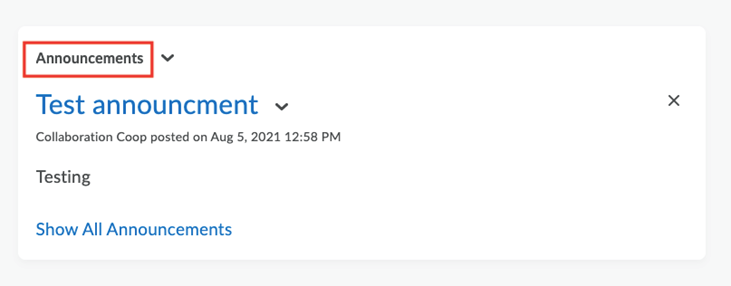
Log in to LEARN, navigate to your course, and click the Announcements link on the homepage.
...
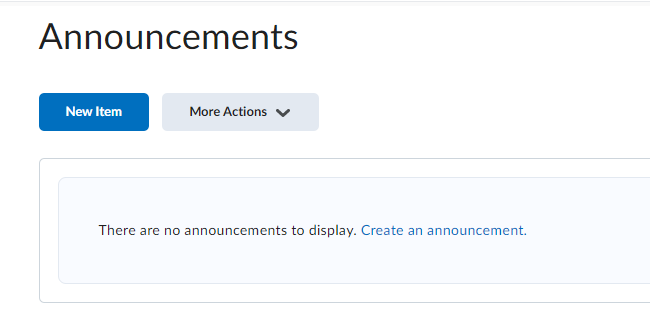
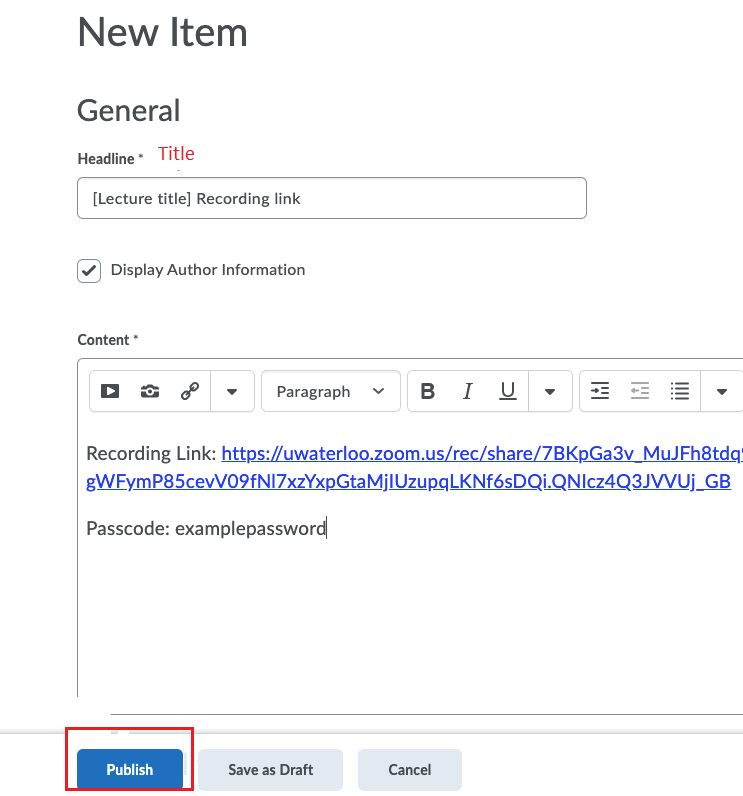
On the Announcements page, click the blue New Item button
Enter a title for the Announcement (It is recommended to use the lecture name, or subject/topic).
In the content section, paste the link from the above steps and the passcode (if applicable).
Click the blue Publish button at the bottom of the page.
Related articles
| Filter by label (Content by label) | ||||||||||||||
|---|---|---|---|---|---|---|---|---|---|---|---|---|---|---|
|
...
| Tip |
|---|
Article feedbackIf you’d like to share any feedback about this article, please let us know. |