A checklist is a way to highlight important or required assignments, readings, or other items to complete. A checklist may list all the items that need to be completed or it may have items appear as other items are checked off. Each checklist contains one or more categories, into which checklist items are organized.
Creating a Checklist
Select Resources from the course navbar.
Select Checklists from the drop-down menu.
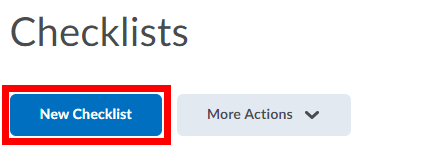
Click the New Checklist button.
Enter a Name for the checklist. Enter a Description (optional).
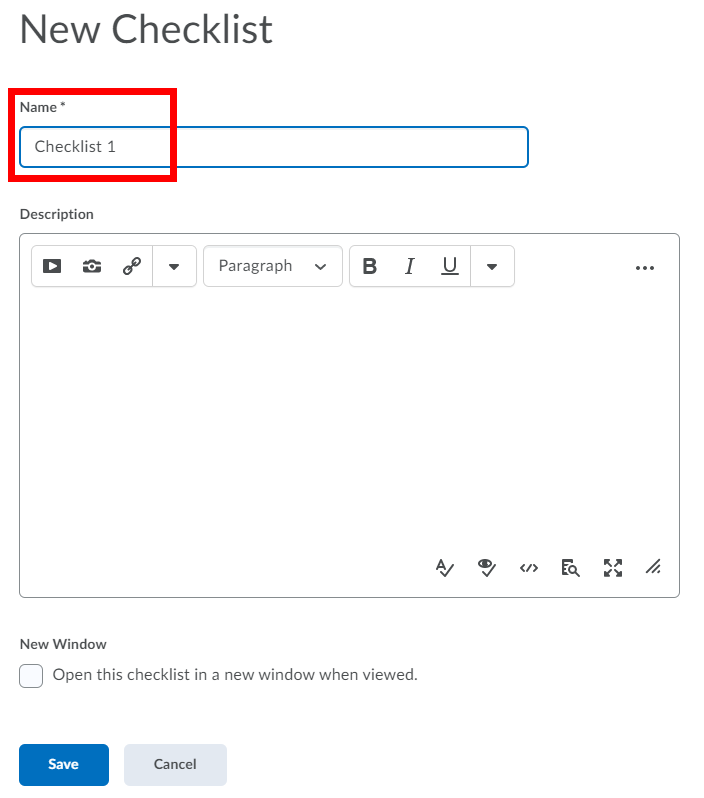
Click the Save button. This will bring you to the Edit Checklist page.
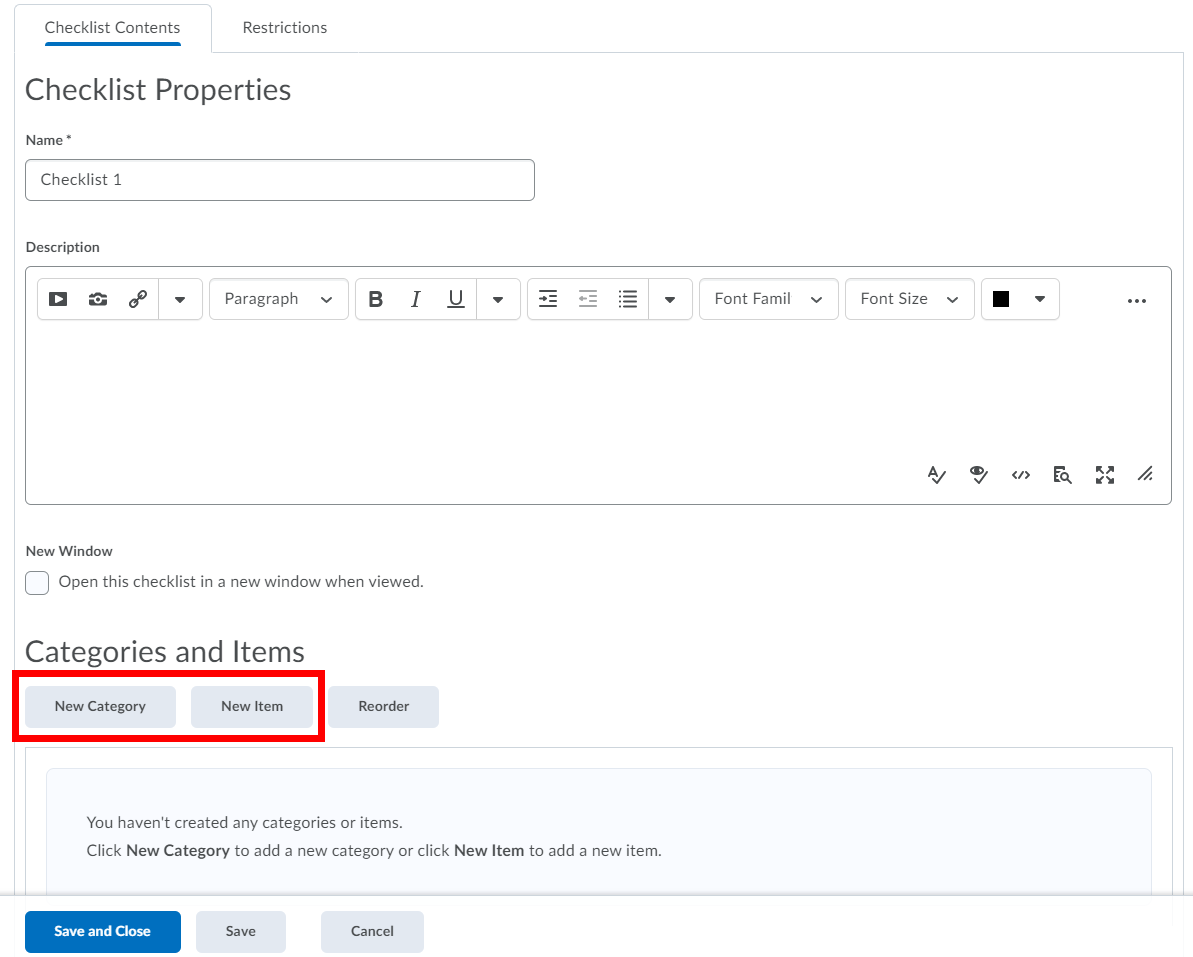
Each Item you create must belong to a category. Click either the New Category or the New Item button. You can create a category from the New Item page.
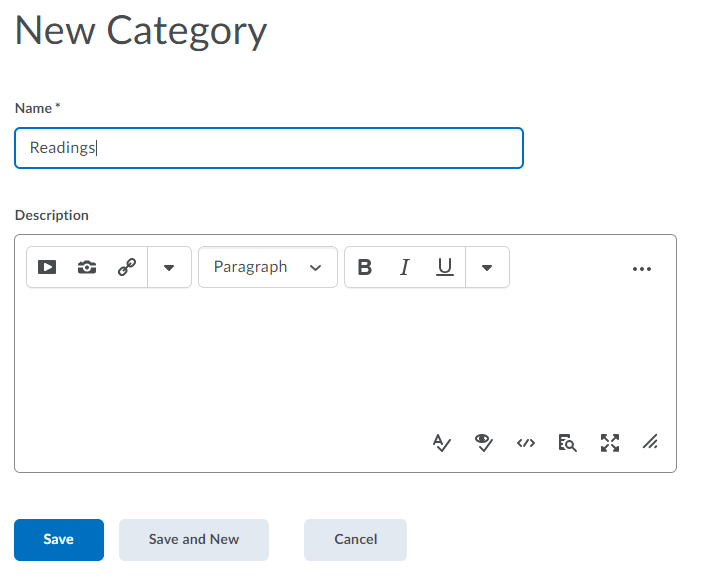
On the New Category page, enter a Name and click Save to save the category or Save and New to save it and begin creating a new category.
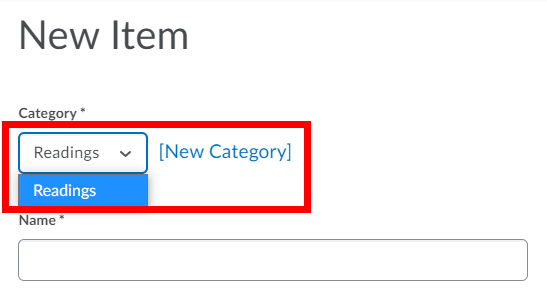
On the New Item page, do one of the following: Select a category for the item in the Category drop-down list or select the New Category link to add a new category.
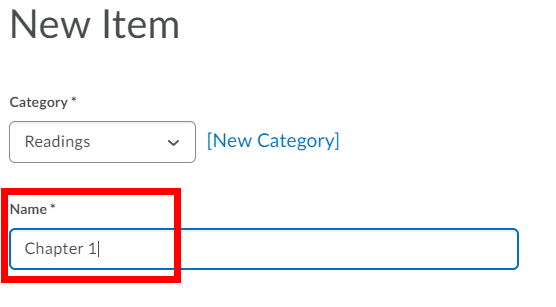
Enter a Name and enter a Description (optional).
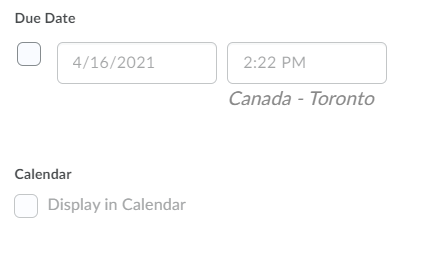
Set a due date (optional) by selecting the Due Date check box and selecting the appropriate date and time. Select the Calendar check box to display the item in the calendar.
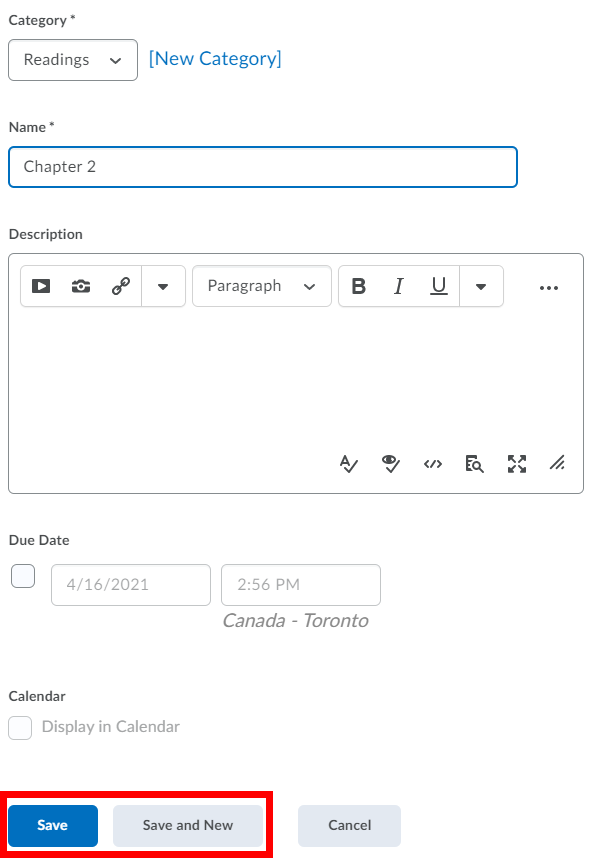
Select Save to save the new item or Save and New to save it and begin creating another one.
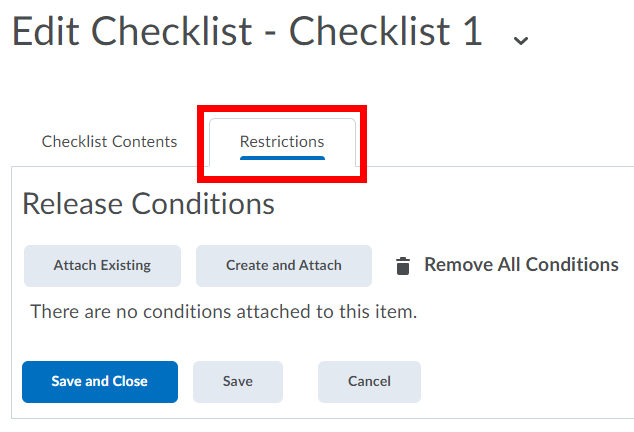
On the Edit Checklist page, select the Restrictions tab to add Release Conditions to the checklist (optional). Click Save and Close to return to the list of checklists or Save to continue editing the checklist. See Release Conditions for detailed information.
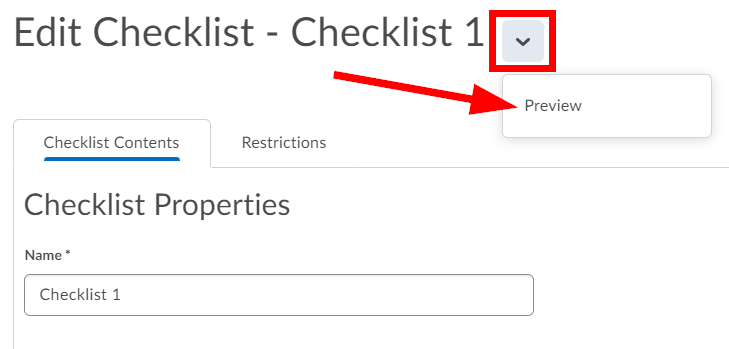
To preview the checklist, click the down arrow beside the Checklist name and select Preview.
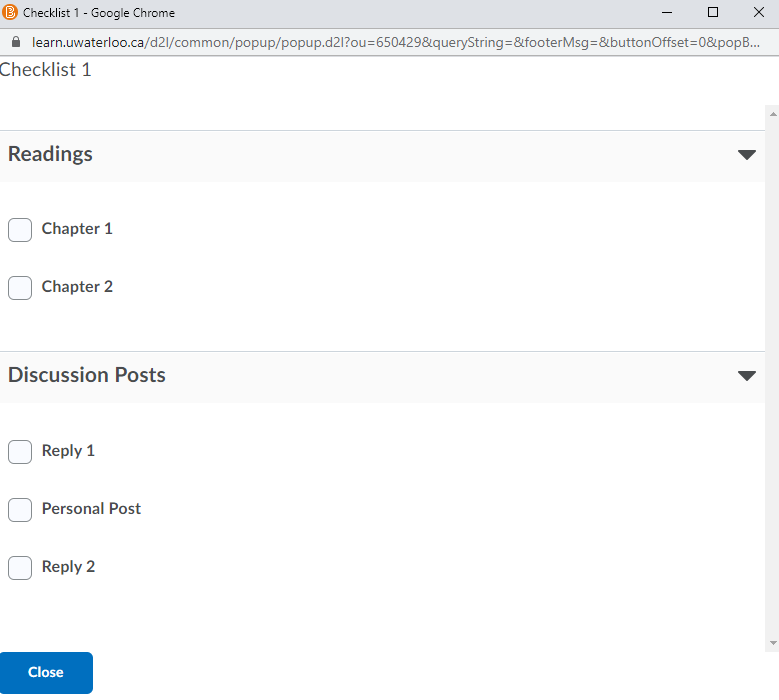
The Checklist preview will open in a new window. Once done, click the Close button.
Click Save and Close or Save.
...
| Filter by label (Content by label) | ||||||
|---|---|---|---|---|---|---|
|
...