In the event that you have set up your Windows 10 Education computer using your school (UWaterloo) account rather than a personal account, and you would like to remove your school account, you can do so by moving all of your files over from your school user account to your personal account.
| Info |
|---|
If you already have a personal account set up on the device, you can log in to your personal account and skip to Step 8 to move your files over from your school account to your personal account |
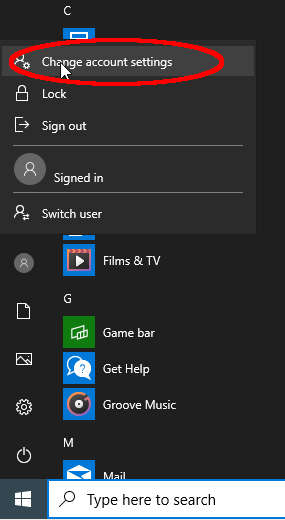
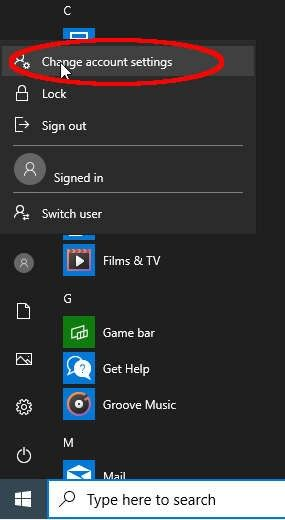
Adding a new personal user account: On your computer, open the Start Menu, click the user icon, then select Change account settings from the menu.
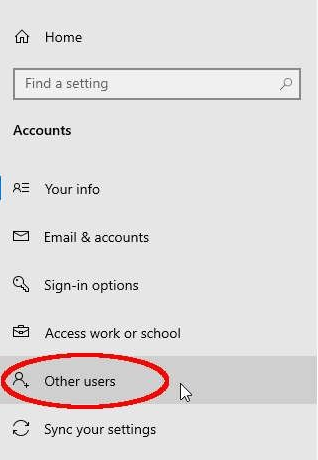
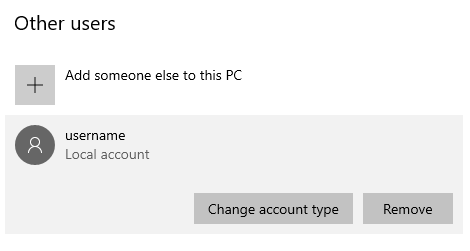
From the window that pops up, click on Other users

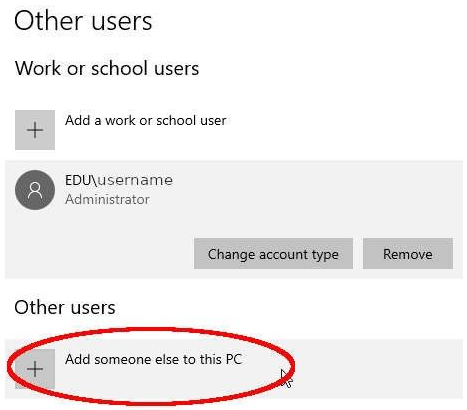
In the Other users screen, choose Add someone else to this PC

In the window that appears, you can either:
Sign in with your personal Microsoft account: follow the prompts on-screen to add it as a user on the computer.
Sign in with a Local Account:
Click on I don't have this person's sign-in info
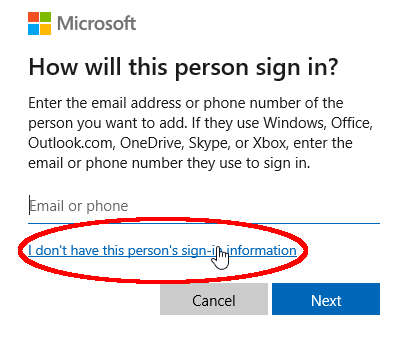
Follow the on-screen prompts to set up a username and password, as well as recovery questions.
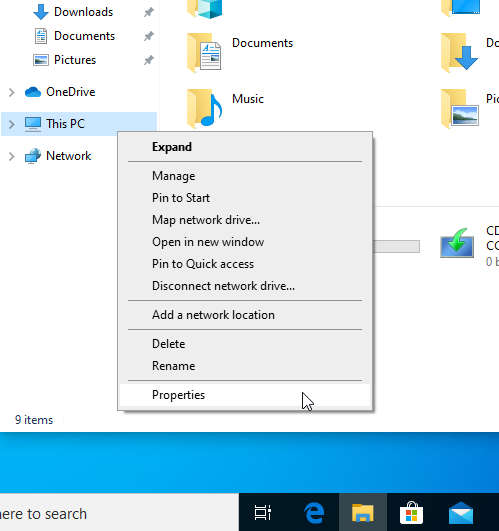
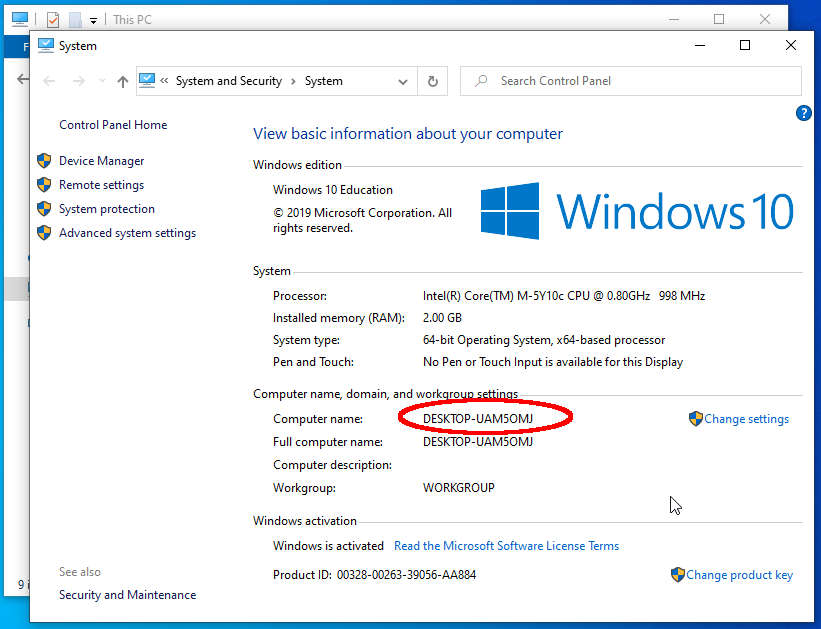
You will also need to get the computer name. Open File Explorer, right click on This PC, then select Properties. The computer name should be listed in the window that pops up. Write it down, as you will need to reference it the first time you log in with your local account.

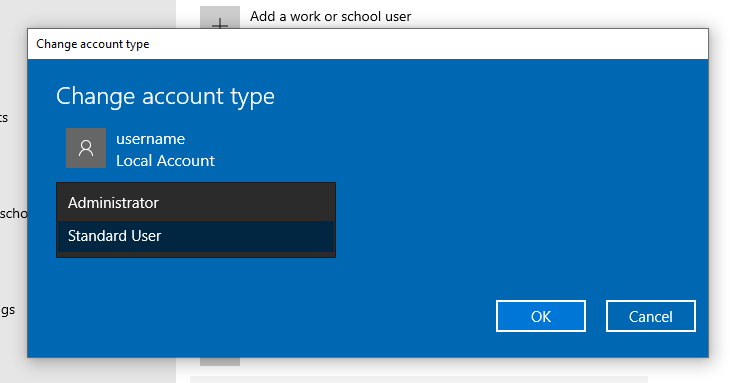
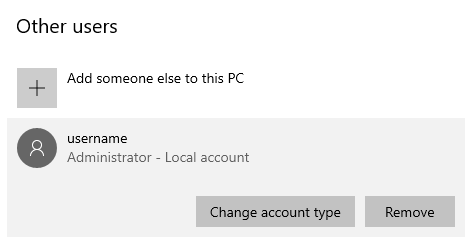
5. Your account should now show up in the users list. Click on Change account type and select Administrator from the drop-down menu in the popup, the click OK. Your new account should now be listed as Administrator
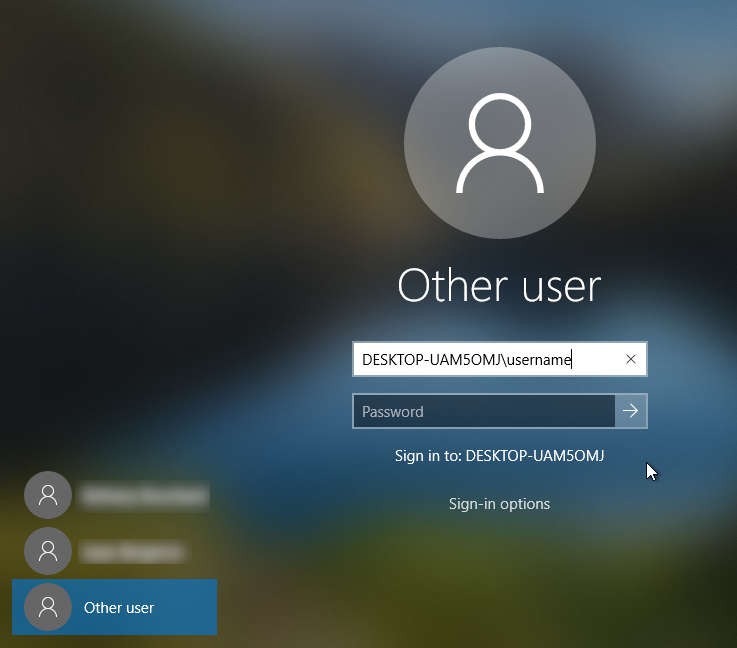
6. Click on the start menu, click on the user icon, then select Sign Out. On the lock screen, select your new account, and log in. If the new account is not listed, click on Other user and use the following credentials to log in: to your personal account:
a. Microsoft Account: The email and password associated with the account
b. Local Account: Computer Name\username, where Computer Name is the name of your computer, and username is the username you set earlier.
7. Follow the on-screen prompts to set up your new account. If you have used this account to sign into a Windows computer before, it may set up automatically.
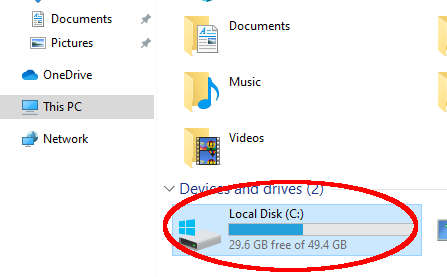
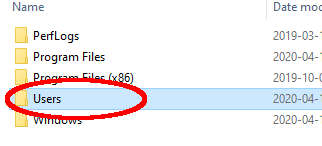
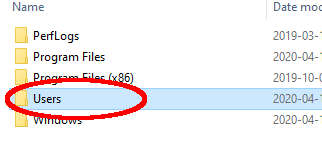
8. Moving your files over to your personal account: Once your account is set up, you can begin moving files over to your personal account. Open File Explorer and click on My Computer > Local Disk (C:) > Users > UWaterloo Username

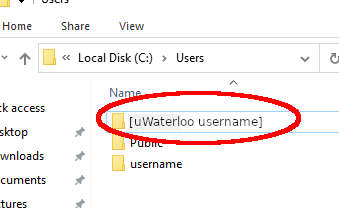

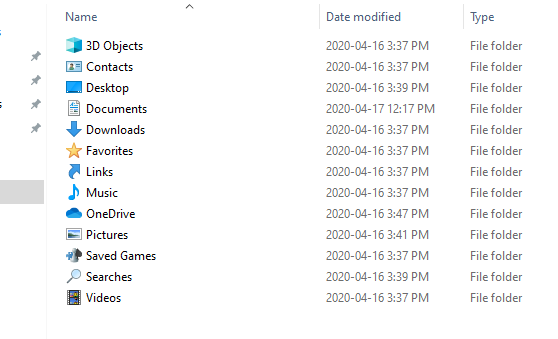
9. You will be prompted to give administrative permission to access your school account. Click Continue to get access. You should now see several folders, including Documents, Downloads, and Pictures.
10. Select all of the folders in this folder by pressing Ctrl+A, then copy them with Ctrl+C.
11. Click the back button in the top left corner of File Explorer to go back to your Users folder.


12. Click on the username of your new personal account. You should now see several folders, including Documents, Downloads, and Pictures.
13. Press Ctrl+V to paste the copied files and folders from your School account into your personal account. You will get a prompt about files with the same names.
| Note |
|---|
Ensure that you select the right option based on your account. Choosing the wrong option may result in loss of data. |
a. If you have set up a brand-new personal account with no saved files, you can choose Replace the files in the destination
b. If you already use this personal account on your computer, you may want to choose Let me decide for each file to make sure that you are not replacing any files that you use regularly. You can also choose Skip these files, but you may miss some files from your school user account.
14. Once the copy operation completes successfully, close File Explorer and then reopen it, and click on Documents, Pictures, etc. to confirm that all of your files have successfully been copied to this user.
You will now have successfully copied over your documents from your School account to your personal account.
| Filter by label (Content by label) | ||||||||||
|---|---|---|---|---|---|---|---|---|---|---|
|
| Info |
|---|
Need help?Contact the IST Service Desk online or 519-888-4567 ext. 44357. |
| Tip |
|---|
Article feedbackIf you’d like to share any feedback about this article, please let us know. |