...
The Survey tool can be accessed from the Submit drop-down menu in the course navbar.
Table Of Contents:
...
Select Submit from the course navbar.
Select Surveys.

Click the New Survey button to create a new survey.
Survey properties
The properties tab displays by default when you create or edit a survey.
Enter a Name for the survey.
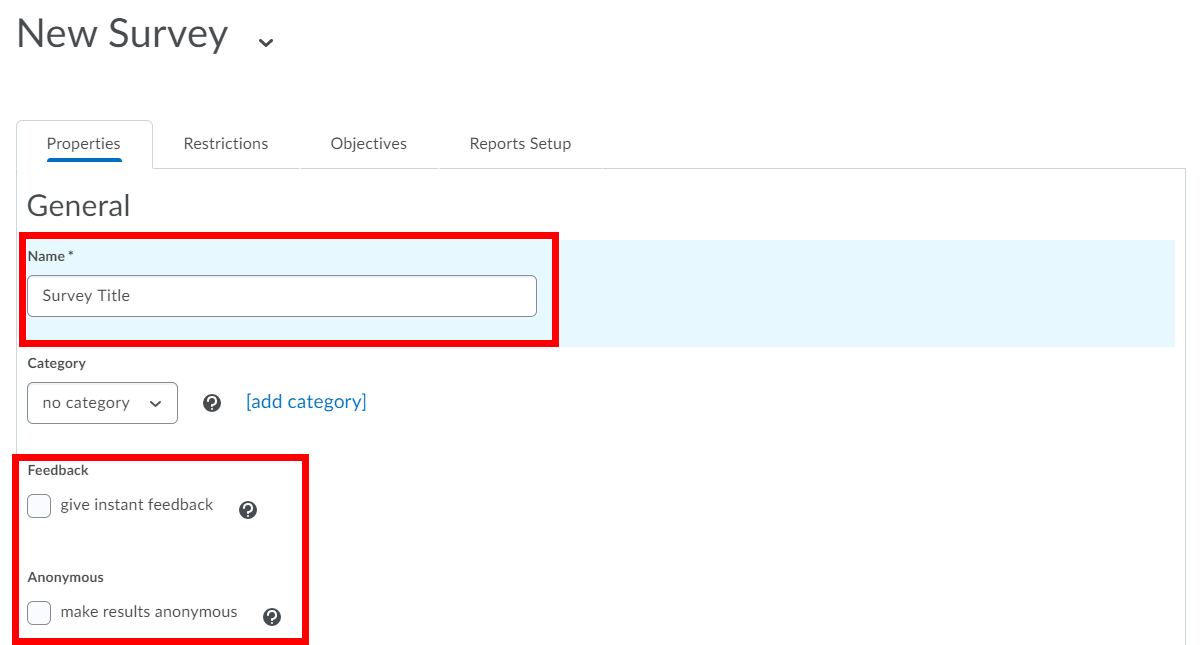
Give instant feedback option will remove the Submit option from a non-editable survey. Any feedback entered for a question is instantly available to a user taking the survey.
Make results anonymous option to hide user data in survey results. The responses to survey questions will be available to course Instructors and users with TA Level 4 access but the system does not report who submitted each response. It is not possible to have anonymous surveys if there are any release conditions.
Under Description/Submission Message you can add a Description which is shown at the top of the survey and/or a Submission Message which is shown a the bottom of a survey.
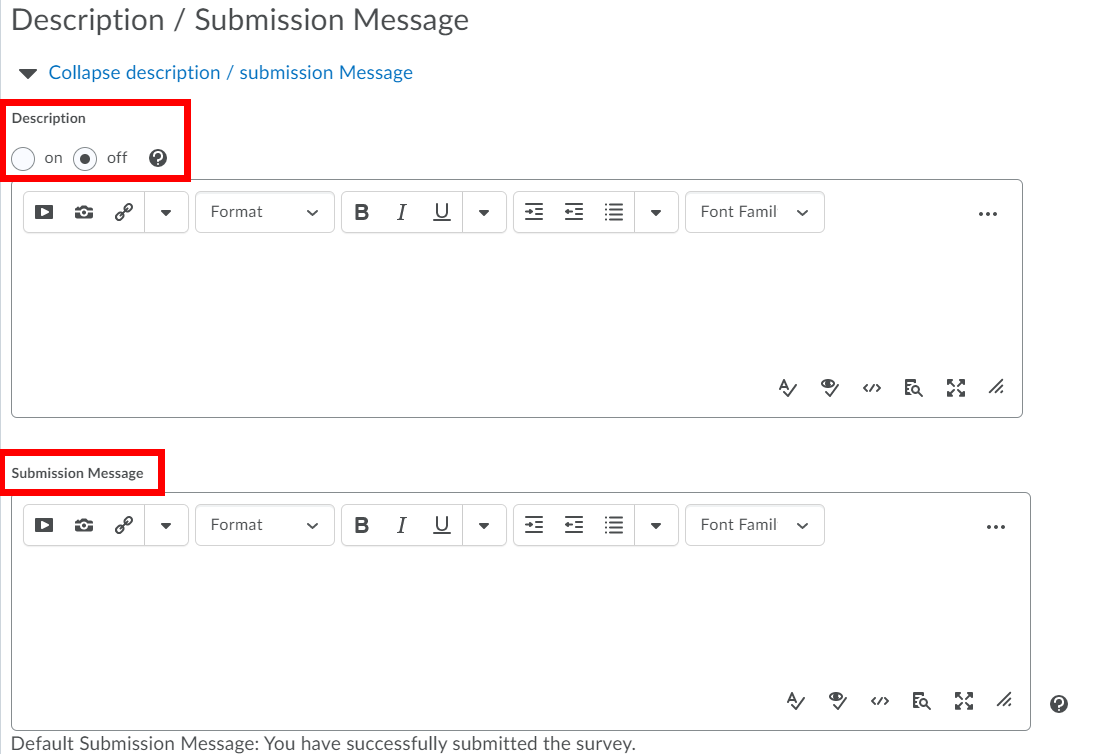
To add a Description select the on radio button and enter it in the text field.
To add a Submission Message enter it in the text field. The default submission message is “You have successfully submitted the survey.”
Under Page footer, you can add a footer which is shown at the bottom of the survey. To add one select the on radio button and enter the footer in the text field.
Survey Availability
...
Select the Restrictions tab of the survey.
By default, Hide from Users is checked and needs to be unchecked for the availability dates to be honoured. It is recommended that Hide from Users is unchecked upon completion of the survey details (questions etc).
Set Start and End Dates to make the survey available during the specified time period.
Select Display in Calendar if you want the survey start and end date to appear in students' calendars.
If you would like to add Release Conditions select Attach Existing or Create and Attach. Detailed information can be found in the Release Conditions documentation.
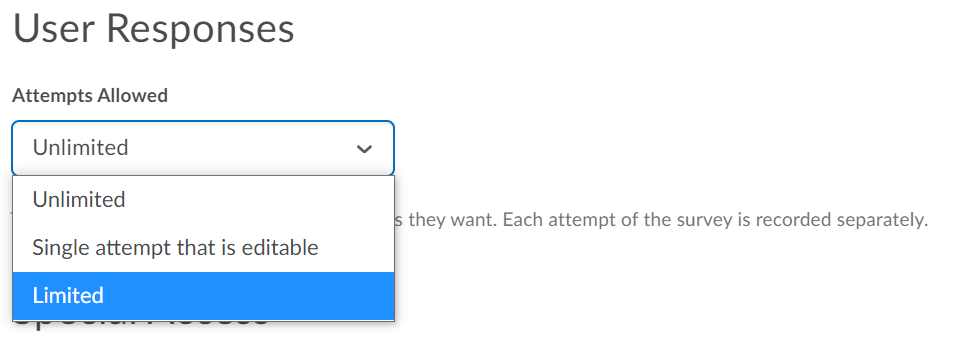
Select how many times a user can take the survey using the Attempts Allowed drop-down list.
Use the Special Access feature to override the availability settings of a survey for specific individuals, or to restrict a survey only to identified users. See the Special Access documentation for detailed information.
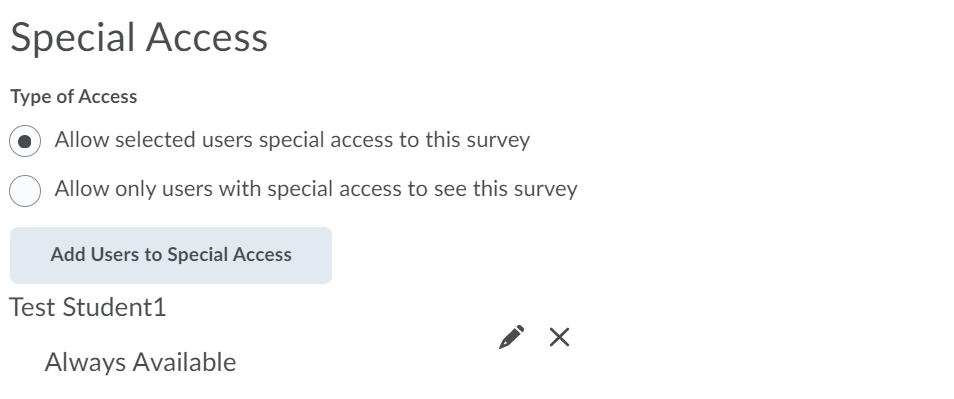
Select either Allow selected users special access to this survey or, Allow only users with special access to see this survey.
Click Add Users to Special Access.
If you want to make the survey available to selected users during a special time period, enter a Start Date and/or End Date in the Availability section.
Select the checkboxes beside the users you want to assign special access to.
Click the Add Special Access button.
...