This article includes:
| Table of Contents | ||||||||||||||||||
|---|---|---|---|---|---|---|---|---|---|---|---|---|---|---|---|---|---|---|
|
| Info |
|---|
|
Note: Final exams that are scheduled and administered by the Registrar’s Office must go through Odyssey in order to have the printing costs covered. This includes exams using Crowdmark
NEED HELP?? If at any time while working through these steps you need assistance, please reach out to Exam Printing and Scheduling (Odyssey) Support Request - Jira Service Management (atlassian.net)
| Info |
|---|
Ensure your class roster is updated before uploading grades to Learn. |
How does Odyssey work with Crowdmark?
creates a Crowdmark account for the instructor (if one does not exist)
creates the course, enrolls students, adds co-instructors as Facilitators
creates an administered assessment eg. “Fall 2022 MATH 128 Final Examination” in the course “Fall 2022 MATH 128”
uploads a blank exam template to Crowdmark with the same number of pages as the exam master to generate a file of uniquely QR-coded blank booklets
prints a cover page and the exam master is uploaded to Odyssey onto the blank QR-coded booklets
matches students to booklets in Crowdmark if assigned seating is selected (students will need to be manually matched to booklets in Crowdmark if assigned seating is not used)
Creating an assessment (ie. midterm, test, quiz)
Log in to https://odyssey.uwaterloo.ca/teaching/ using your 8-character UWaterloo username@uwaterloo.ca (i.e. myuserna@uwaterloo.ca)
These steps need to be completed for each assessment in your course. (For more information on master preparation please refer to https://uwaterloo.ca/odyssey/instruct/exams/preparation )
Navigate to the My Course Offerings heading where your courses are grouped by the term offered. (If your course is not shown, contact Odyssey support.)
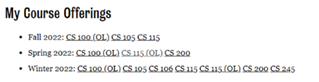
Right-click on the course, then click open in a new tab. You’ll see two tabs in your browser. Click on the course tab to view.

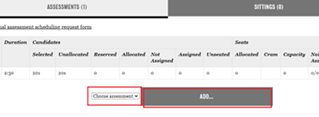
Scroll down to select an assessment type from the Choose assessment drop-down menu. Click on the Add…. button.
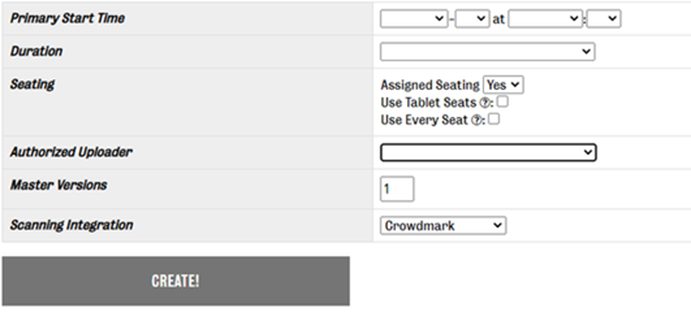
Complete and confirm all the fields shown. Click Create!
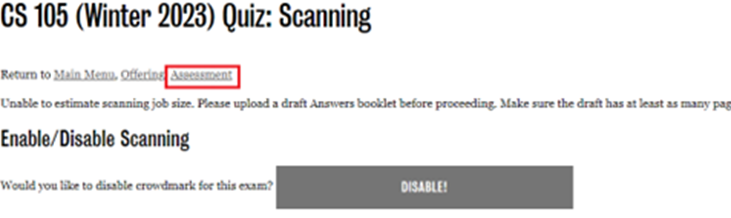
Note: If using Crowdmark, once you click Create! you will be directed to the Scanning page indicating the assessment needs to be uploaded before more options are available and giving the option to Disable.
For more details regarding Scanning, please see the Scanning/Uploading section below.
Click Assessment at the top of the page.
On the General Information page, scroll to Rooms & Seats.
Choose building from the Add rooms in drop-down menu.
Click Add…
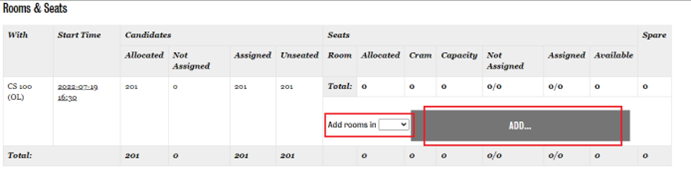
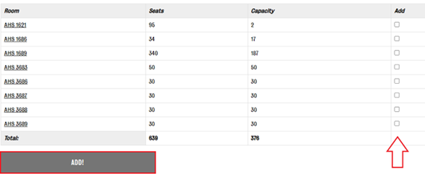
Choose the room by clicking the box under the Add column. Click Add!
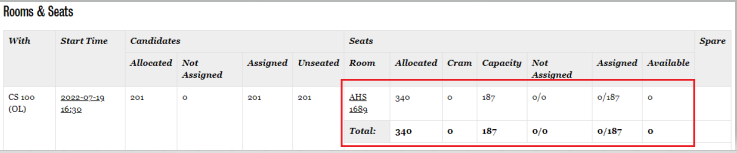
Complete steps 6-9 for each building for which you have prebooked rooms
10. Once the rooms have been added, you will see them on the Room & Seats table.
Note: If you are making student accommodations by adding an additional sitting use the section indicated below. Remember to add the prebooked room information to the additional sitting.
11. Once all the rooms have been added, proceed to the section on Exam printing
Verify the schedule of your exam(s)/assessment(s)
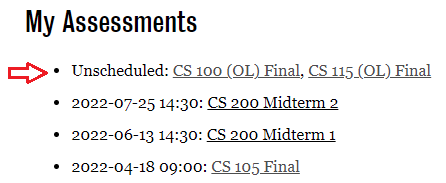
From the Main Menu scroll down to the My Assessments heading
Exams are grouped by their scheduled date and time if the exam schedule has been generated.
If the exam schedule has not been generated, the heading will indicate Unscheduled
Right-click on the course, then click open in a new tab. Click on the course tab to see the General Information page.

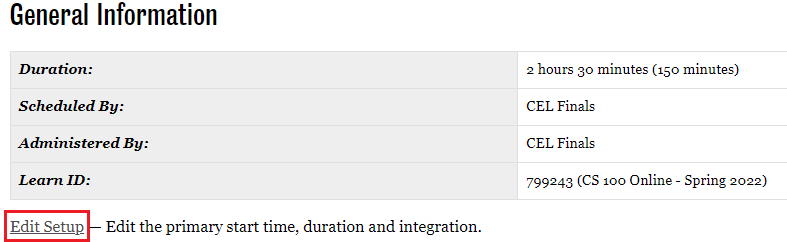
If the General Information details show the correct date, time and duration of your exam and you are using assigned seating, proceed to Seating assignments
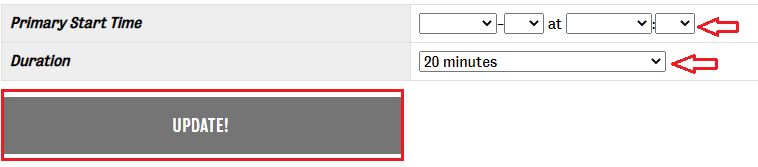
If the General Information details show the correct date, time and duration of your exam and are not using assigned seating, proceed to Exam printing.If the General Information details do not show the correct date, time and duration Click Edit Setup and edit as outlined below:
Complete Primary Start Time and Duration from dropdown boxes
Click Update
Seating assignments
If using assigned seating click Edit Seating and complete the Seating section and then click Update!
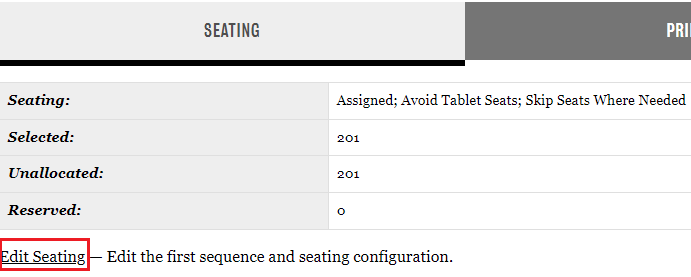
Note: In most cases, you will only complete the Assigned Seating with a “Yes” or “No” dropdown box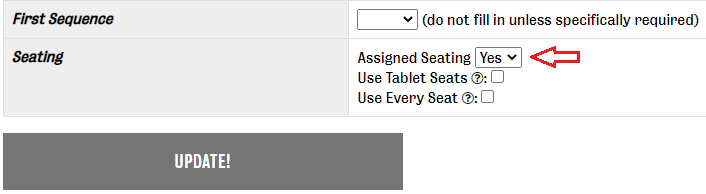
If you selected Yes for Assigned Seating please note that the seats are assigned randomly. If you would prefer something other than random seating, click on Edit Assignment Order in the Seating tab under the Seat & Sequence Assignment Order heading.
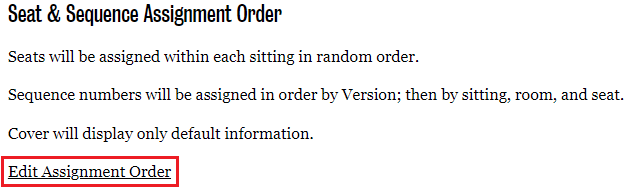
Click the dropdown arrow in the Insert new sort key field and make a selection from the dropdown box and click Insert!

Special Cases (i.e. students clearing an INC from a previous term)
If you have students that need to write an assessment from a previous term, click Special Cases and provide the information as outlined below:
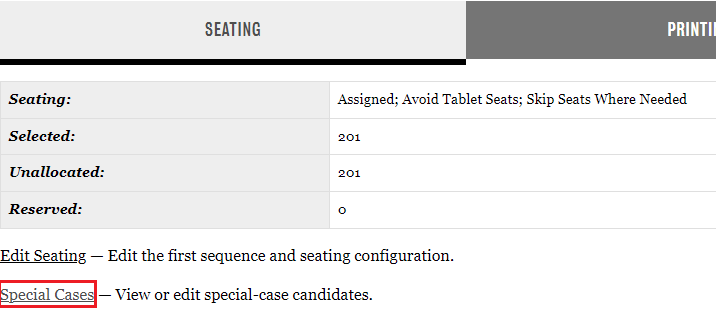
Click Select Extra Candidates…
Follow the instructions and click Next…
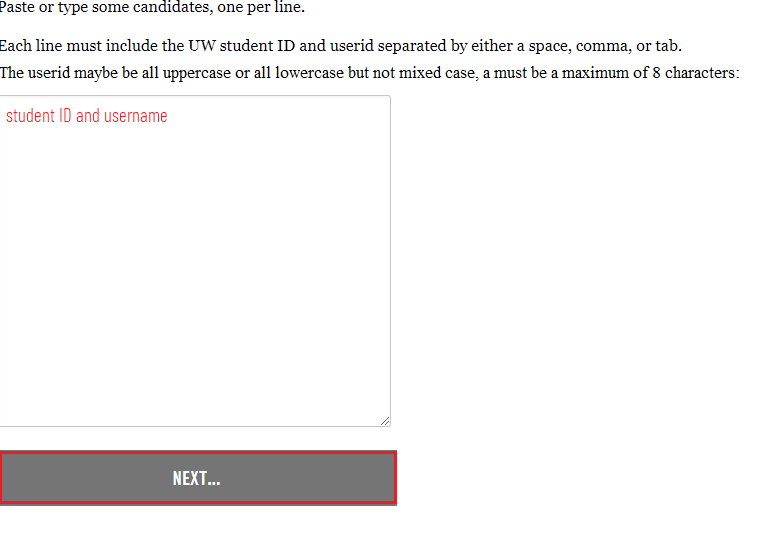
On the Select Extra Candidates… page the student’s name should appear in the UW ID column
If correct click the Select # Candidate! button
Click Assessment to go back to the General Information page
Exam printing
Click the Printing heading (second tab) on the General Information page
Do you have more than one version of your exam?
-If yes, continue to the Master versions section
-If no, continue to the Permitted aids section
Master versions
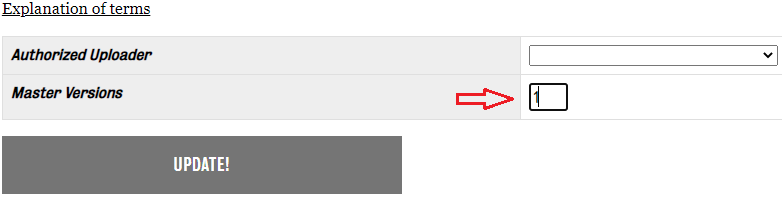
If there is more than one exam version, make sure the Master Versions number in Odyssey are correct.
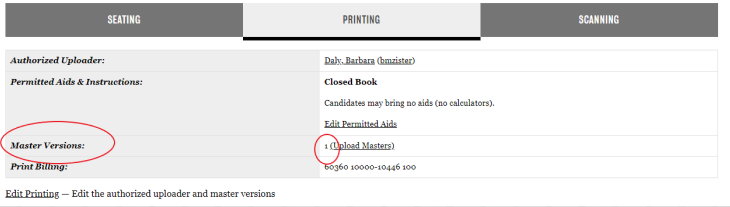
-If the Master Versions number is correct, proceed to the next section
-If the Master Versions number is incorrect, click Edit Printing- and update the number of master versions then click Update!
Note: Multiple versions will be alternated for the entire class. This is done automatically if not specified otherwise.
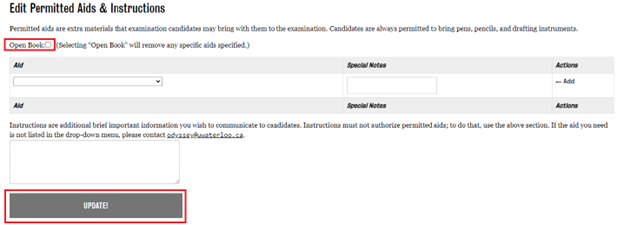
Permitted aids
Click the Printing tab then click Edit Permitted Aids to indicate the aids students are permitted to use during the exam

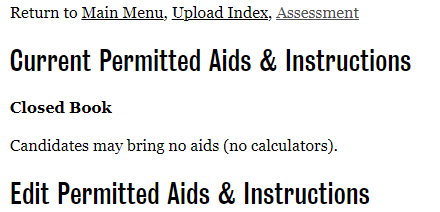
If no aids are permitted leave the Aid dropdown box blank and you must click the Update! button for it to take effect
Once updated you will see “Closed Book” under “Current Permitted Aids & Instructions”
If aids are permitted, use the Aid dropdown box to add each aid allowed and click Update!

Note: These are entered one at a time by selecting from the dropdown menu options and clicking Update! After adding each one (a new dropdown box will appear each time you click Update!). The Special Notes box can be used to indicate specific information such as which textbook name or pages are permitted if that is an aid you chose.
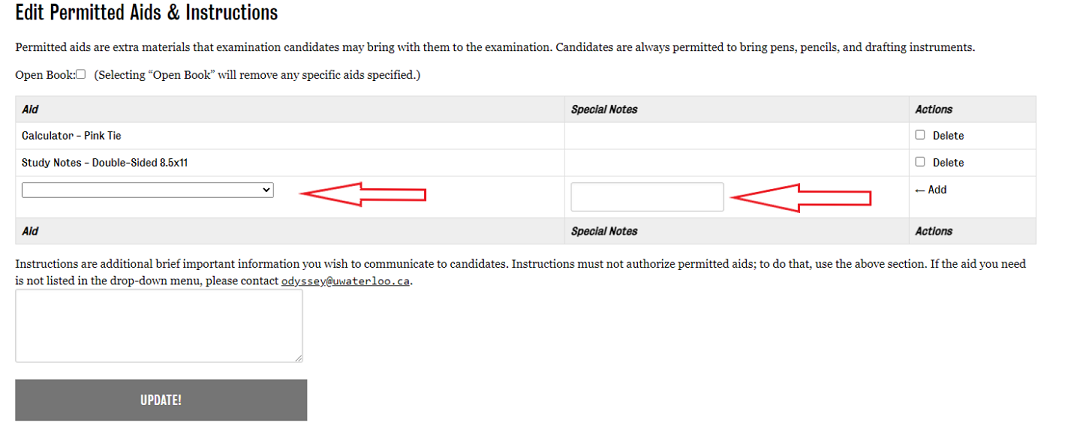
If it is an Open Book Exam click the box beside Open Book and then click Update!
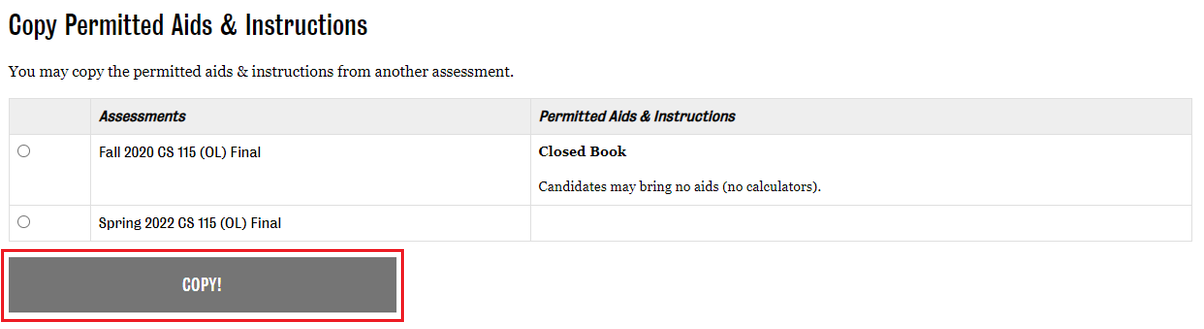
You could also select a past term’s aids by scrolling to the bottom and clicking the radio button beside that term. This will copy the aids from that term to the current term when you click Copy!
Once the permitted aids are updated click Assessment to take you back to the General Information page
Scanning/uploading
Click the Printing tab then click Upload Masters (depending what screen you are on you may need to click Assessment at the top of the page to go back to the General Information page
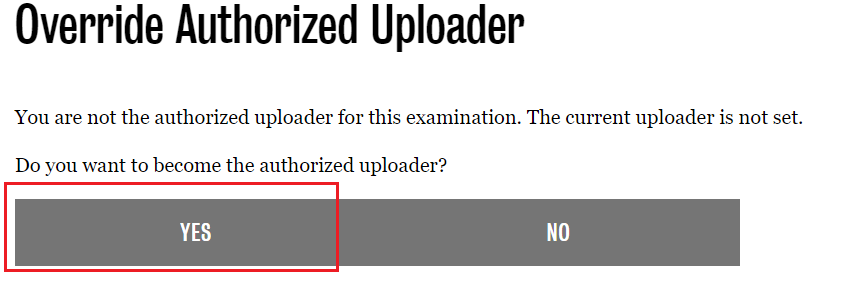
If you are not listed as the Authorized Uploader, you will be prompted to a page that asks if you want to override the Authorized Uploader. Click Yes
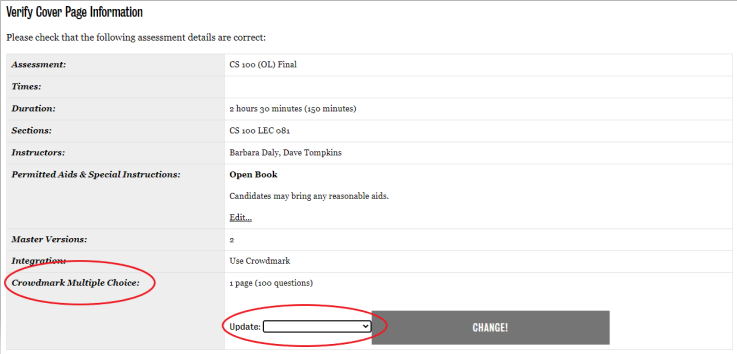
If using Crowdmark make a selection Crowdmark Multiple Choice by choosing from the dropdown box and click Change!
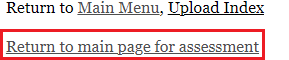
If you do not plan to use Crowdmark you will need to go back to the General Information page tab (click Return to the main page for assessment). Click Scanning heading (third tab) then click Edit Scanning

At the bottom of the screen, it gives the option to “Disable!” or “Enable! Crowdmark

Note:If you left the Printing tab click Assessment at the top to return to the General Information page then select Printing tab and Upload Masters and proceed to step 4
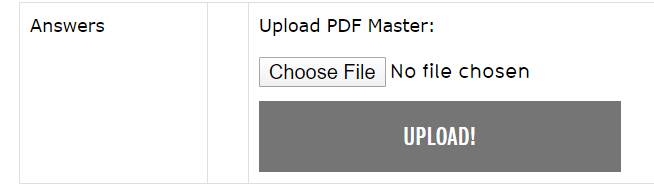
4. Scroll to the bottom of the page. You will see the following section.

Answers – Use for exams that require students to answer questions partially or fully directly on the exam paper.
Click Set to Single-sided if the exam is to be printed 1-sided
Click Set to Double-sided if the exam is to be printed 2-sided
prints on white paper.
| Info |
|---|
When uploading a Crowdmark exam it is recommended to be double-sided to ensure a QR code is on every page |
Questions – Use for exams that require students to answer the questions in a separate exam booklet
prints only on white paper for finals printed by the Registrar’s Office
Reference – Scrap paper, glossary, etc.
prints on yellow paper
5. Click the format corresponding to your exam master requirements as per the descriptions above in Step 4. Scroll to the bottom to view the text box as shown below. There isone upload box for each version if multiple versions have been indicated. Click Choose File and Select File Open, then click UPLOAD!
6. When the upload is complete, scroll to the bottom and you will see a Download PDF option with the total number of pages. Click Download PDF to view the exam and how it will print.

7. Once viewed, if there are issues click Delete! and revise the exam master document and re-upload following the steps from the beginning of the Scanning/upload section.
Issues that may arise with the exam upload:
Not enough space at the top of the cover page (must be a minimum of 4 inches; 5 3/16 inches for exams using Crowdmark)
Not enough space at the bottom (the footer must be a minimum of 5/8 inches)
Questions cut off (margins or page breaks may need to be adjusted)
Mismatched page sizes (all pages including the cover page must be the same size)
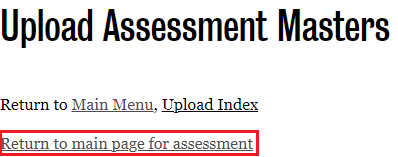
8. If using Crowdmark, you will need to select the scanning instructions before Odyssey will allow you to approve the exams. Click Return to the main page for assessment at top of the page.
Click the Scanning tab

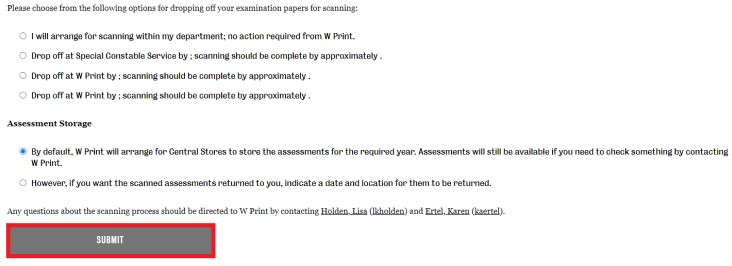
9. Click on Edit Scanning

10. Choose the appropriate option and click Submit
11. Click Assessment

Approve Exams in Odyssey
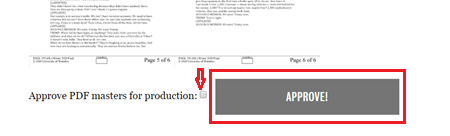
From the Printing tab->Upload Masters, scroll down to the bottom of the page. Click Approve…
Note: Double-check the thumbnails to ensure there are no issues.
If there are Crowdmark multiple-choice pages selected, those will appear as grey pages at the end of the exam.

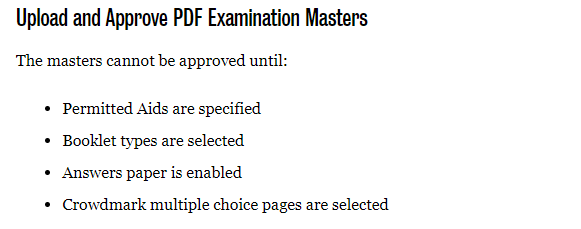
If Approve… doesn’t appear, you need to ensure all criteria indicated have been met
2. You should be able to see an overview of all the exam pages. If everything looks correct (ie nothing cut off, enough space top and bottom, etc), check the box beside Approve PDF masters for production and click APPROVE!
3. You may un-approve the exam until it has been sent for printing.
This will allow you to re-upload a new version before the print deadline

If the exam has been sent for printing you will see this noted

4. After approving the exam upload click Return to main page for assessment to go back to the General Information page
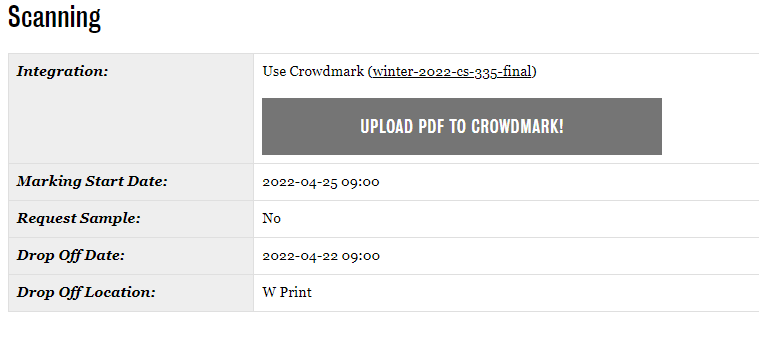
5. If using Crowdmark and after the exam has been sent for printing there will be information under the Scanning tab
Registrar’s Office Final Examination Makeup Sessions
Right-click on the link for your course final assessment (ie CS 115 (OL) Final) and open in a new tab in Odyssey.
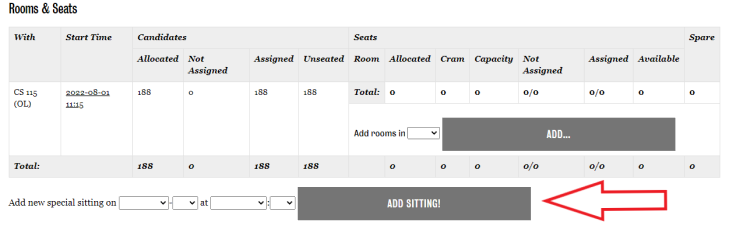
Scroll down to Rooms & Seats
o Click on drop down for “Add new special sitting:”
o Choose appropriate makeup session date and time
o Then click “ADD SITTING”
On the same page: Scroll up to and click “Special Cases”
o Click “Update Existing Candidate”
o Type in student ID#
o Then click “Next”
On the next page:
o Check student name and ID# to ensure correct student.
o Go to “Allocation” drop down box and choose the correct makeup session date and time.
o Then click “Update…”
If you have students writing in different makeup sessions, please repeat steps 1-4. You can get to your starting page by scrolling to the top of the page and clicking on “Return to Main Menu, Offering, Assessment.”
If you are adding students that are not enrolled into the course for the term at hand:
you will need to go to “Special Cases” and click the Select Extra Candidates.
Then fill in the box with ID# and username (e.g. 12345678, jdoe).
Once you have added them here, go to step 3 above and start at “Update Existing Candidate” then follow steps to end.
If you have uploaded an exam for the current term in Odyssey and want to use that version for your makeup exams, there is no further action needed by you.
If you are not using a Crowdmark exam, you can email your exam or contact us for hand delivery at regmstrs@uwaterloo.ca.
If you are using a Crowdmark exam, you will need to create the exam in Crowdmark directly. You can email the Crowdmark file or contact us for hand delivery at regmstrs@uwaterloo.ca.
If any help is needed, please create a Jira request and we will respond to you within 12 business hours.
Exam Printing and Scheduling (Odyssey) Support Request - Jira Service Management (atlassian.net)
Here is the link for instructions on how to upload your final exam to Odyssey.
If any help is needed, please reach out to Annette Ertel or Jenn Crane at regmstrs@uwaterloo.ca and we can do a walk through with you on Teams.Related articles
| Filter by label (Content by label) | ||||||||||||||
|---|---|---|---|---|---|---|---|---|---|---|---|---|---|---|
|
| Info |
|---|
Need help?Contact odyssey@uwaterloo.ca |
| Tip |
|---|
Article feedbackIf you’d like to share any feedback about this article, please let us know. |