...
How do I request a course to be created?
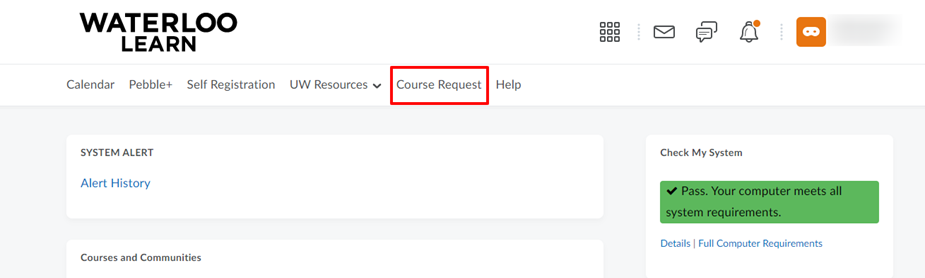
Seven weeks prior to the start of term, log in to Waterloo LEARN and click the Course Request link found in the system navigation bar.
On LearnTools My course requests page, click on Request a course button (you will notice it identifies as the current term but you can request for the upcoming term).
Check the box beside the course you will be teaching in the upcoming term.
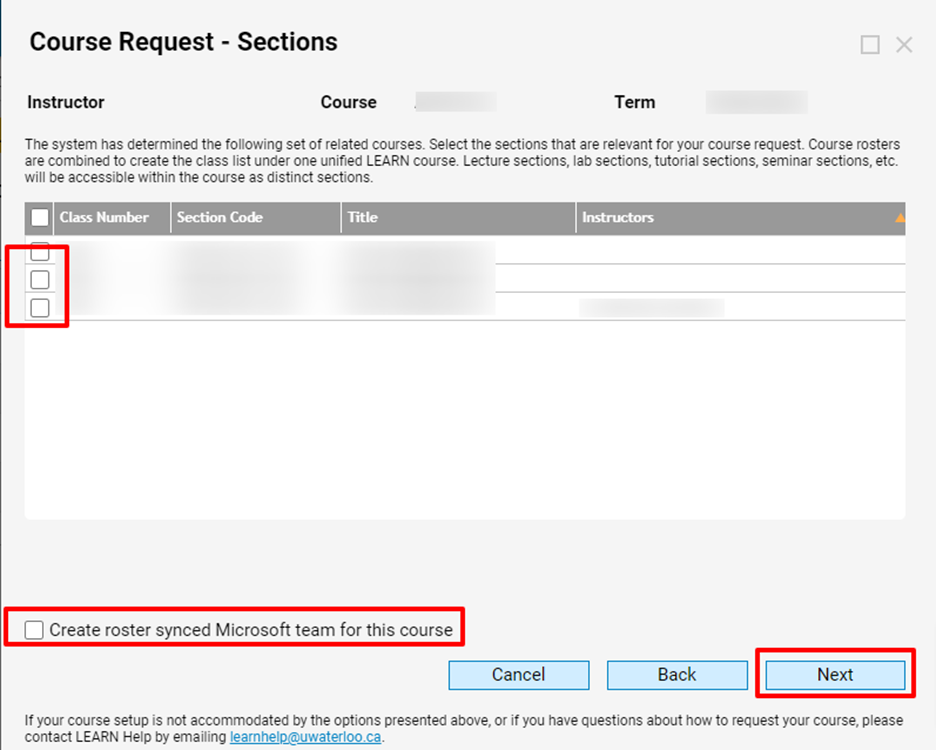
Then individually select the sections you want to be included in the course or choose the select all box to add all sections if you want all sections in a single course shell.
If you will be using a roster synced Microsoft Teams, you can make this request at the same time while requesting for your course, to do this, check the box Create roster synced Microsoft team for this course below
Click Next
In the Complete Course request popup, click on Yes to submit your request.
Once you have submitted the request, we will approve it as quickly as possible. In most cases the course will be available after 9:00am the next business day.
Requesting a Roster synced MS Team after
...
you LEARN course has been created
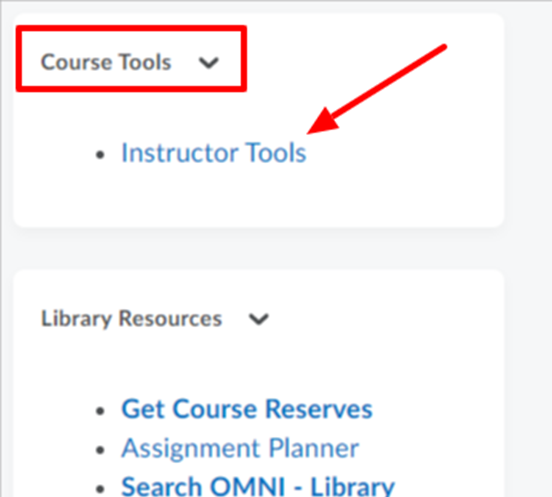
In your LEARN course offering scroll to the Course Tools widget on the course homepage
Select Instructor Tools
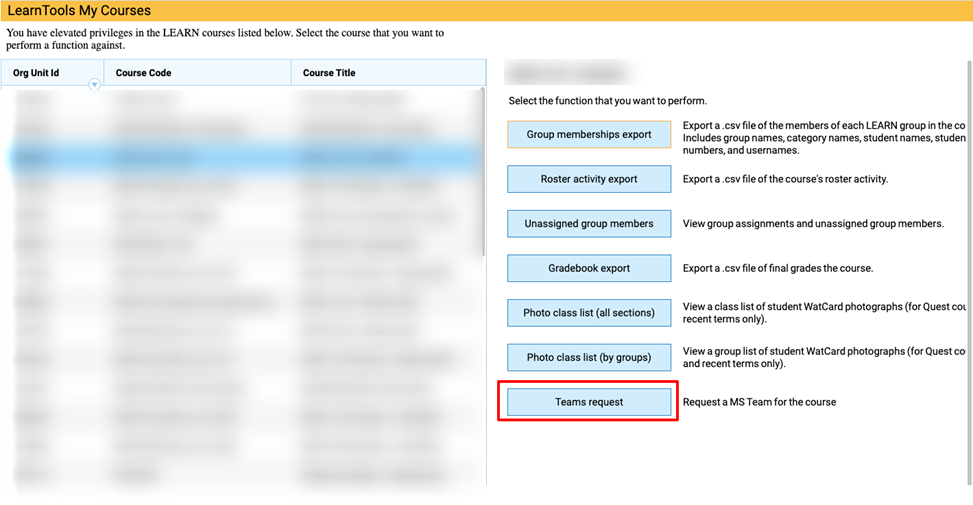
On LearnTools My Courses page, select the course you want to request MS Teams for on the left (if this is not already selected)
In the right pane, click on Teams Request
On the Teams Request page, check the box Request MS team beside the course you want to request MS team
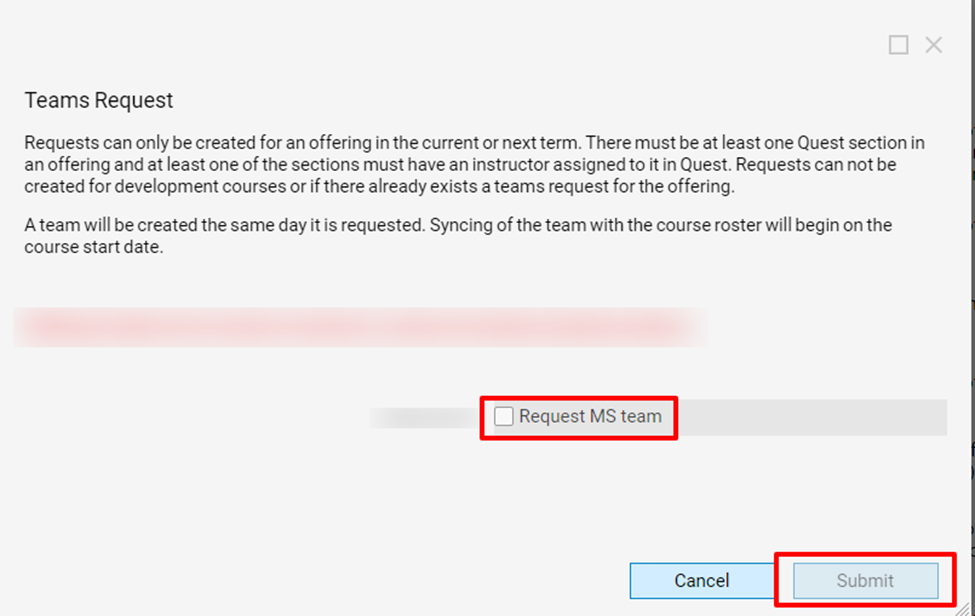
Click Submit
| Info |
|---|
Note: The MS Team will be created as soon as possible but access to the LEARN course and roster synced Team is based on the start date of the LEARN course. The MS Team will contain the same registered student roster as the LEARN course, manually created groups and TAs need to be added manually by the instructor. |
...
Please see Adding your TAs to your course for detailed information.
Select Connect from the course navbar.
Select Classlist from the menu.
Select Add Participants.
Select Add Existing User.
Search for the TA by entering their Last Name, username, or student ID number.
Check the name of the appropriate TA.
From the Select a Role drop-down menu, to the right of the TA’s name, choose the access level at which you would like to enrol the TA (TA level 1.5, 2, 3, or 4).
Click Enrol Select User button.
Click the Done button or the Add More Participants button if you have additional TAs to add.
How long will my course appear on my LEARN homepage?
...
See for detailed information.
Click the Table of Contents on the left-hand side of the page.
Click the Import Course button and choose Copy Existing Course.
From the Import/Export/Copy Components page, select the Search for Offering button and click Search to perform the search.
A list of courses that you currently have access to will be displayed, select the course you are copying from the list by checking the radio button to the left of the course title and
Click the Add Selected button. The Search for Offering button should now be replaced with the name of the course you selected.
Determine if you want to Copy All Components or only Select Components
Copy All Components the entire selected course will be copied into the destination course.
Select Components allows you to select individual files, specific quizzes or dropboxes etc. to copy forward. If you are selecting components ensure that you select both Copy all items and Include associated files if listed,
If you are selecting course components, click Continue once you have made your selection(s).
If you need to modify what you are copying you can do this now by clicking Go back, otherwise, click Finish.
Wait until all selections have a green checkmark to the right.
OR
Click the Course Admin link on your course navigation bar.
Click Import/Export/Copy Components.
From the Import/Export/Copy Components page, select the Search for Offering button and click Search to perform the search.
A list of courses that you currently have access to will be displayed, select the course you are copying from the list by checking the radio button to the left of the course title and
Click the Add Selected button. The Search for Offering button should now be replaced with the name of the course you selected.
Determine if you want to Copy All Components or only Select Components.
Copy All Components the entire selected course will be copied into the destination course.
Select Components allows you to select individual files, specific quizzes or dropboxes etc. to copy forward. If you are selecting components ensure that you select both Copy all items and Include associated files if listed,
If you are selecting course components, click Continue once you have made your selection(s).
If you need to modify what you are copying you can do this now by clicking Go back, otherwise,
Click Finish.
Wait until all selections have a green checkmark to the right.
How can I see what a student sees when viewing my course?
See Impersonating the test student for detailed information.
Click Connect from the course nabvar.
Click Classlist from the menu.
Click the Test Student tab.
Click the down arrow to the right of the test student's name.
Click Impersonate.
Click Yes in the pop-up window.
To return to your own view click the Test Student's name in the top right-hand corner and click the X.
How can I get a class list that can be used for maintaining marks outside of LEARN?
If you would like to maintain your grades outside of LEARN you can export your grades.
Click Grades from the course navbar.
Click the Enter Grades tab.
Click the Export button.
Select Export to CSV or Export to Excel.
Click Download.
How can I get a member list of all the groups within my course?
Select Grades from the course navbar.
Select the Enter Grades tab.
Click Export.
Under Key Field select Username.
Under User Details select Last Name, First Name, Email, and Group Membership.
Deselect any grade items.
Select Export to CSV.
Open the Excel Spreadsheet.
Related Articles
| Filter by label (Content by label) | ||||||||
|---|---|---|---|---|---|---|---|---|
|
...