...
Once you have identified the ticket in your queue that you’d like to assign/reassign, click on the request name under the Summary column, in your queue. This will open the ticket.


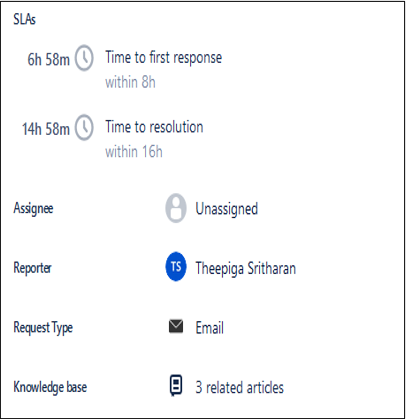
Once the ticket is open, you will see Assignee field in the right hand panel.
Click on the name beside the Assignee field name to see a list of people in your project. (Note: if the ticket is not yet assigned the “name” will be Unassigned.) Select the person to whom you wish to assign to the ticket. Once selected, it will automatically assign the ticket to that person.
...
| Tip |
|---|
Article feedbackIf you’d like to share any feedback about this article, please let us know. |