As an alternative to using browser-based access to remote applications, you can run Remote Desktop Protocol (RDP), which is part of the Windows operating system, and a downloadable application for Mac, to run the software: through web browser.
PC/WINDOWS (Remote PC Users)
Establish VPN session following the instruction:
https://uwaterloo.ca/information-systems-technology/services/virtual-private-network-vpn/about-virtual-private-network-vpn#who-can-use-vpn
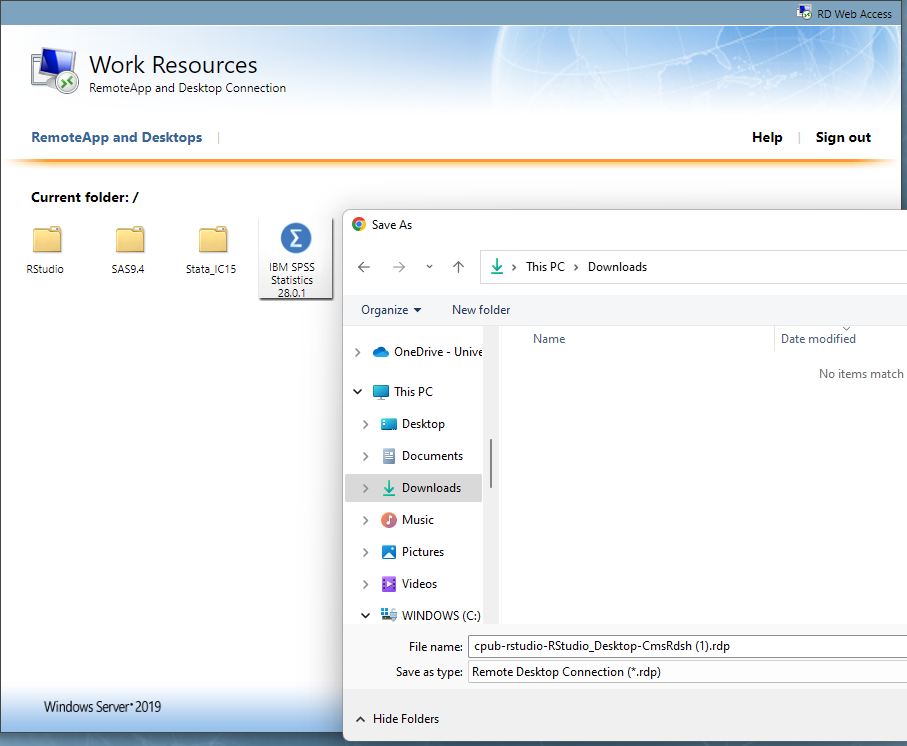
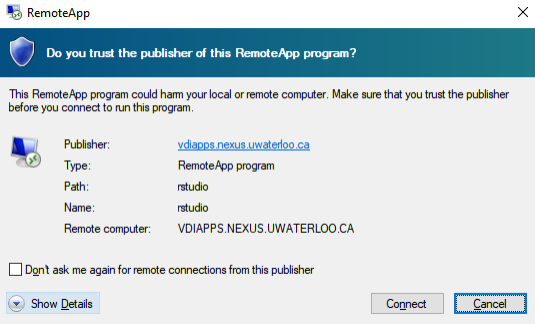
Access the remote apps via https://vdiapps.uwaterloo.ca/RDweb, you only see apps you have access to.

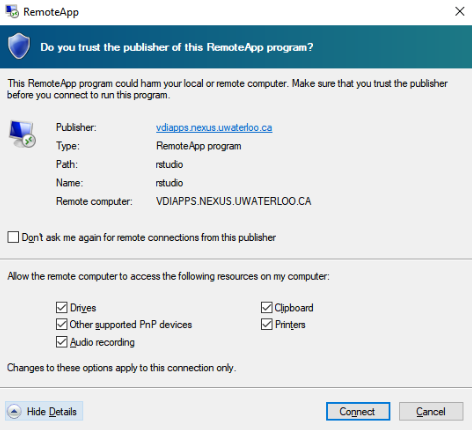
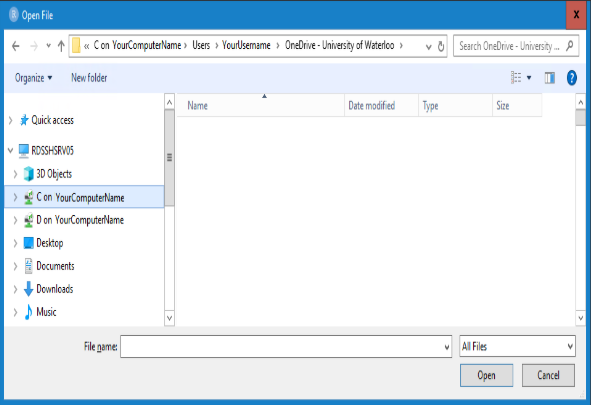
We allow local drives redirection from remote PCs. Depends on where you install OneDrive on your local pc, you can find OneDrive on your local device:


You will see your OneDrive on your local device, drag it to Desktop to create a shortcut:

Remote Mac users
Initialize VPN connection before you use Campus resources:
https://uwaterloo.ca/information-systems-technology/services/virtual-private-network-vpn/about-virtual-private-network-vpn#who-can-use-vpn
2. Install Microsoft Remote Desktop and OneDrive from Apple Store:


3. Click on “Install App“.

4. Same steps for installing OneDrive, you might be asked for the Apple ID.
5. Configure remote access to the VDI environment.
6. Start Microsoft Remote Desktop, click on the Workspaces tab:

7. Add a Workspace:

8. In the URL Field, type https://vdiapps.uwaterloo.ca/rdweb/feed/webfeed.aspx.
9. Enter nexus\userid when prompted:

10. Configure OneDrive folder redirection.
11. Click on the workspace you created, from Settings > Preferences.

12. Redirect your OneDrive folder on the local device:

13. After you start an application from your workspace, you should see the local OneDrive:

Mac (Including iPads)
If on campus, connect to eduroam wireless network. If off campus, connect to UWaterloo's Virtual Private Network (VPN) for Mac.
Change the default security settings:
Click on the Apple menu and select System Preferences.

In the top row, click on Security & Privacy.

Select general at the top, then look for the section titled Allow apps downloaded from - unlock and make changes to Anywhere. If there isn't an Anywhere option, select Mac App Store and Identified developers.

If you don't have Microsoft Remote Desktop, download the latest version of Microsoft Remote Desktop, from the Apple App Store or directly from Microsoft.
Click the Apple menu and select App Store:

Search for Microsoft Remote Desktop 10 and download it by clicking on Free, then Install App:

If you're asked for your Apple ID and password, enter it, then click Sign In:

Once the software is installed, click on Open and you will be brought to the main menu:

Configure Microsoft Remote Desktop to be able to access your computer’s folder:
On the main window for Remote Desktop, click on the Settings icon on the top. On the drop-down menu that appears, click on the Preferences.
In the General tab, under If Folder redirection is enabled for Managed Resources or RDP files, redirect:, click on Nothing and change to Choose Folder.
In the Finder window that appears, navigate to the folder you desire to appear in the app and select Choose. One folder that can be chosen is the Users folder which would allow all folders within your account to be visible in the app.
Now in the main window for Remote Desktop, under the Workspaces tab, click on Add Workspaces.
In the URL field, type https://vdiapps.uwaterloo.ca/RDweb

In the User Account Field change the selection from Ask me every time to Add User Account… If you have a pre-existing Nexus account with your WatIAM, log in then select that account.
If not, then enter the username as nexus\[userID] (the userID is your WatIAM userID) and your WatIAM password, then click Save, then Next.
You should now see all the resources that you have access to within the RemoteApp - for example:
.png?version=1&modificationDate=1650633213315&cacheVersion=1&api=v2&width=421)
Next time you log in, search for Microsoft Remote Desktop then click and run the app.


.png?version=1&modificationDate=1650633213315&cacheVersion=1&api=v2&width=421)