What is Microsoft Bookings?
Microsoft Bookings is an Office 365 application used for appointment booking. It can be used for scheduling academic advising appointments, office hours, etc. View Microsoft's FAQ on Bookings
Who gets access to Microsoft Bookings?
notePlease note: a Microsoft Office 365 email is required to use Bookings.
Please note: a Microsoft Office 365 email is required to use Bookings.
Full-time employees will have access to Bookings
Students, sponsored/departmental accounts, most part-time staff, alumni and retired employees are not eligible to request, administer, or own a Microsoft Bookings site, but will be able to book appointments with employees that use the application
How does Microsoft Bookings work?
Microsoft Bookings allows customers to access and schedule appointments through your business calendar. Options available are:
Publish your business calendar online to share with your customers and team
Customize the calendar to include your business hours
Add or import customers to your Customer list
Add or manage user permissions for your team members to access the business calendar
Add or manage the number of services customers are able to select from your business calendar
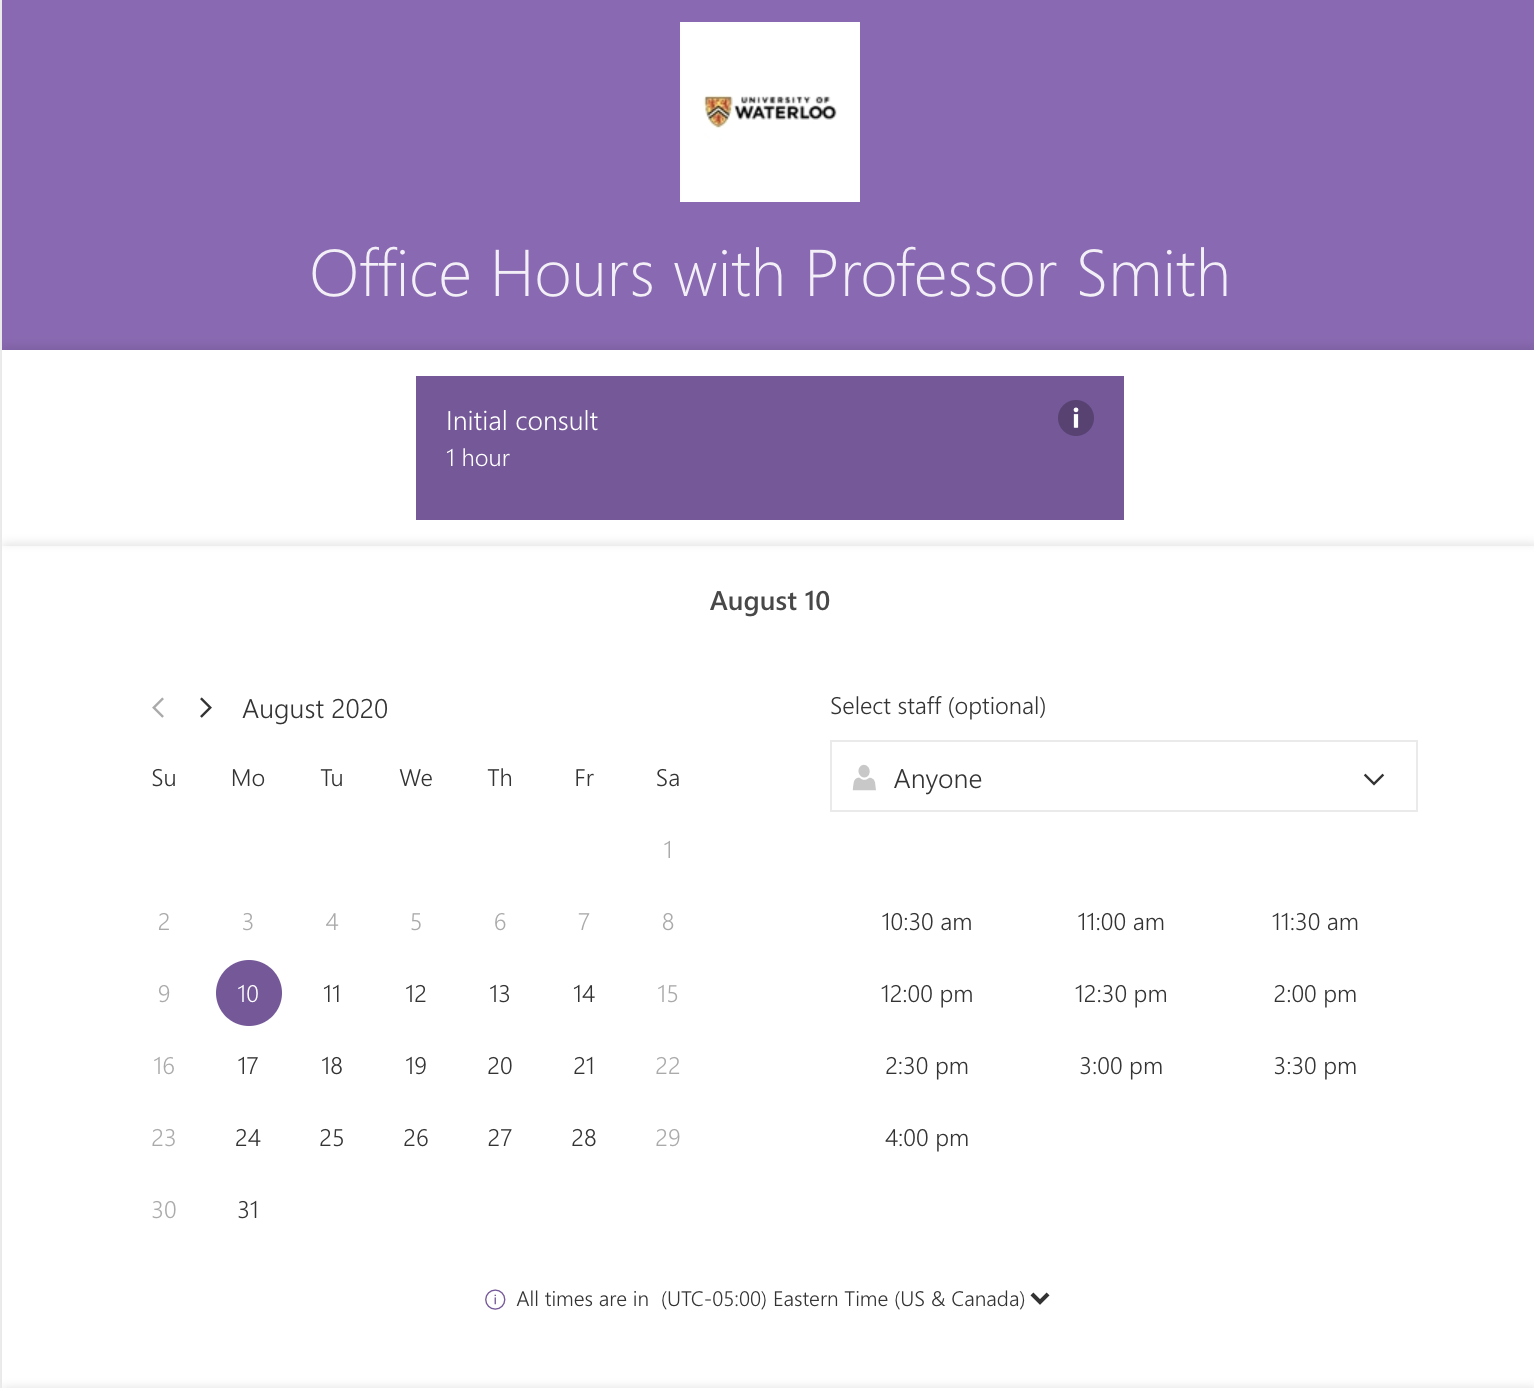
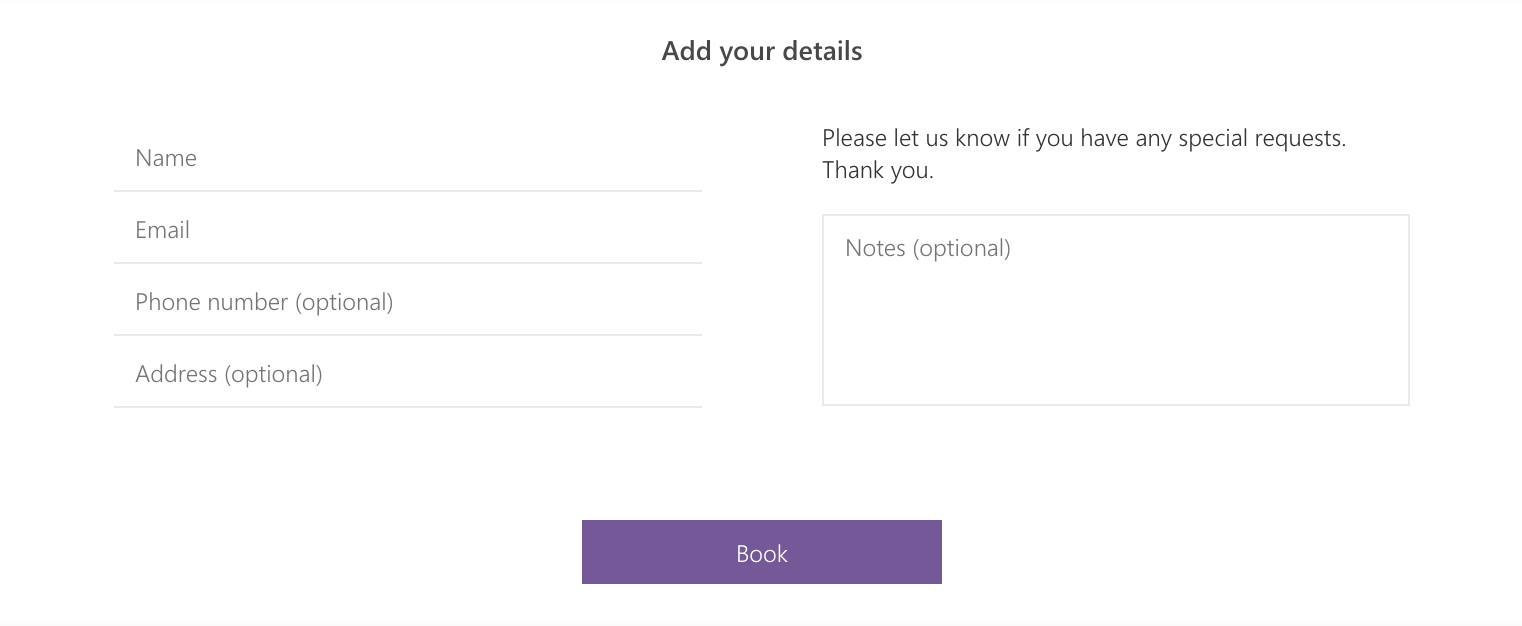
Book an appointment on behalf of a customer; customers can also book appointments themselves
Customize your bookings page by:
Adjusting scheduling policy settings (e.g. appointment time increments, minimum lead time, maximum lead time)
Adjusting language and time zone settings
Enabling or disabling customer email notifications
Adding a logo to your bookings page
Changing the colour scheme of your bookings page
Embed the published business calendar on your website or Facebook page
How to create a business calendar with Microsoft Bookings
When creating a new Bookings calendar, select a descriptive calendar name (e.g. Visitors Centre - University of Waterloo). This will allow for you to easily search for your calendar in the Global Address List. You can also access Microsoft Bookings using Microsoft Teams. Learn more about how to access Microsoft Bookings in Microsoft Teams
|
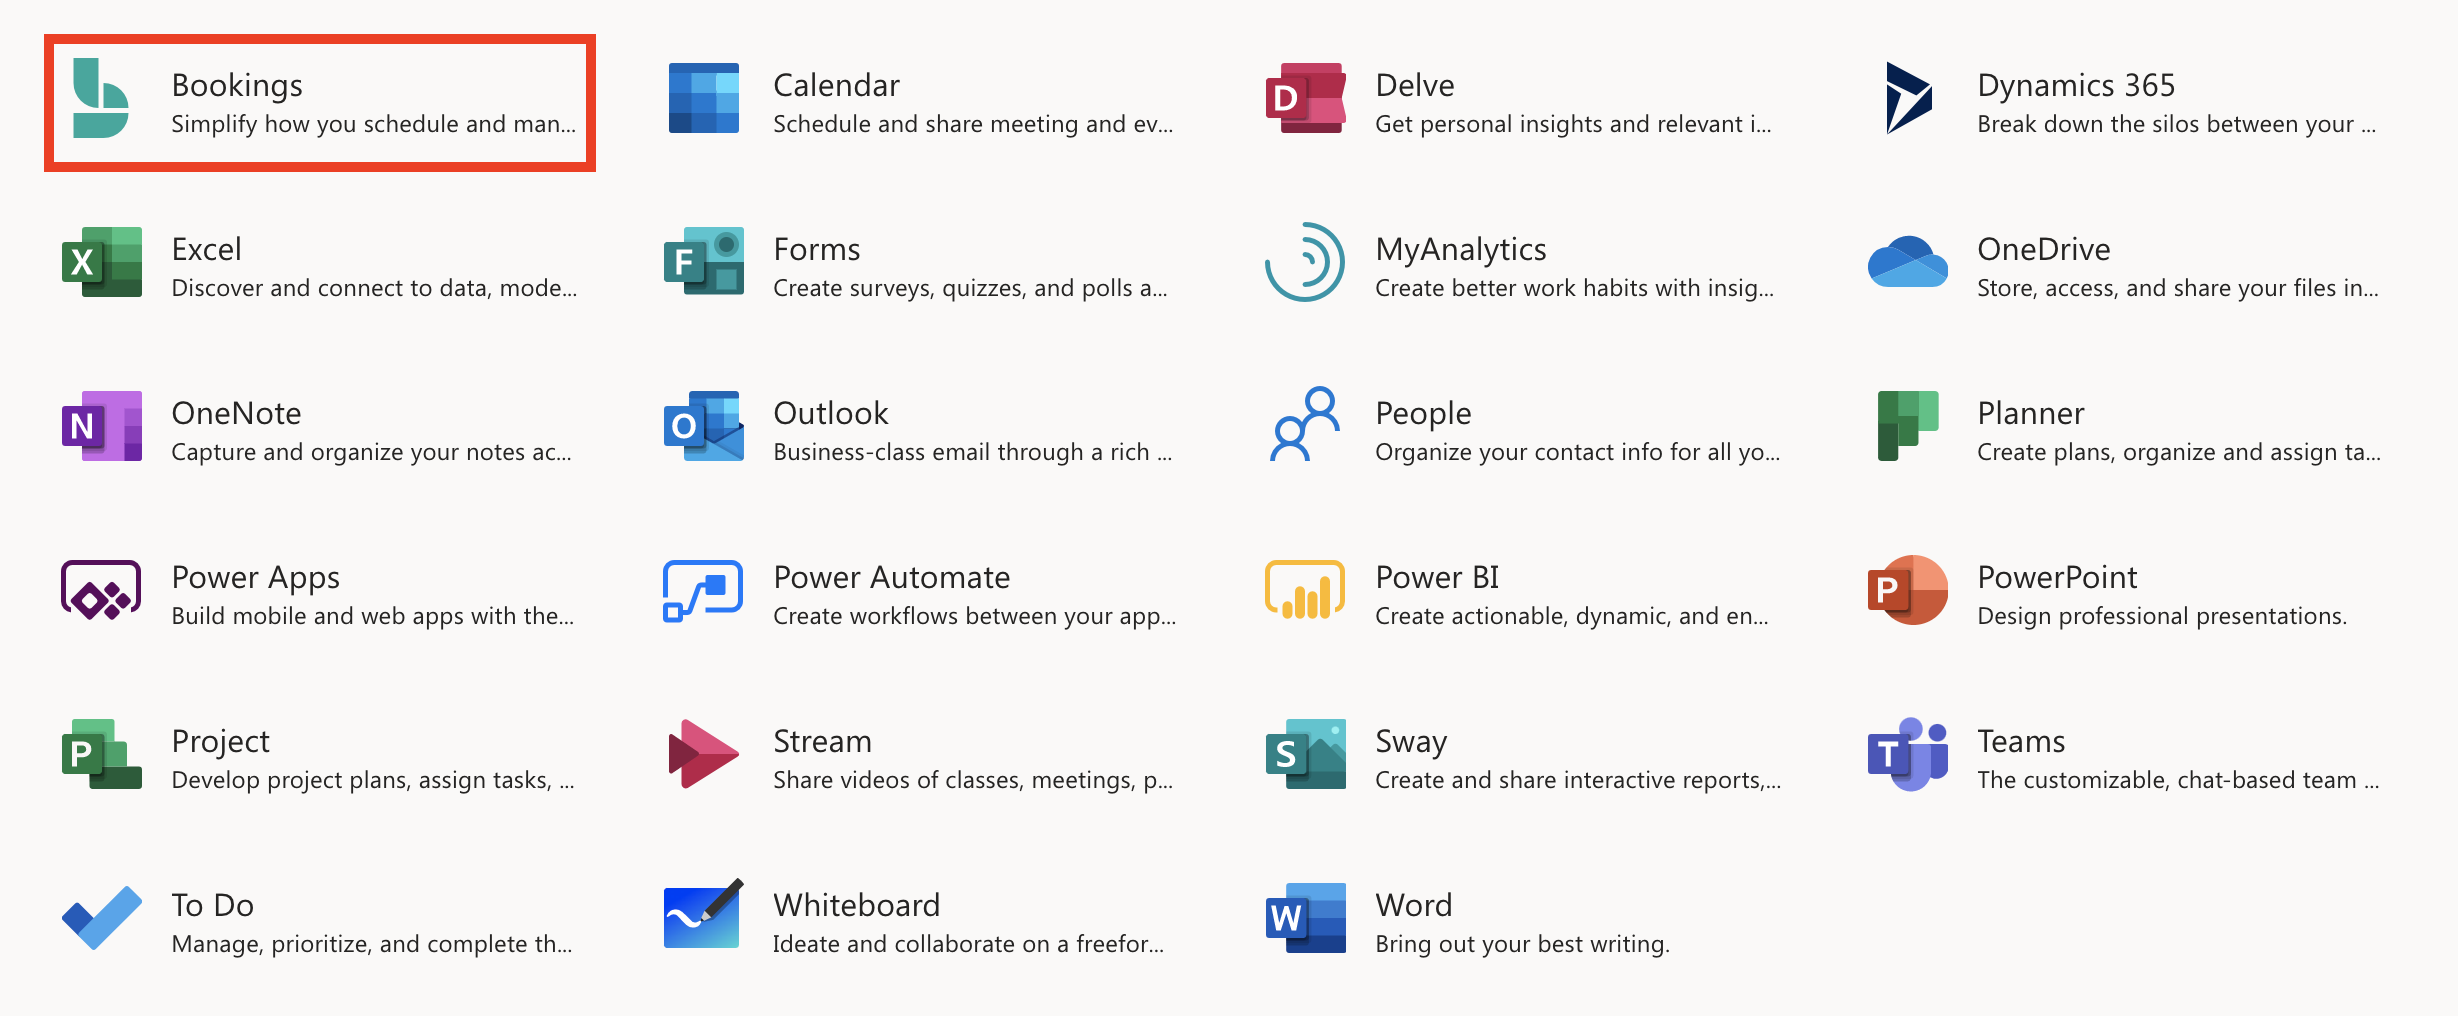
Go to http://portal.office.com/ and click on the 'Bookings' app. If the Bookings app does not appear on the homepage, click All apps > Bookings.

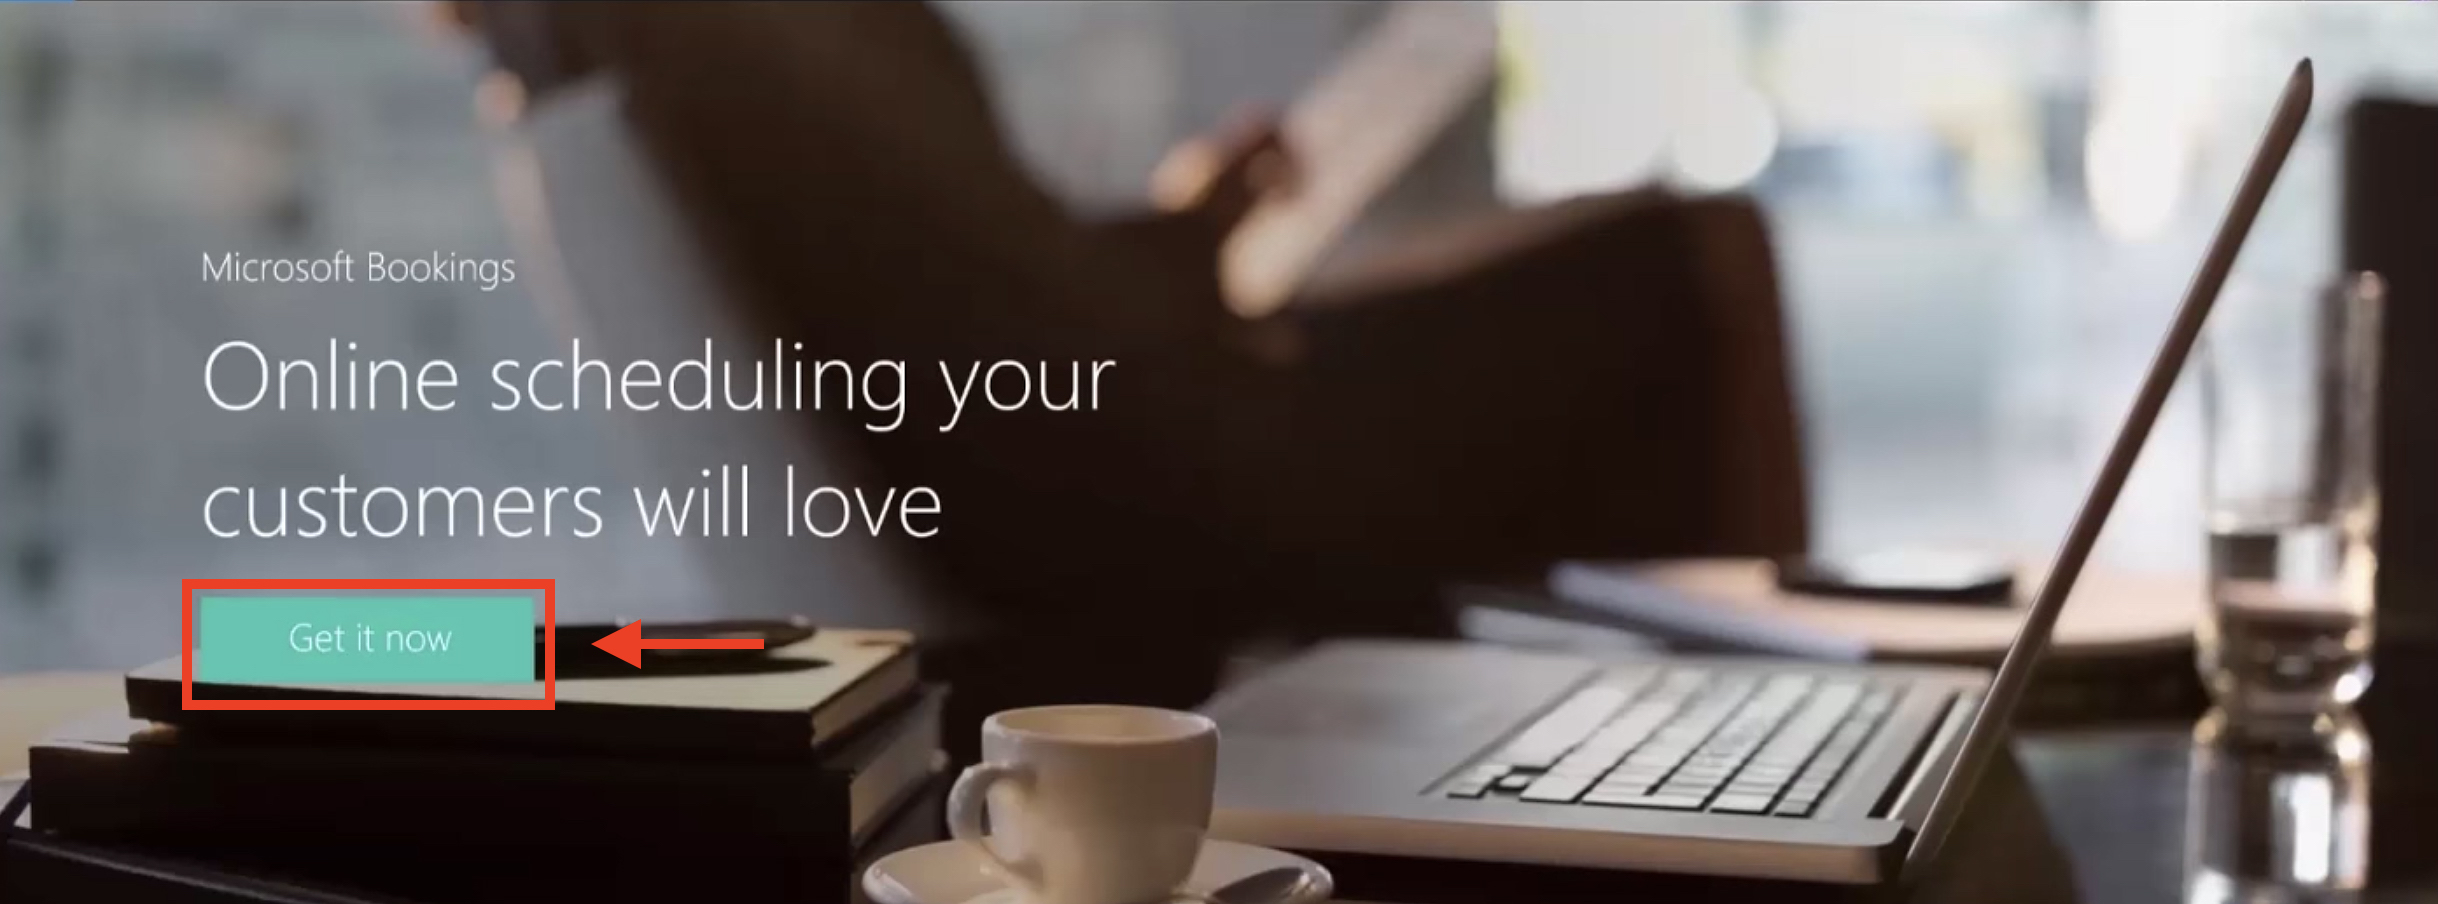
On the top banner, click the 'Get it now' button.
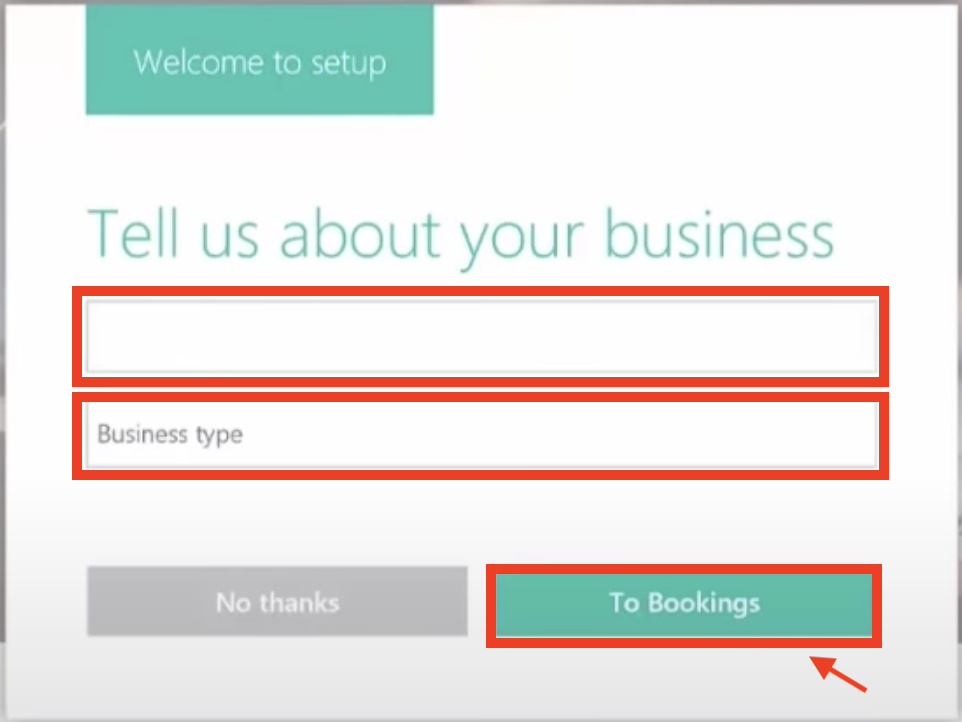
In the setup pop-up window, enter your calendar name and business type in the respective fields. Click the 'To Bookings' button. Your calendar will be created and you will be redirected to the Bookings homepage.
When creating a new Bookings calendar, select a descriptive calendar name (e.g. Visitors Centre - University of Waterloo). This will allow for you to easily search for your calendar in the Global Address List.
If you go to https://outlook.office.com/bookings/homepage and it takes you to the wrong site or no site at all you need to know the correct URL to access it. For example if it takes you to the URL https://outlook.office365.com/bookings/calendar?calendar=SiteName@uofwaterloo.onmicrosoft.com, replace your SiteName. For the example of Visitors Centre, the URL to use would be
https://outlook.office365.com/bookings/calendar?calendar=VisitorsCentre@uofwaterloo.onmicrosoft.com
Configure and customize the necessary settings for your calendar:
Add your business information
Set your scheduling policies
Define your service offerings
Create your staff list
Set employee working hours
Schedule business closures, time off, and vacation time
Publish your booking page
Create and staff your bookings
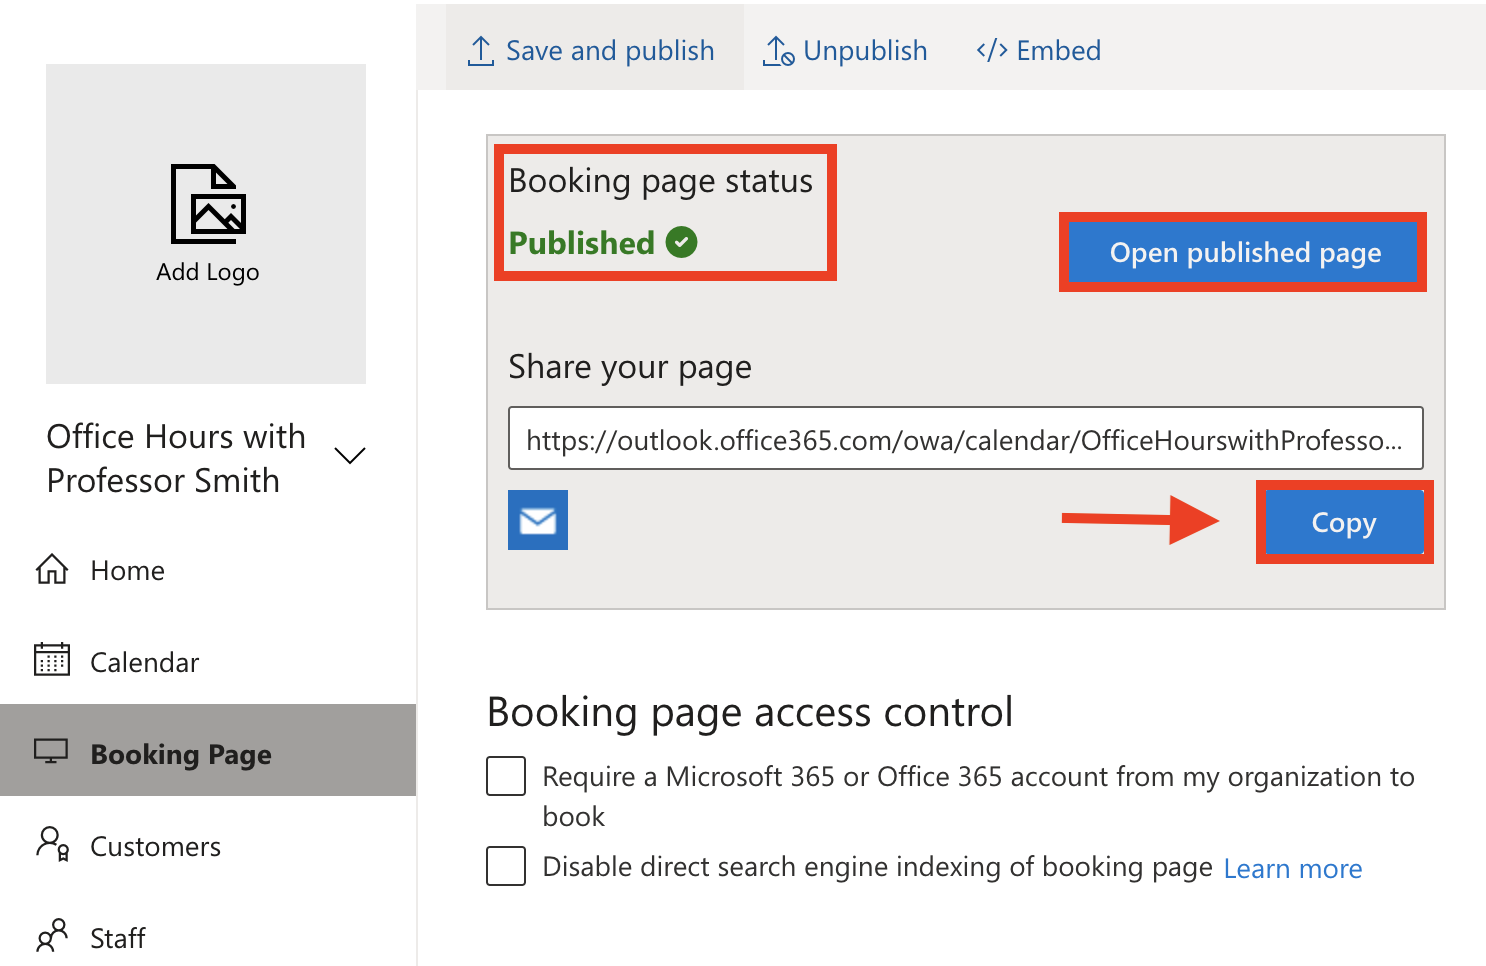
Once your calendar has been set up, go to the Booking Page tab and click 'Save and publish'.
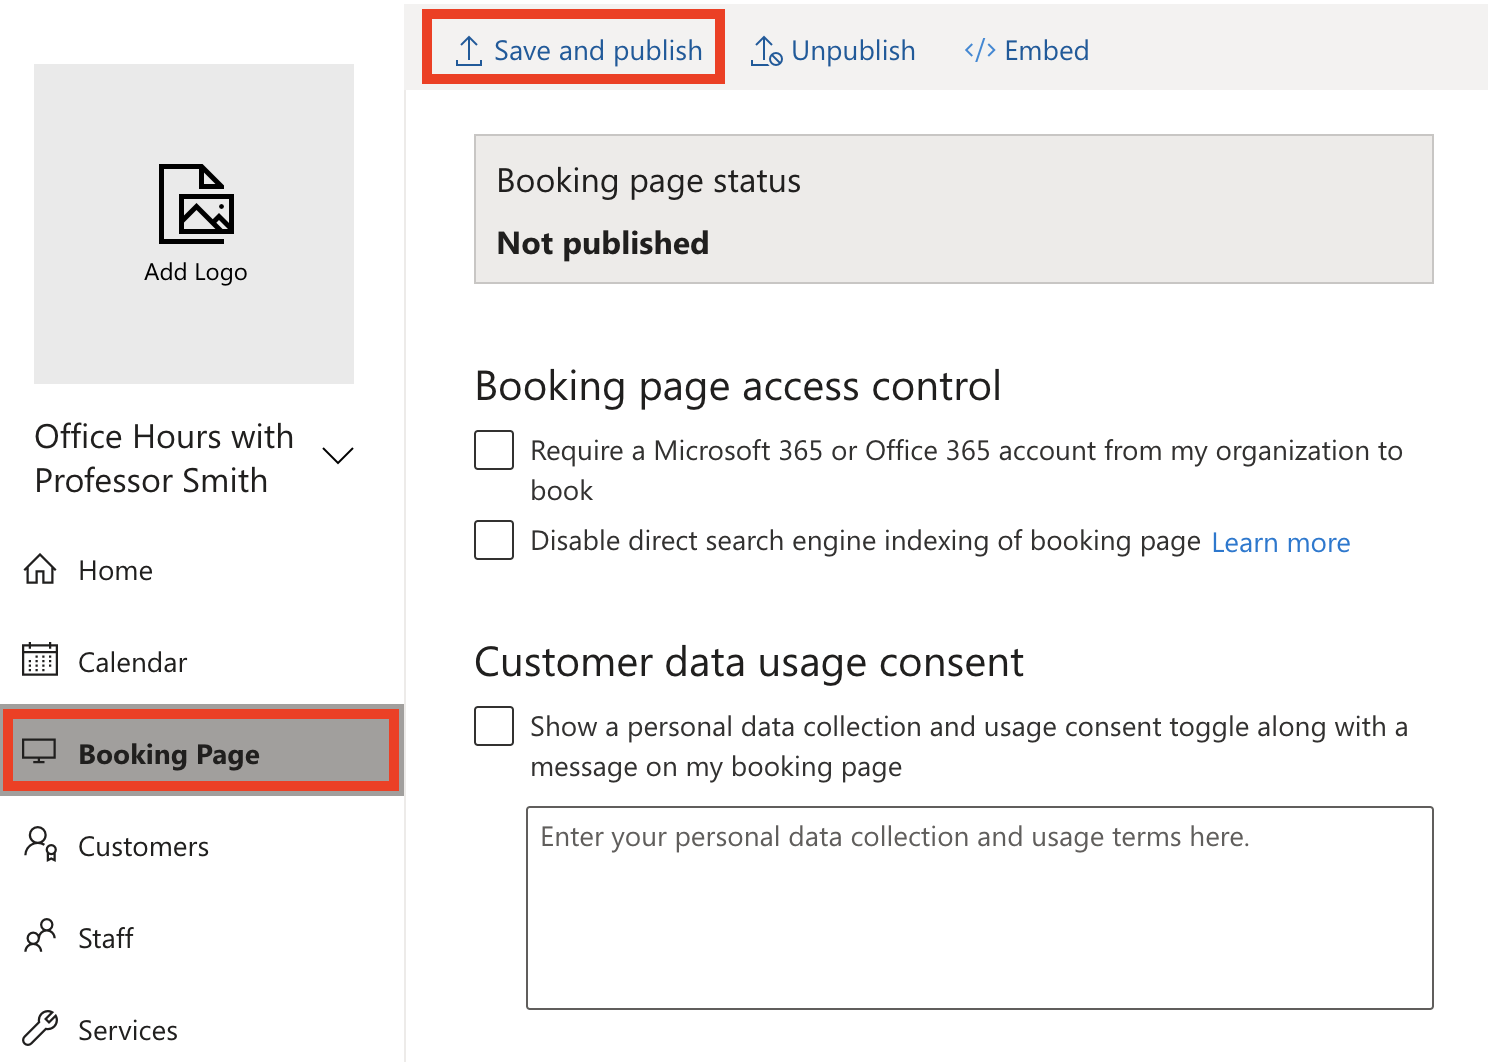
Your Booking page status will now be updated to be Published. Click 'Copy' to copy the calendar link. Share the calendar link with your customers so that they can start booking! You can click the 'Open published page' button to preview your Booking page.
Learn more about how to book an appointment in Microsoft Bookings.
Related articles
Related articles appear here based on the labels you select. Click to edit the macro and add or change labels.

Article feedbackIf you’d like to share any feedback about this article, please let us know. |


