...
Select Submit from the course navbar.
Select Dropbox.
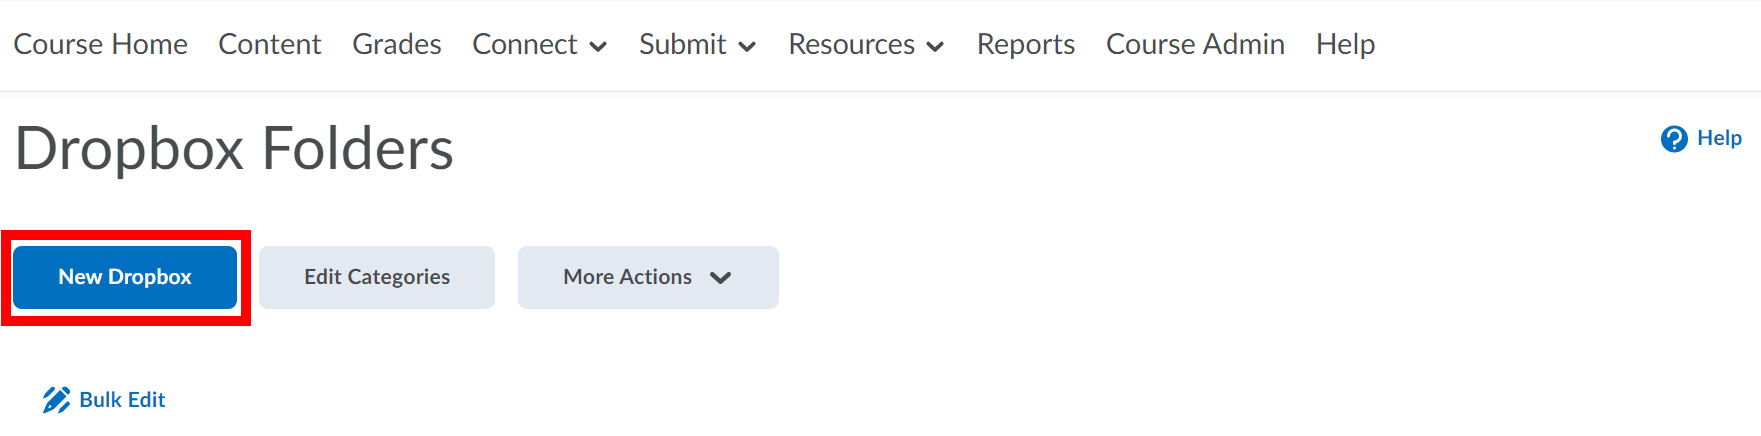
Click the New Dropbox button on the Dropbox Folder page.
Enter a Name for your dropbox folder.
You can associate the Dropbox folder with an already existing grade item or create a new grade item. It is recommended that you create the Grade Item before creating the dropbox file as there are limited options when creating a Grade Item through the dropbox. See the Grades documentation for detailed information. You may also have dropboxes that are not associated with grade items.
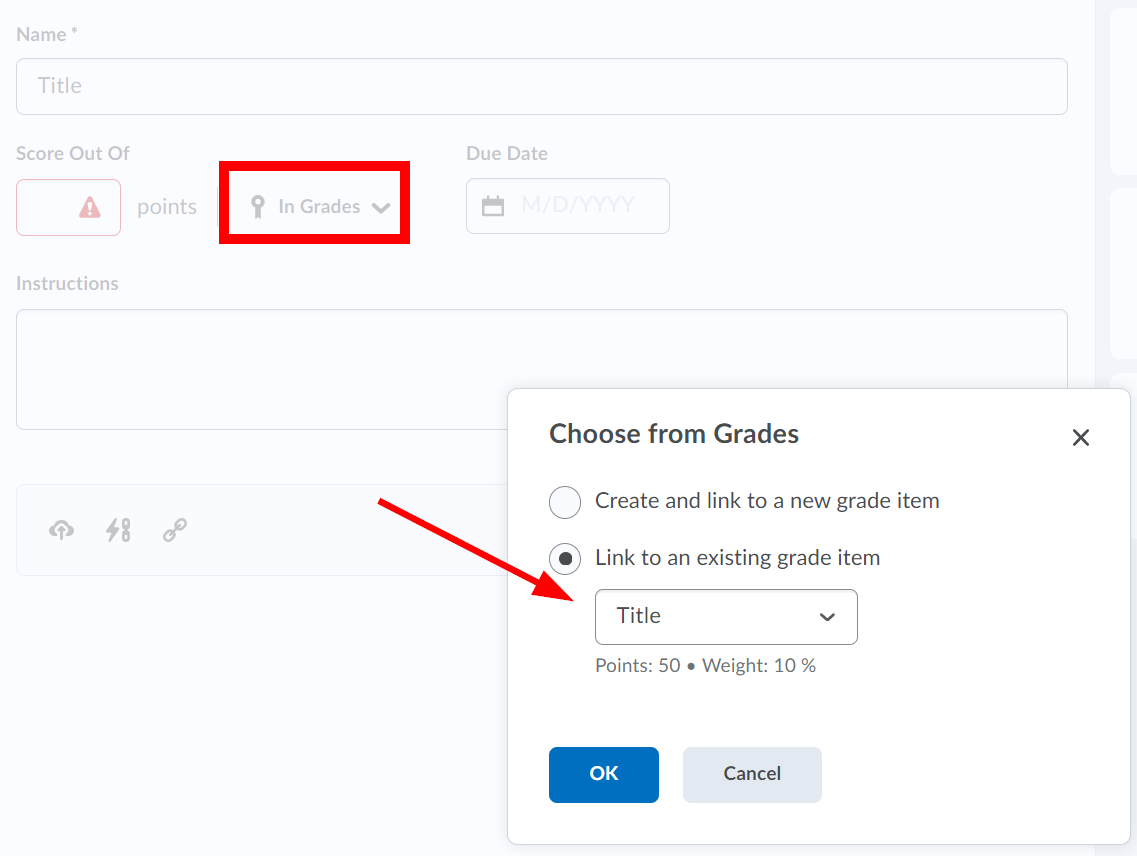
If you would like to link to an existing grade item, click In Grades and select Choose from Grades. Select Link to an existing grade item and select the grade item from the drop-down list. Click OK.
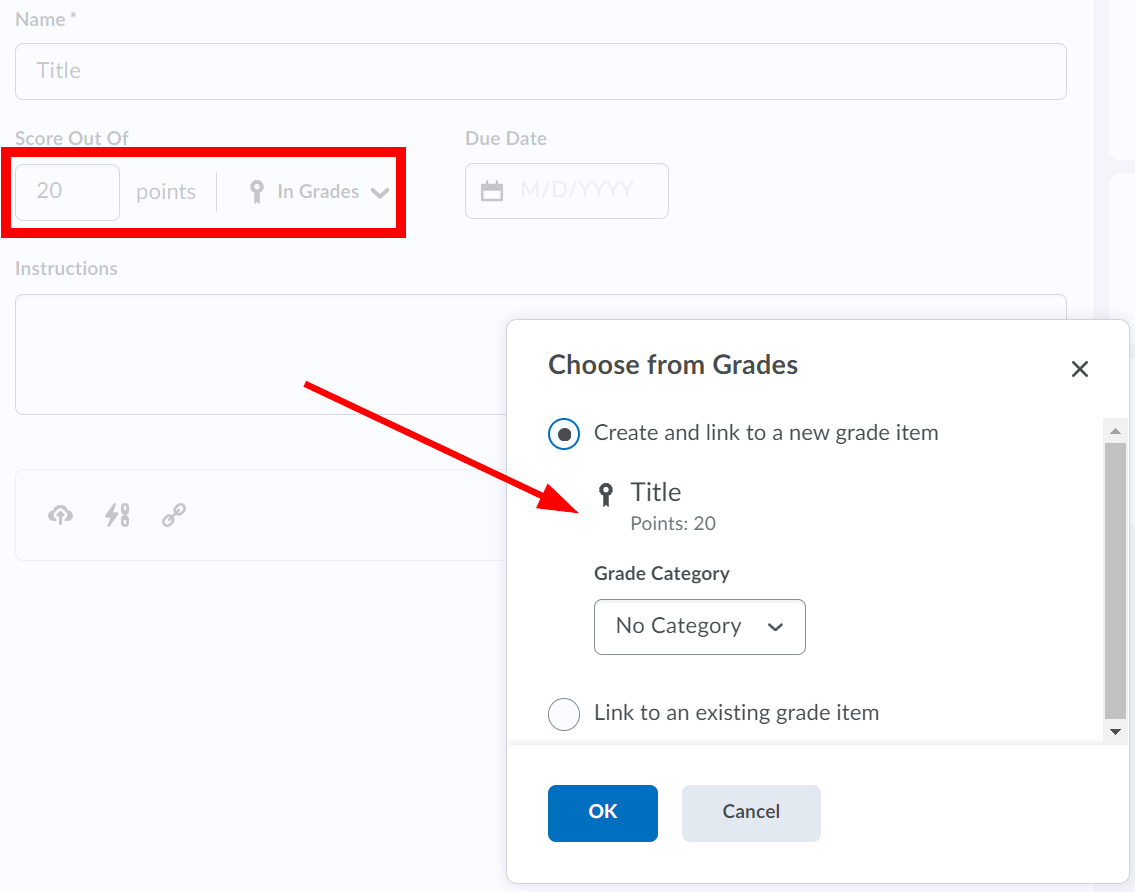
To create a new grade item, enter the number of points the folder will be worth under Score out of. Select In Grades and select Choose from Grades from the drop-down. Select Create and link to a new grade item. If you would like to link it to a Grade Category select it from the drop-down list. Click OK. By default, the new grade item will have a weight of 10%. To change this see the Grades documentation.
Enter a Due Date for the Dropbox folder if desired.
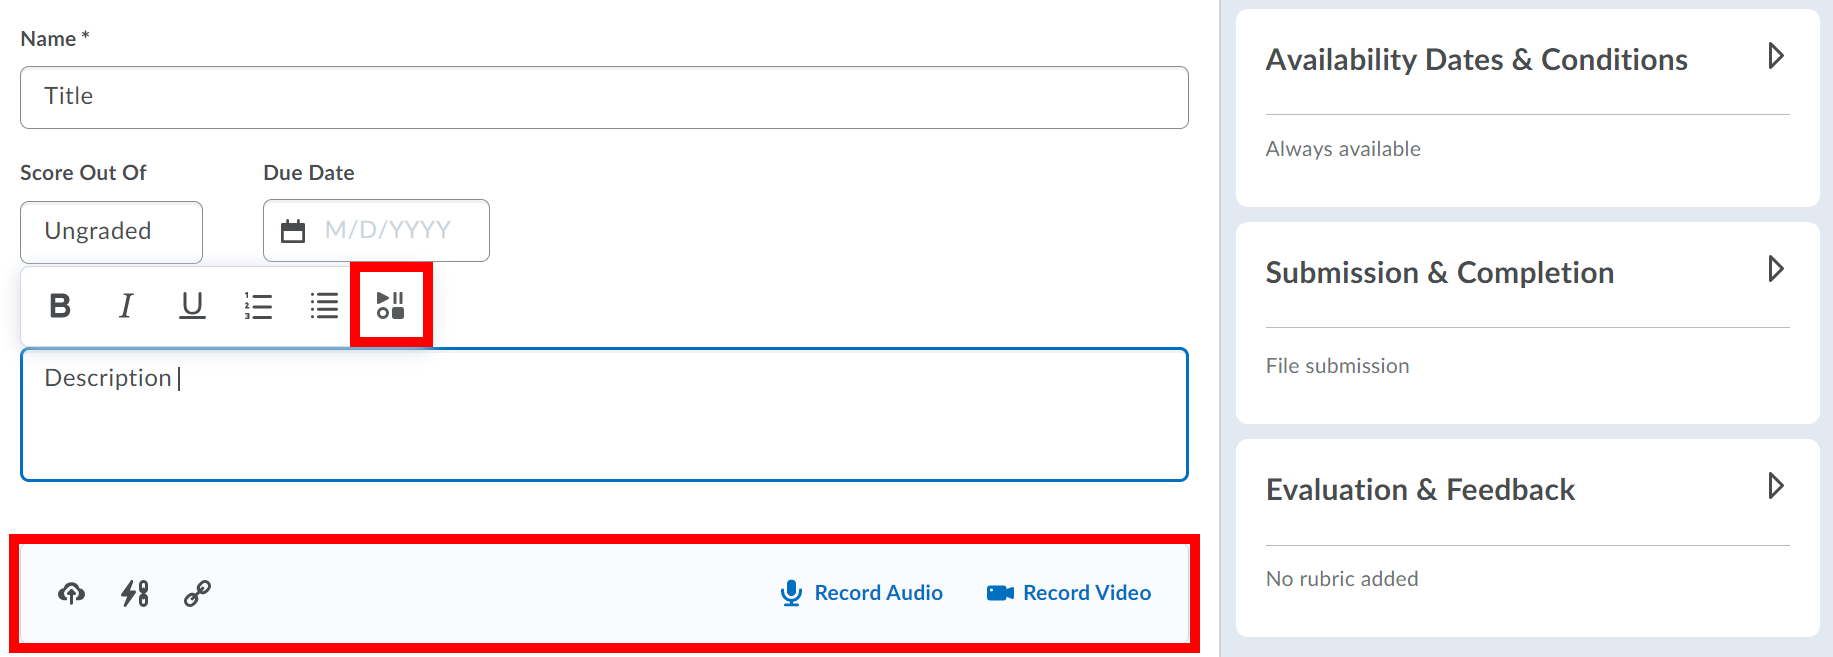
To create a description, enter it in the Instructions field. This can contain instructions to students about what they need to do for this assignment.
To add an attachment, record audio, or record video use the toolbar below the Instructions field. The attached files are still visible after the dropbox Availability ends but not before the dropbox opens. If you would like to add an attachment that is not visible when the dropbox is locked, add it to the Instructions field using the Insert Stuff button.
Under Availability Dates & Conditions you can set the availability of the Dropbox folder, add Release Conditions, and set up Special Access.
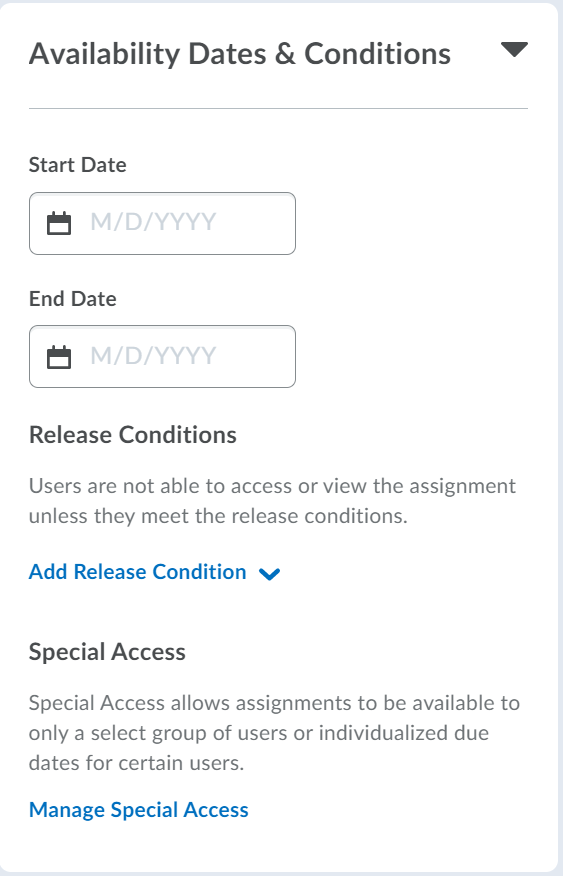
Set the Start Date, and End Date. Students will be able to submit assignments between the Start and End Dates. Once the Due Date has passed, assignments will be flagged as late. Students will not be able to submit after the End Date. All dates set will automatically be added to the calendar for your course. If you adjust these dates in the calendar the dates will also be changed on the dropbox.
Release Conditions allow you to specify requirements that students must meet in order to gain access to a dropbox. For more information see the Release Conditions documentation.
Special Access allows you to give certain users access to the dropbox folder outside the regular availability dates (e.g., if you have users who need an extra day to complete their assignment) or to restrict the folder only to users who have special access. Click the Add Users to Special Access to select which users you’d like to give special access to. For more detailed instructions to apply special access to a dropbox see the Special Access documentation.
Under Submission & Completion, you can set the assignment type, submission type, and the number of submissions allowed.
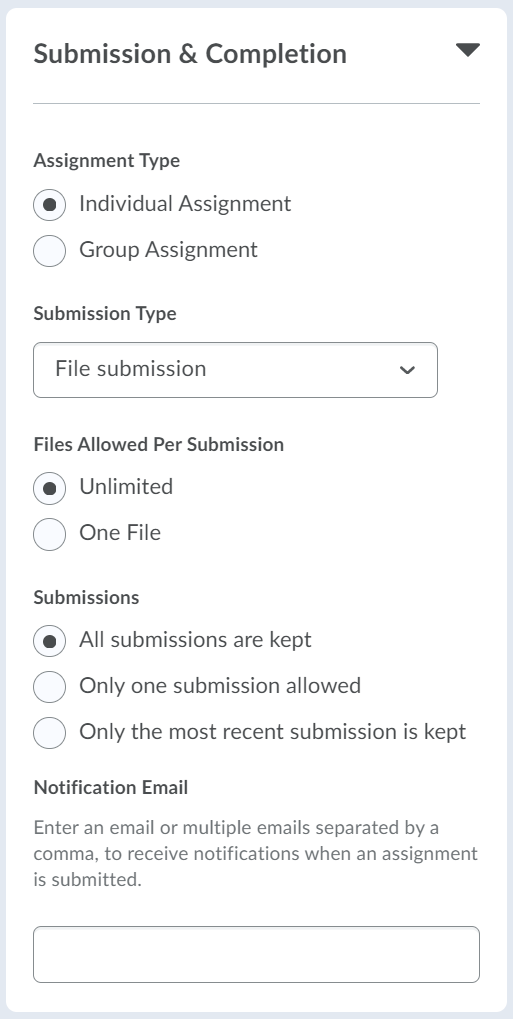
For Assignment Type, select if you would like this to be an Individual assignment (each student submits their own assignment and is assessed individually), or a Group assignment (any member of a group can submit files to a group folder and group members are assigned a common grade). All group members can see whether a submission has been made and the feedback that is given. You will not be able to select the Group assignment option unless you have already created groups within your course. If you select the Group assignment option, you will have the option to select the Group Category. Be sure to select the correct Group Category for the assignment. If you use a course section from the registrar’s office as a group, everyone in the section will be able to see all the submissions.
For Submission Type, select File submission if the students are expected to upload a file to the dropbox. If using a File submission, select how many Files Allowed Per Submission and how many times they can submit. To organize your folders into categories (eg. Presentations, Written Assignments), click New Category or select a category from the drop-down list if a category that you want to use already exists. Text submission is used when you want students to copy and paste their text submission into the dropbox or enter directly using the HTML editor - students cannot upload a file. Students also cannot make a submission with either the On-paper or the Observed in person Submission Types. With these last two types, you will also need to select how the assignment is Marked as completed: Manually by learners, Automatically on evaluation, or Automatically on due date.
Under Evaluation & Feedback, you can add a rubric, enable anonymous marking and enable Turnitin.
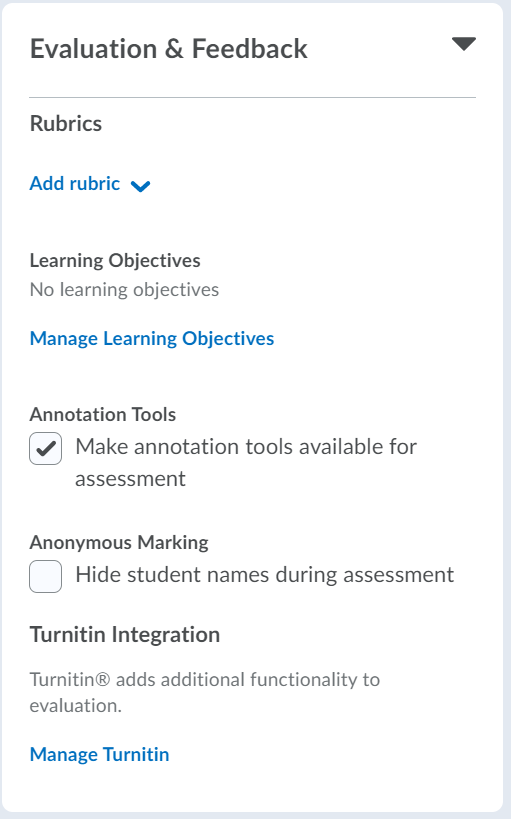
To add a rubric click Add rubric and select Create New if you want to use a new one or, select Add Existing if you would like to use one that was previously created. For more information about rubrics see the Rubrics documentation.
Annotation Tools makes annotation tools available for the assessment.
Anonymous Marking hides student names during assessment.
To use Turnitin, click Manage Turnitin and check the box beside Enable GradeMark® for this folder and Enable Turnitin for this folder. Click Save. For more information on Turnitin see Using Turnitin - Instructions (PDF) for Set-up and the Turnitin documentation.
If you would like the dropbox folder to be visible to students turn Visibility on, you will see a blue eye icon. When visibility is off, you will see a grey eye icon with a line through it.
Once you have set all of the options and restrictions you want, click Save and Close. Once your folder is created you can edit the folder by clicking on the dropbox title and clicking the Edit Folder button, or by clicking the down arrow to the right of the folder title.
...