...
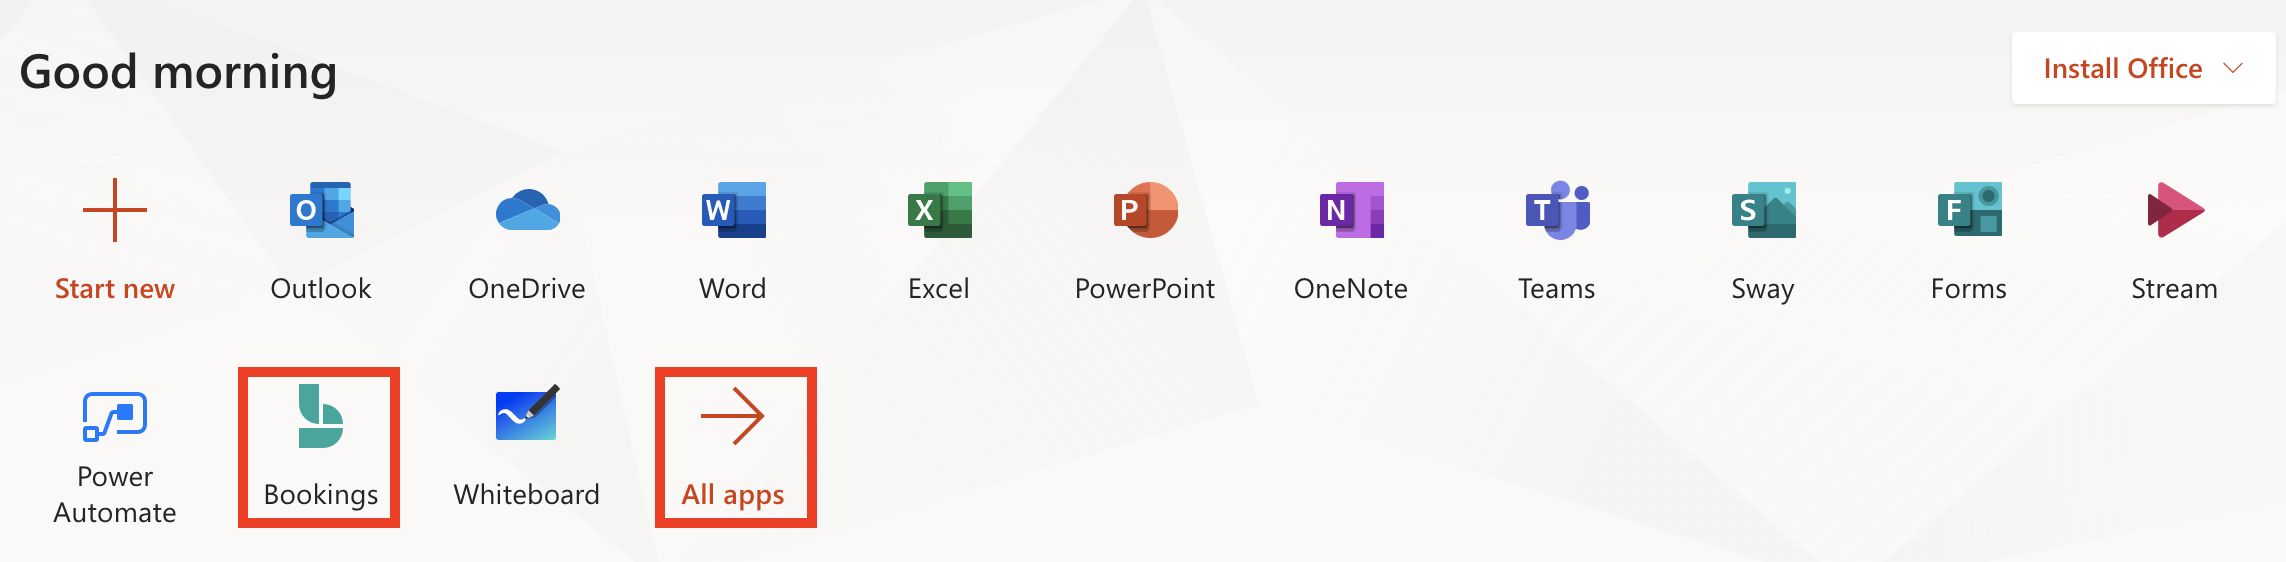
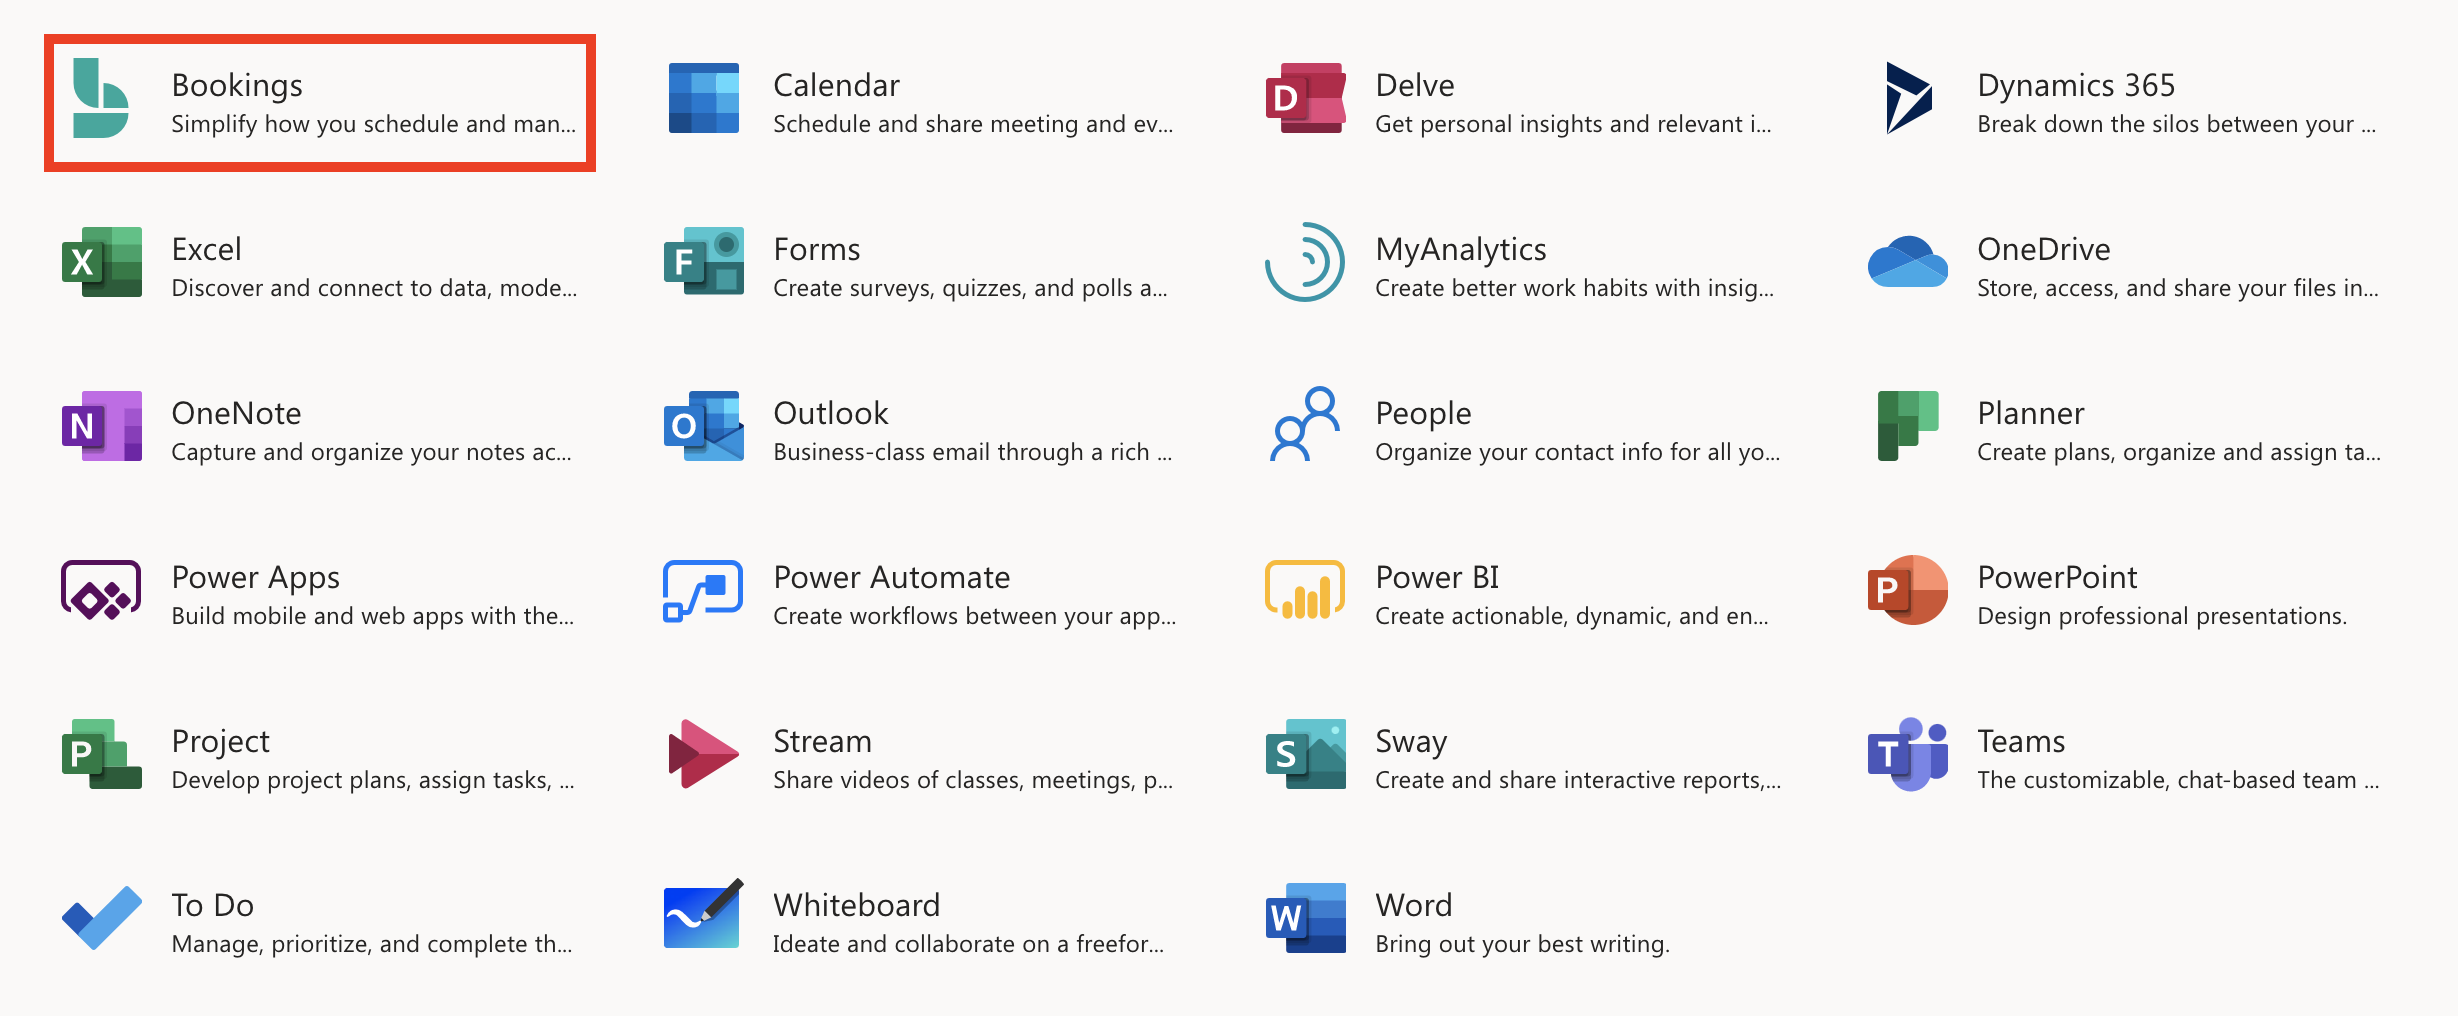
Go to http://portal.office.com/ and click on the 'Bookings' app. If the Bookings app does not appear on the homepage, click All apps > Bookings.
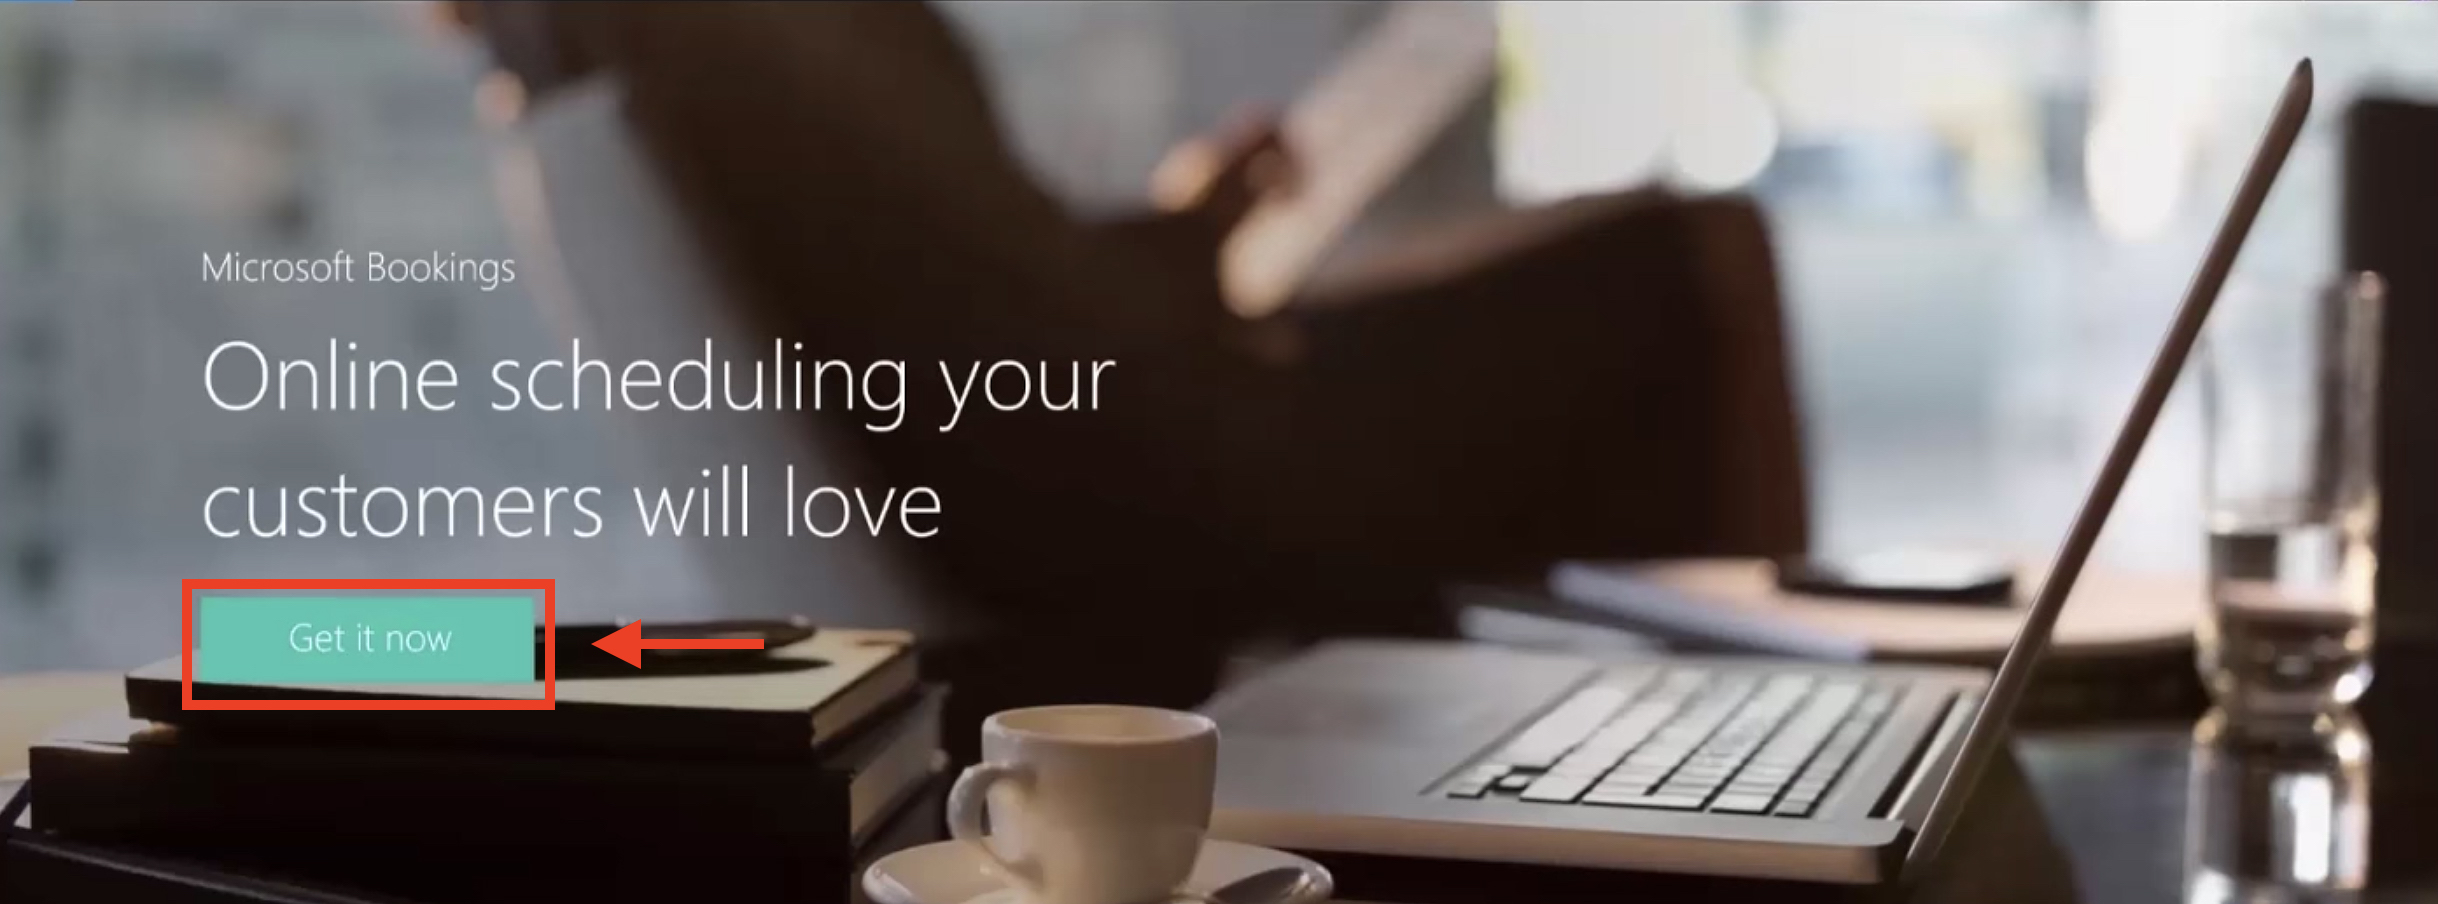
On the top banner, click the 'Get it now' button.
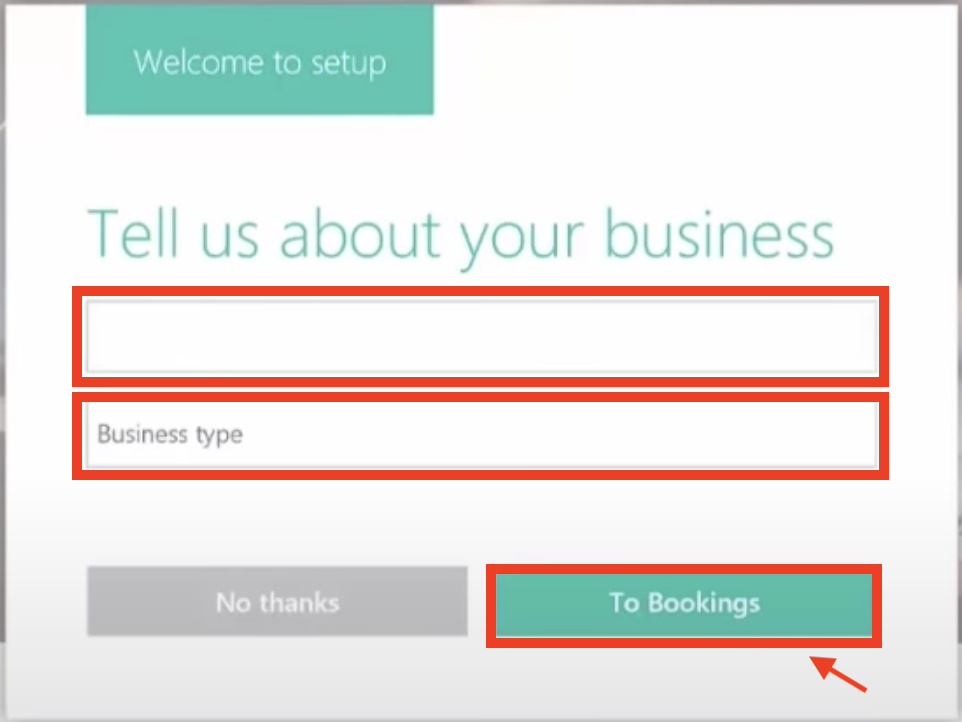
In the setup pop-up window, enter your calendar name and business type in the respective fields. Click the 'To Bookings' button. Your calendar will be created and you will be redirected to the Bookings homepage.
When creating a new Bookings calendar, select a descriptive calendar name (e.g. Visitors Centre - University of Waterloo). This will allow for you to easily search for your calendar in the Global Address List.
...
Configure and customize the necessary settings for your calendar:
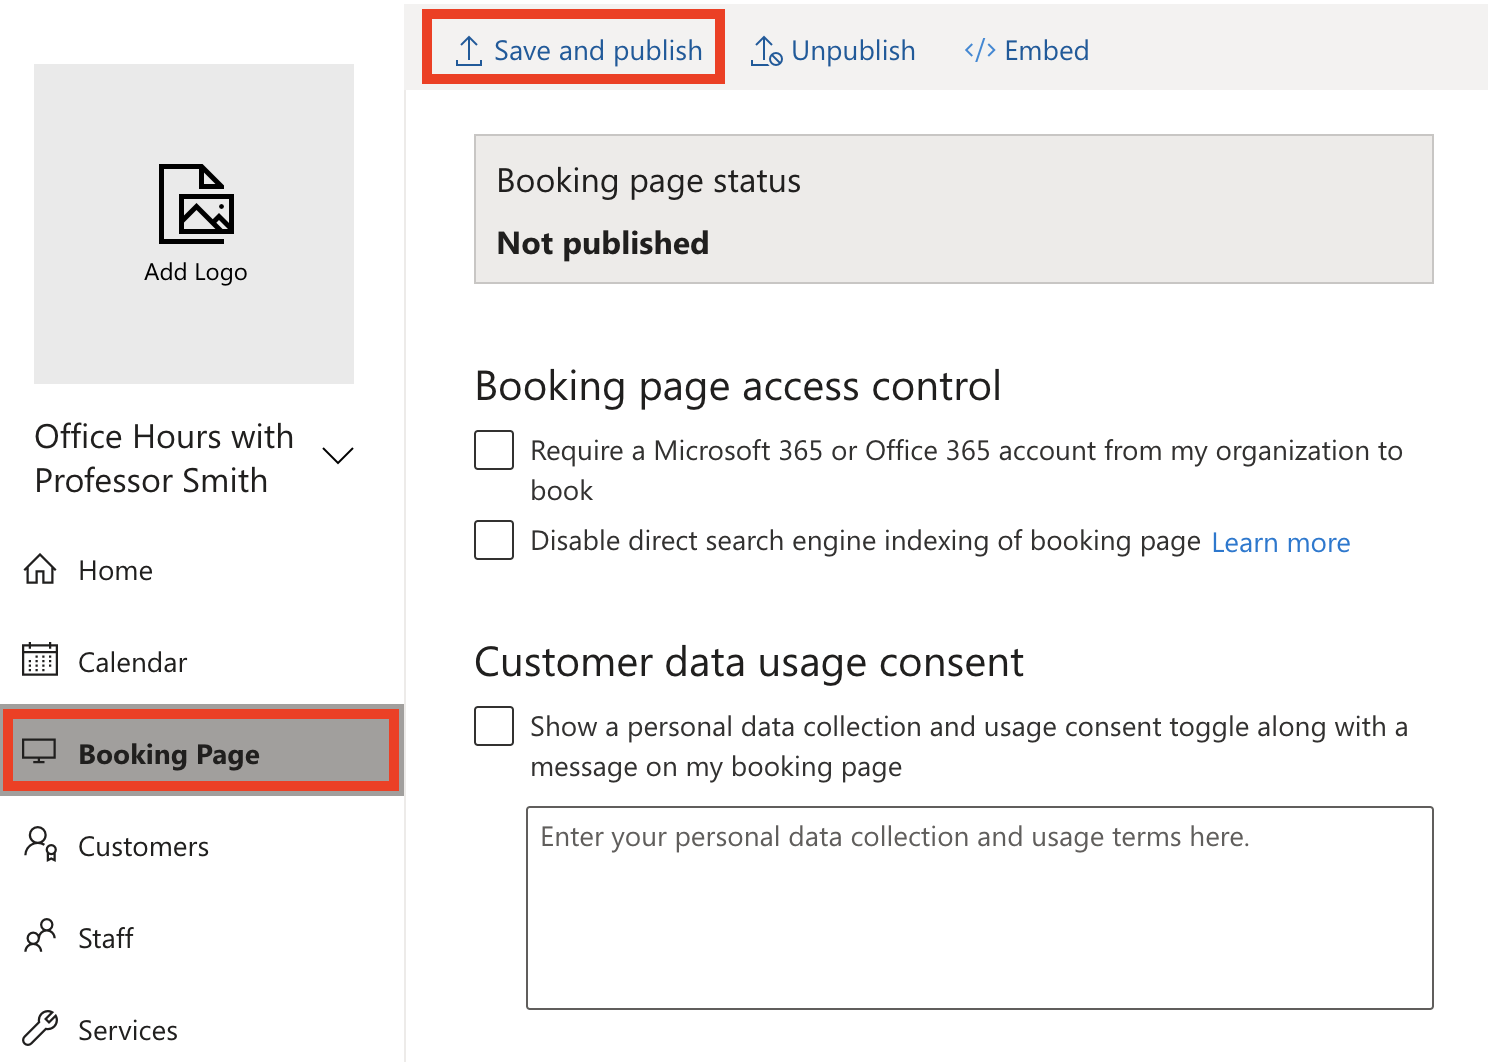
Once your calendar has been set up, go to the Booking Page tab and click 'Save and publish'.
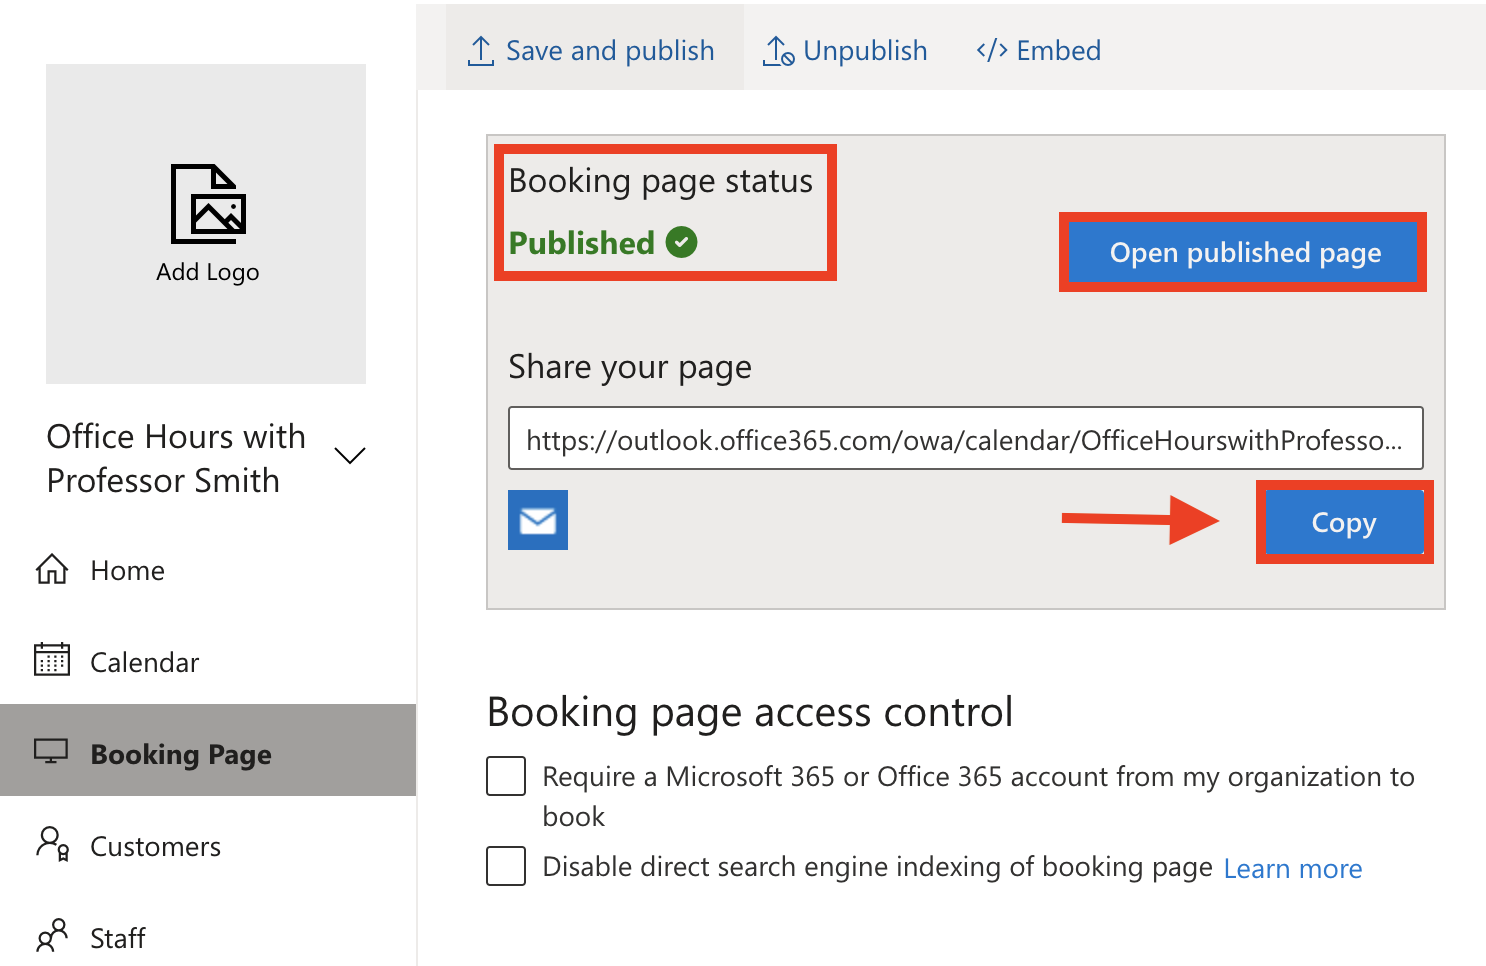
Your Booking page status will now be updated to be Published. Click 'Copy' to copy the calendar link. Share the calendar link with your customers so that they can start booking! You can click the 'Open published page' button to preview your Booking page.
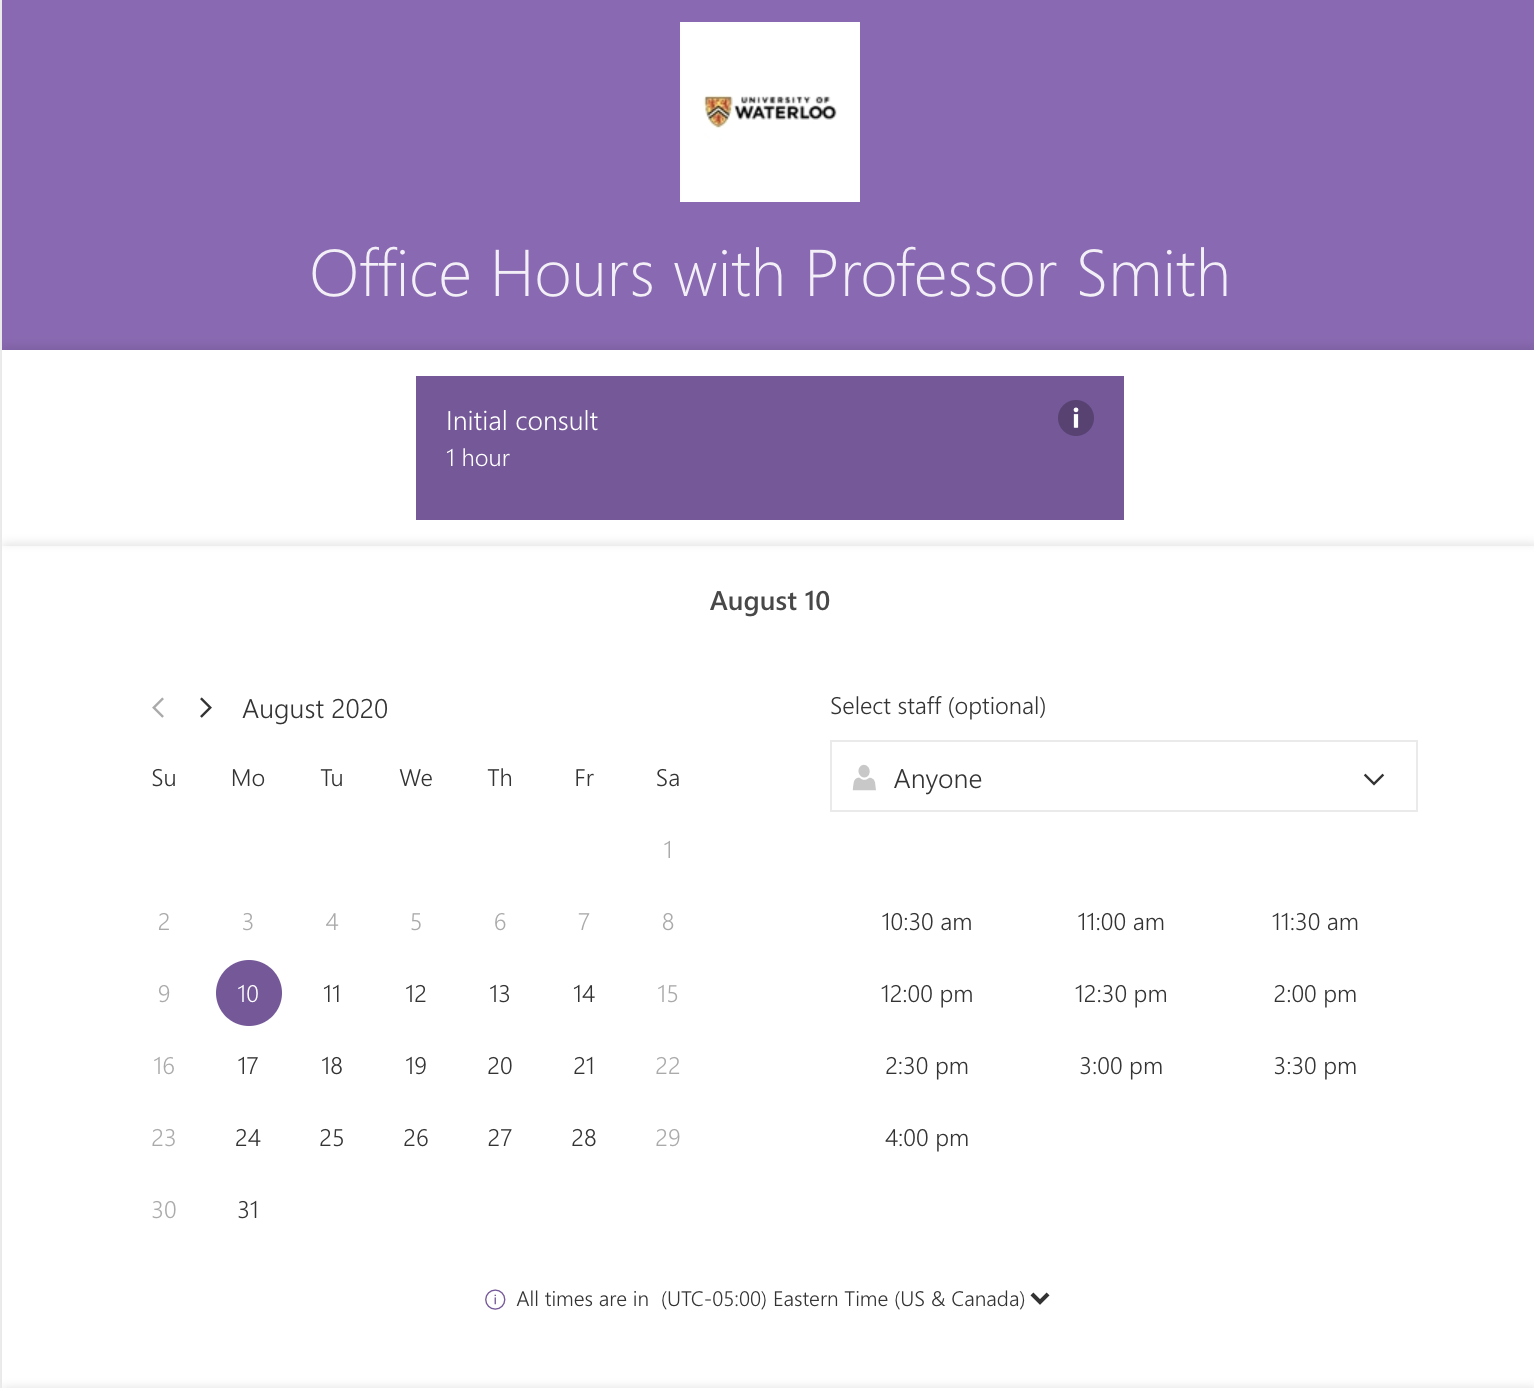
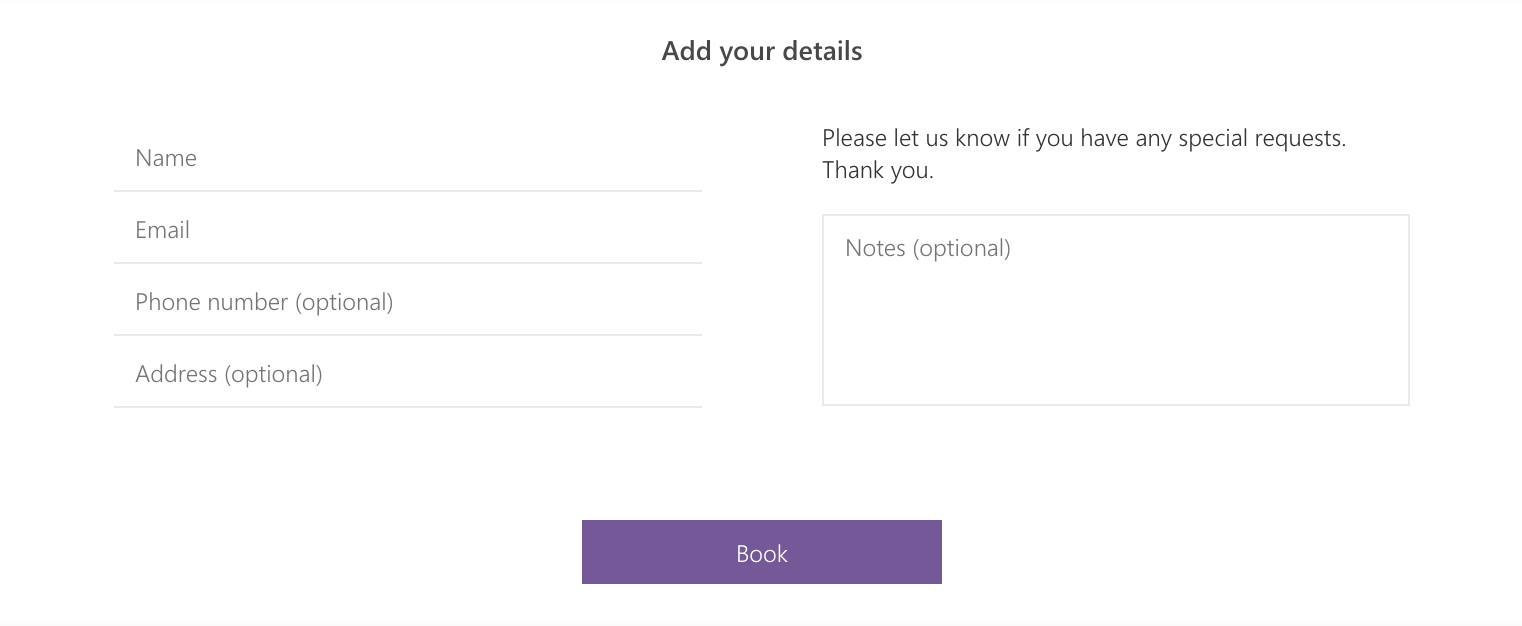
Learn more about how to book an appointment in Microsoft Bookings.
Related articles
| Filter by label (Content by label) | ||||||||||||||||||
|---|---|---|---|---|---|---|---|---|---|---|---|---|---|---|---|---|---|---|
|
...